Tutorial: Apply late fees to accounts with overdue invoices
In this tutorial, we'll use a workflow template to apply a $5 late fee to the subscription for each account that has an invoice overdue for more than 5 days.
Overview
It can be a tedious and error-prone process to apply late fees to multiple accounts with overdue invoices. Normally you need to complete these tasks every time you need to apply late fees:
- Find out invoices that are overdue for a certain amount of days.
- For each qualified invoice:
- Locate the subscription.
- Add an amendment to the subscription. This amendment adds the late-fee rate plan to the subscription.
- Notify the account about the late fee charge in the upcoming invoice.
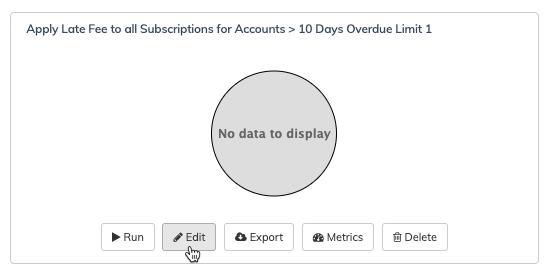
Zuora Workflow provides a template that automates the whole process. The full name of this template is "Apply Late Fee to all Subscriptions for Accounts > 10 Days Overdue Limit 1". It is one of the six pre-installed workflows on every tenant.
Zuora recommends that you perform the tasks in this tutorial in the Sandbox environment to avoid changes to production data when you are still testing the workflow.
When the workflow has been tested and is ready for actual use, create a copy of the workflow in the Production environment. For details, see Export and import a workflow.
Task 1: Create a rate plan for late fees
We'll create a rate plan "Late Fees" in product "Late Fee Product", and add a one-time charge of $5 to the rate plan. The rate plan should not include other charges.
The rate plan can be created in one of your existing products.
Task 2: Configure task parameters of the workflow
- Start Workflow from your tenant in the Sandbox environment.
- Select the Workflows tab, find the late-fee workflow and click Edit.

The design board of the workflow is displayed. - Hover over the task "Export Subscriptions tied to Late Accounts" and click the edit icon.
- Click Subscription in the left panel and select these fields:
- Contract Acceptance Date
- Contract Effective Date
- ID
- Name
- Service Activation Date
- Click BillToContact in the left panel and select the Work Email field.
- Select the Conditions tab. Revise the query as follows and click Update to save the changes.
- Change 'today - 10 day' to 'today - 5 day' or another number of days that you want to use.
- Change "Limit 1" to "Limit 5", because we want to have 5 results instead of 1. 'Limit 1' is used to limit the number of results to 1. You can keep the limit when you test the workflow and remove the limit when the workflow is ready for actual use.
- Click Subscription in the left panel and select these fields:
- Edit task Apply Late Fee - Edit to select RatePlan. In this tutorial, we will not edit the iterate subscription task.
- Remove '- Edit to select RatePlan' from the name of the task. We no longer need this reminder in the name.
- For Product, select 'Late Fee Product' from the list. If the new product is not available on the list, refresh the catalog in the global settings. To learn about how to refresh the catalog, see Workflow Maintenance Utilities.
- For RatePlan, Select 'Late Fee' from the list. If the rate plan isn't available on the list, refresh the catalog in the global settings.
- Modify the name and description of this amendment if necessary.
- Modify the three billing trigger dates if necessary. If you want to use the same billing trigger dates as the subscription, you can select the data fields (for example, Subscription.ContractEffectiveDate) from the list.
- Edit task Notify About Late Fee.
- In the Address tab, select BillToContact.WorkEmail for 'To (Email)'. You can enter your own email when you are testing the workflow.
- For 'From (Email)', the only option is workflow@zuora.com. If you want to add a new option, submit a request at Zuora Global Support.
- In the Address tab, keep Preview Only selected. Deselect this option only when the workflow is ready for actual use.
- In the Body tab, modify the message if necessary. Use the merge field assistant above the text field to get Liquid expressions for available merge fields.
- Test run the workflow and perform troubleshooting if necessary.
Expected result: The workflow runs successfully. The specified email addresses get the notification that late fee has been applied. You can now create a copy of this workflow on your tenant in the Production environment.
Task 3: Configure the workflow to run on a schedule
This task is only necessary if you want to apply the same amount of late fee for each subscription in the subsequent billing cycles.
- Go to the Settings of the workflow.
- In the Workflow Triggers section, select Scheduled.
- Configure the schedule with the scheduler. The schedule should be aligned with your billing cycle. If your billing cycle is monthly, then the schedule should also be monthly.
