Getting Started with Data Access Control
Data Access Control gives you the ability to control what your users see within Zuora. This article explains how to implement Data Access Control.
Access to this feature requires a specific edition of Zuora. See Zuora Editions for details. Get in touch with our sales team through zuora.com for specific terms and pricing.
Data Access Control workflow
You must have Zuora Platform Administrator permission to manage Data Access Control. See Zuora Platform Roles for more information. You must perform the following steps to begin using data access control:
- Create a tag hierarchy.
- Apply tags to objects.
- Apply tags to users.
Create a tag hierarchy
- Navigate to Settings > Administration Settings > Manage Data Access.
- Enter the following hierarchy information.
| Field | Description |
|---|---|
| Label | Name of the hierarchy. |
| API Name | This is an internal reference name used for integrations, This field should start with a character and consist of only numbers and characters in the English language. The name should end with '_h'. Note that changing the API name can affect existing integrations. |
| Active | Check this box if you want the Data Access Control hierarchy enabled. |
| Description | Description of the hierarchy. |
- Click save.
- Create the tags.
- Click save.
After you have entered all your tags, your hierarchy definition will be displayed.
Apply tags to objects
- Navigate to Customer Accounts.
- Select the account for which you want to apply the tag.
- Click edit. The Data Access Control tag hierarchy you created will display as a drop-down list.
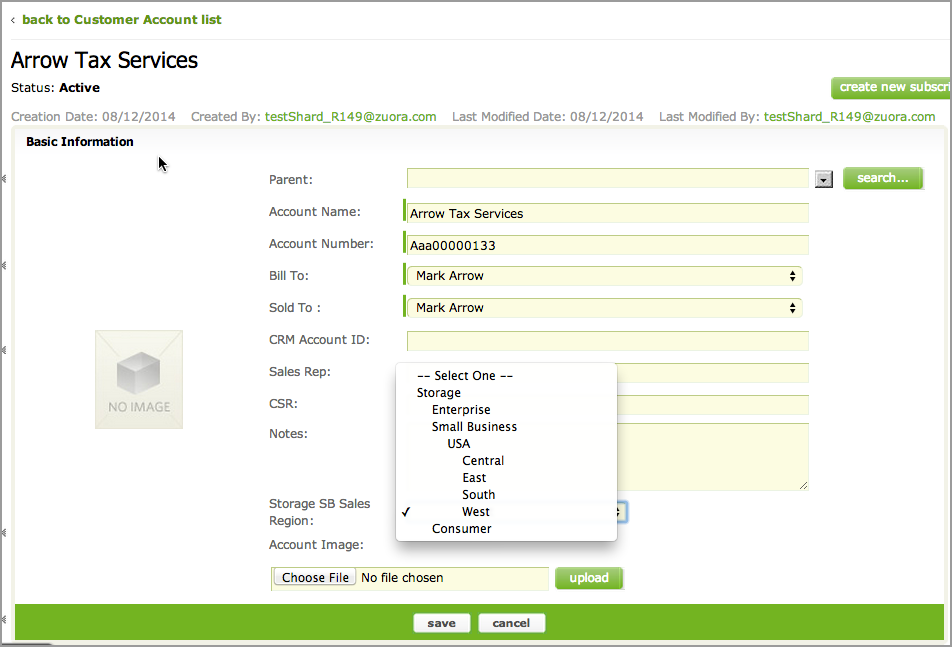
- Select the value for which you want to tag the object.
- Click save.
Apply tags to users
- Navigate to Settings > Administration Settings > Manage Users.
- Select the user for which you want to apply the tag.
- Click edit. The Data Access Control tag hierarchy you created will display as a drop-down list.

- Click save.
Your users will now only see the information that pertains to them.