Developer interface for SDK features
If defining an SDK feature, the Developer Interface displays after you select the Continue button in the Add a Feature screen.
The Developer Interface screen for an SDK feature is as illustrated below:
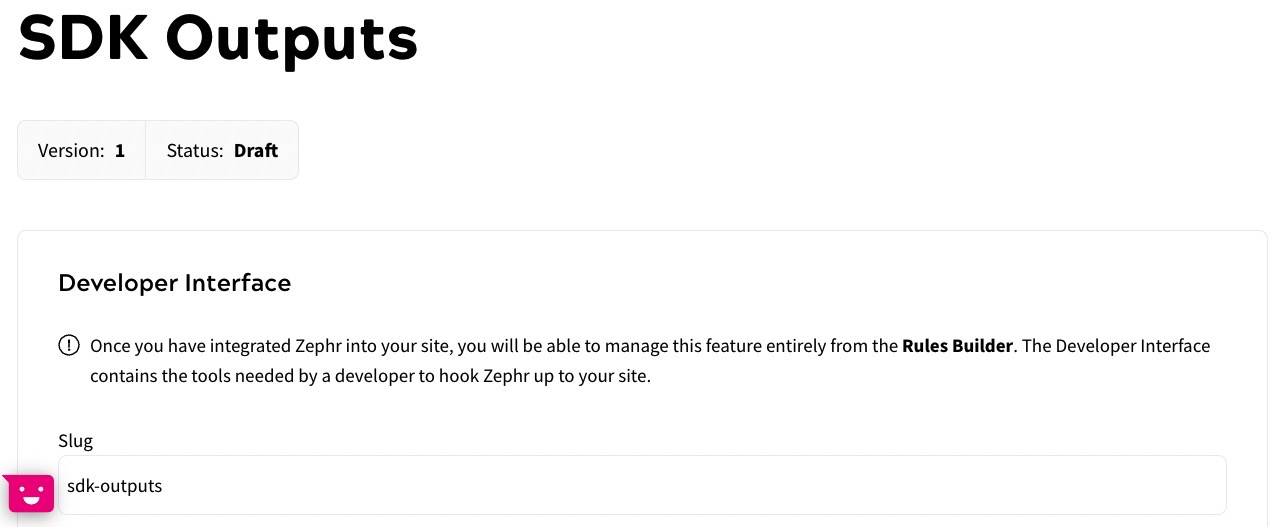
To define the Developer Interface for an SDK feature, complete the following steps:
- If required, update the slug in the Slug text box
Use the slug to reference this feature in your code.
- Define the information to provide to Zephr by enabling or disabling the Inputs
The inputs are as follows:
- Session
Note: The Session input is required for Registered and Customer states.
- IP Address
- User Agent
- Path
- Content ID
By default, all inputs are enabled.
If you do not require an input, select the toggle at the end of the row.
- Session
- Define any Custom Inputs used to provide information to Zephr
To define custom inputs, complete the following steps:
- Select the Add Input button
The Add Input dialog box displays, as illustrated below:
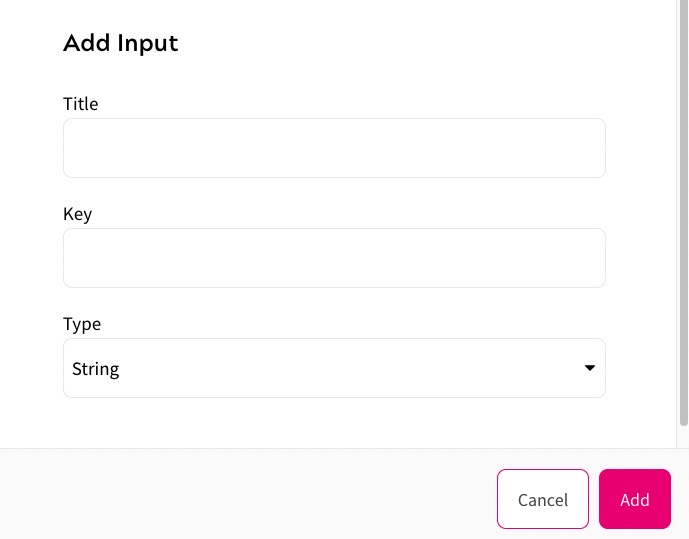
- Enter a name for the custom input in the Title text box
- Enter the identifier used for the input in the Key text box
- Select the type of input from the Type drop-down options. The options are as follows:
- String
- Number
- Boolean
- Select the Add button to add the custom input and return to the SDK Outputs screen. Selecting the Cancel button displays the SDK Outputs screen without adding a custom input
- Select the Add Input button
- Define the output to use in your feature rule from the Type drop-down menu. The options are as follows:
- Component
- Enum
- String
- Number
For further information on these output types, see the Output Types topic.
- Follow the instructions below to configure for different output types:
- If you select Component or Enum from the Type drop-down menu, select the Add Option button
If you select Component, the Add Option dialog displays as illustrated below:
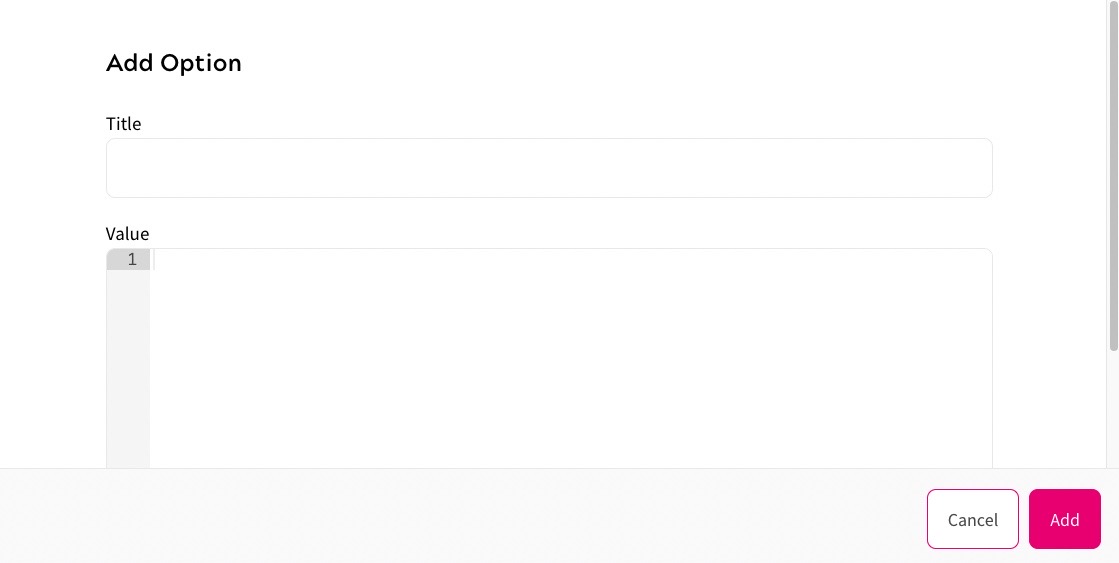
To define the component output, complete the following steps:
- Enter a name for the output in the Title text box
- Enter the HTML code to render in the outcome in the Value text box
- Select the Add button to save the output and return to the SDK Outputs screen. Selecting the Cancel button displays the SDK Outputs screen without saving the output
If you select Enum, the Add Option dialog displays as illustrated below:
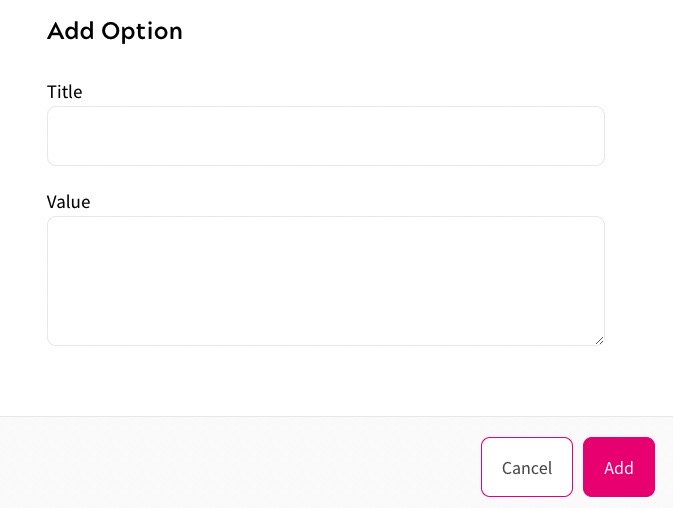
To define the enum output, complete the following steps:
- Enter a name for the output in the Title text box
- Enter the enum data to render in the outcome in the Value text box
- Select the Add button to save the output and return to the SDK Outputs screen. Selecting the Cancel button displays the SDK Outputs screen without saving the output
-
If you select JSON, you can provide a JSON schema after turning on the Validate with JSON Schema option, as illustrated below:
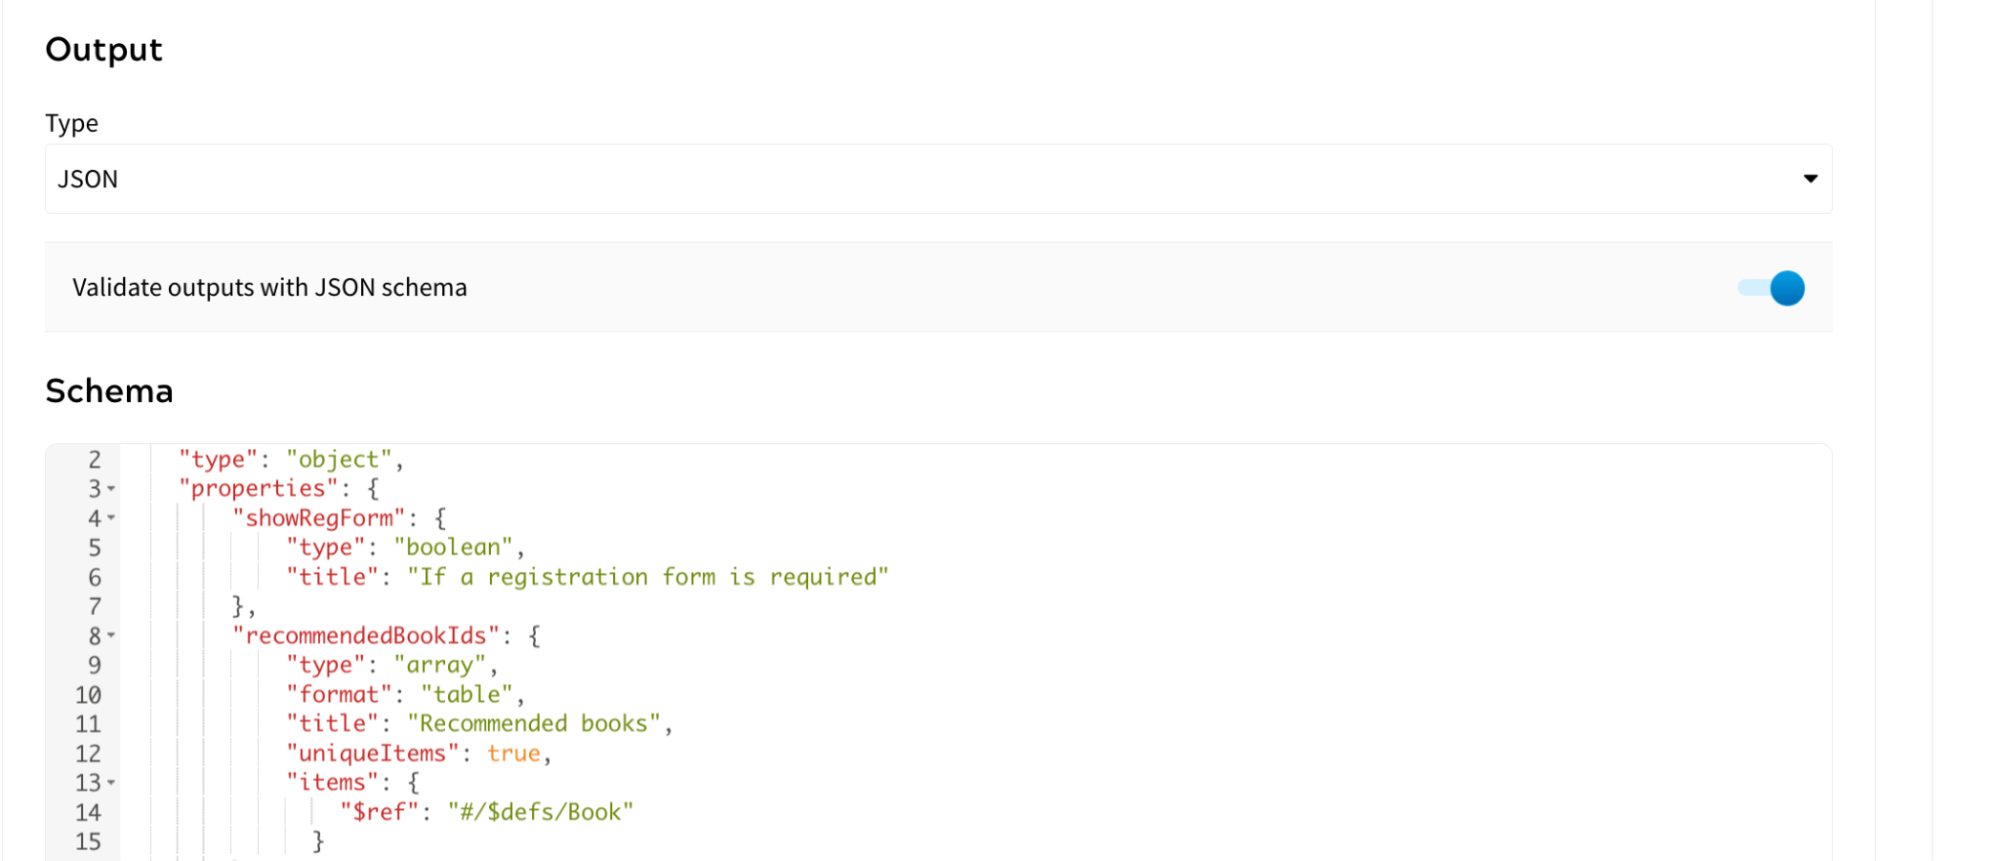
Later in the Rules Builder canvas, you can create JSON output options using a form that is dynamically generated from the JSON schema specified. The output options are validated to ensure they are valid JSON and that they conform to the schema if specified. -
To use Zephr's out-of-box forms in your SDK rules, select Transformation. You can then add outcomes and customised forms to your SDK feature. For more information about how to add outcomes and how to work with forms, see the Feature Outcomes documentation. Note that when creating an outcome, you can either hide or show all content. Truncating content is not supported.
- If you select Component or Enum from the Type drop-down menu, select the Add Option button
- Obtain the implementation code, which can be used to flag the feature in your code
To obtain the implementation code, complete the following steps:
- Select the language in which you want the code from the Select Language drop-down menu. The options are as follows:
- cURL
- Browser
- Node JS
- Java
- If you select Browser, Node JS, or Java from the Select Language drop-down menu options, install the relevant SDK if not already installed
The command to install the relevant SDK is displayed beneath the drop-down menu.
For further information on the SDKs and their installation, see the Zephr SDK section.
- Select Copy, which displays in the top-right of the code box when you hover over the Usage code sample
The code is copied to your clipboard.
- Select the language in which you want the code from the Select Language drop-down menu. The options are as follows:
- Select the Update & Lock button
You can build your rule using the output in the Rules Builder. For further information on the available decision nodes, see the Feature Decision Nodes topic.
Select the Save button to save your SDK Feature, or select the up arrow then the Save & Publish button to save your SDK feature and make it available for use.