Add a User Attribute
To add a user attribute, complete the following steps:
- Select Identify from the menu options
- Select User Attributes from the menu options
The user attributes screen displays, as illustrated below:
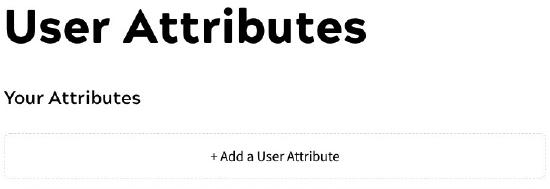
- Select the Add a User Attribute button
The Add User Attribute screen displays, as illustrated below:
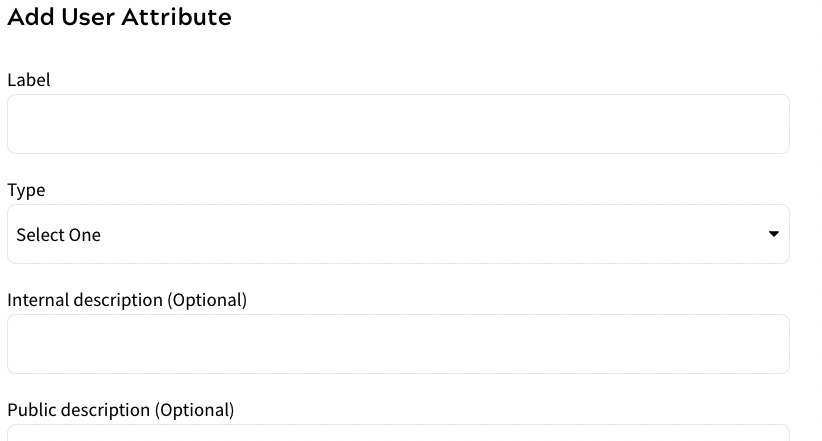
- Enter a name for the user attribute in the Label text box
- Select the format used by the user attribute from the Type drop-down options. The options are as follows:
- Text
- Long Text
- Number
- Telephone
- URL
- Selectlist
- Checkbox
- Radio Button
- Range
- Color
- Time
- Date
- Date Time
- Week
- Month
- Hidden
Note: You can use a Hidden type to collect information about the end user without the field being visible on their screen. For example, you could use a hidden field to record the site on which the end user registered.
The selected option defines how the data is stored and validated.
Note: By default, Zephr always stores the following information:
- Email address
- Username
- Date of registration
- Zephr, or user, ID
- Tracking ID
This means that you do not have to define user attributes for these.
- If you select Selectlist from the Type drop-down menu, select the Add An Option button to add the menu options
The Add Option dialog box displays, as illustrated below:
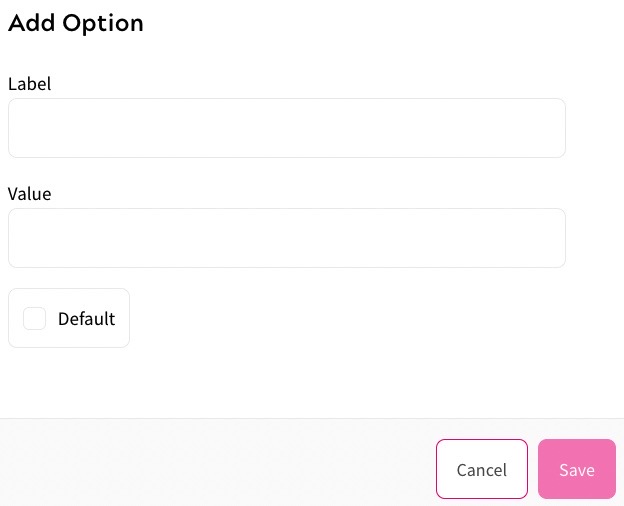
To add an option, complete the following steps:
- Enter the heading for the options in the Label text box
- Enter the name of the option in the Value text box
- If you want the option to be selected by default, select the Default checkbox
- Select the Save button to add the option to your Selectlist options or Radio Buttons and return to the Add User Attribute screen. Selecting the Cancel button displays the Add User Attribute screen without saving your changes
- If you select Radio Button from the Type drop-down menu, select the Add An Option button to add the selectable options
The Add Option dialog box displays, as illustrated above. Complete the dialog box as described for the Selectlist type.
- If you select Range from the Type drop-down menu, further fields display as illustrated below:
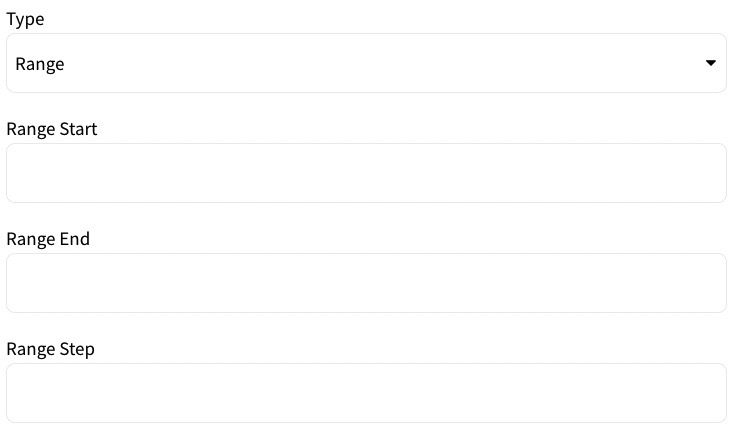
To define the valid range, complete the following steps:
- Enter the start of the valid range in the Range Start text box
- Enter the end of the valid range in the Range End text box
- Enter the amount by which the valid range increases in the Range Step text box
Note: You can also use the up and down arrows at the end of the Range Step text box to increment or decrement the step value.
For example, if you enter a Range Start of 1 and a Range End of 10 with a Range Step of 2, the end user can enter 2, 4, 6, 8, or 10. If the Range Step is set to 1, the end user can enter any value between 1 and 10, inclusive.
- Optionally, for all types, enter a description of the user attribute for internal purposes in the Internal description (Optional) text box
- Optionally for all types, enter a description of the user attribute to display in the Public description (Optional) text box
- Optionally for the Text, Telephone, Email, URL or Date types, enter the expression against which to validate the entered information in the Validation Expression (Optional) text box
- For all Types, if the information is required, select the Mandatory field checkbox
Notes:
- Mandatory fields must always be completed when a user is created, whether directly on your site by the end user, using the Zephr API or directly in the Admin Console
- You must include any fields that are defined as mandatory in your registration forms. If you do not want end users to provide the related information in all of your forms, Zephr recommends that you do not select the Mandatory checkbox here; instead, make the field mandatory in any form in which you want to collect the information when you create it
- To add another user attribute, select the Add another checkbox
- Select the Save button to save the user attribute
If you selected the Add another checkbox, the Add User Attribute screen displays. You can add another user attribute as described in the steps above.
If you did not select the Add another checkbox, the User Attributes screen displays.
The user attributes are listed in the User Attributes screen. The order is reflected in the following places:
- The user’s profile
- The user list
You can reorder the user attributes by dragging them to the required position in the list.