Premises Options
The Premises Options section defines how to identify the content access provided to the end user based on tags and IP addresses.
A single account can have multiple tags, and multiple accounts can include the same tags. Tags group accounts, and are used to automatically grant access to any end user whose IP address matches one configured for that tag.
IP addresses are used to identify access based on the IP address used to access your content. For example, to grant free access to end users accessing your site from a specific hotel or cafe. You can define a custom message to display in the article to inform the end user that they have free access, and the reason this access has been granted, and a registration form to allow them to sign up for free content views. For further information on creating a custom message, see the Custom Component Blocks or Component Library Templates topics. For further information on creating a registration form, see the Create a Login, Registration or Forgot Password Form topic.
Notes: You can only use the {{blaize.request.premisesAccountName}} mustache variable in both custom component blocks and component templates. This variable relates to your matched IP addresses. When rendered on your site, the variable is either populated with the name of the matched account name or remains blank if no account is matched. For further information on using mustache variables, see the User Variables in Component Templates topic.
If the hotel or cafe in the example above allows only ten free views each day and the anonymous end user uses their free views one day, they can return the next day and enjoy a further ten free views. If cookies are not cleared, the end user’s session is retained; that is, they are considered to be the same anonymous user as the previous day.
You can use the On-premises decision node in your rules canvas to customise the user journey based on whether the end user’s IP address matches any accounts. If you have grouped accounts using tags, the decision node can also check whether any account matches the specified tag. The logic of this decision node matches the IP address and, if specified, then matches the tag condition. For further information on the On-Premises decision node, see the Access topic under Features or Redirects.
To complete the Premises Options, complete the following steps:
- Enter a name for your tag in the Premises Tags text box
As you type, a list of existing tags that match the entered characters displays under the text box, as illustrated below:
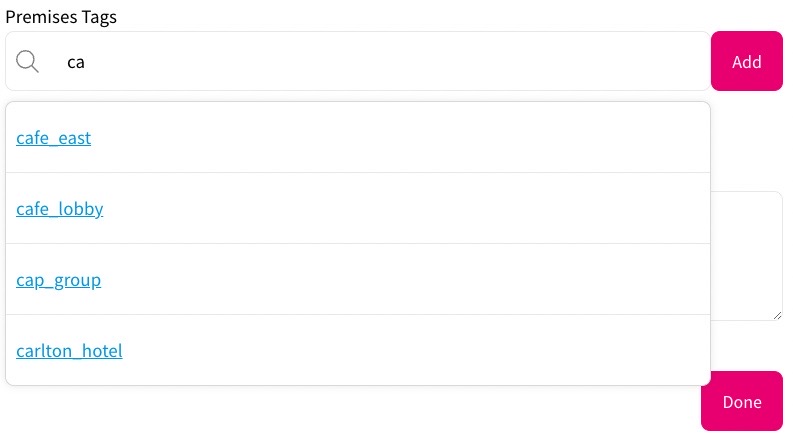
You can select a tag from those listed, or continue typing to create a new tag. If no suggestions display, no existing tag matches the characters you have entered.
- Select the Add button
- Repeat steps 1 and 2 until you have added all tags that you require
- Enter the IP addresses that you want to automatically consider part of the account in the text box
Each IP address must be entered on a new line. You can enter a single IP address or use Classless Inter-Domain Routing (CIDR) ranges.
Notes:
- These IP addresses are not related to the IP addresses specified in the Membership Options. For further information on the Membership Options, see the Membership Options topic
- If you use duplicate IP addresses in different accounts, or have overlapping CIDR ranges defined, Zephr arbitrarily selects the account to use
- Select the Done button to save your changes and return to the Add Account screen