Configure the Registration Form
To configure the login form, complete the following steps:
- Select the Registration Form Configuration button
The Registration Configuration screen displays, as illustrated below:
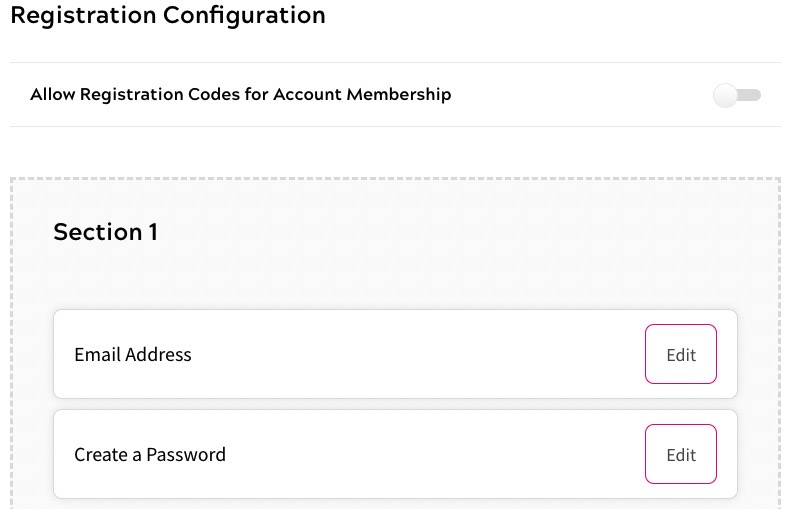
- Select the Allow Registration Codes for Account Membership toggle if you want to display a field on your login form that allows end users to enter an account membership code.
Note: To use account membership codes, you must have set up a company and generated a membership code, as described in the Companies & Accounts topic.
- Configure your registration form as follows:
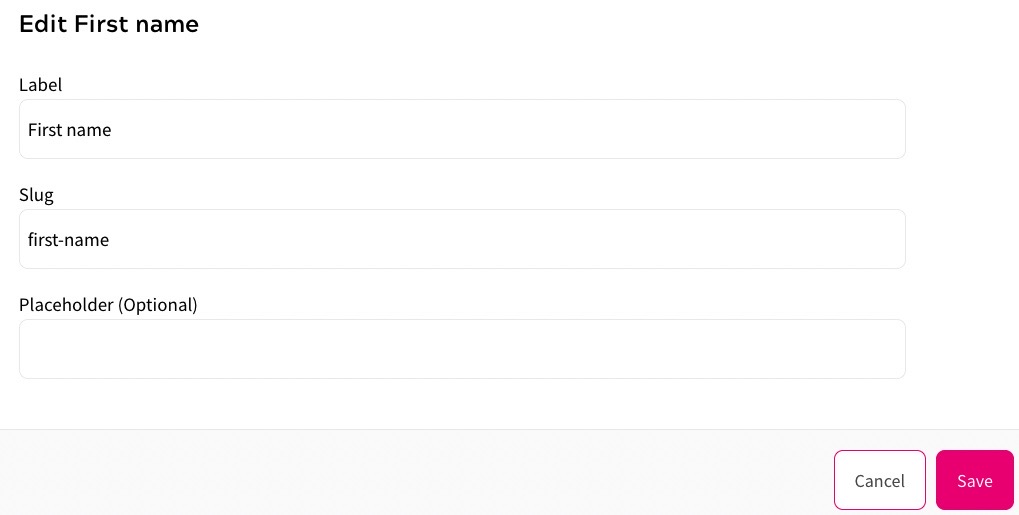
- To edit any field, select the Edit button at the end of the row for the field
The Edit dialog box displays, as illustrated below:
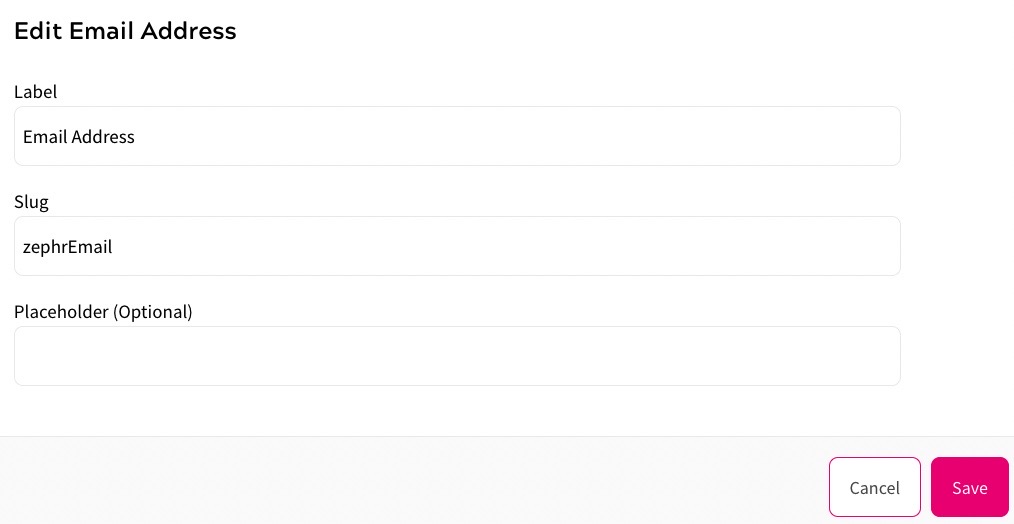
To define the field, complete the following steps:
- Edit the text in the Label text box. This is the label displayed with the field in your registration form
- Edit the text in the Slug field. This is used to reference the page in your code
- Update the Placeholder (Optional) text box with any placeholder text you want to display in the field
- Select the Save button to save your changes and return to the Registration Configuration screen. Selecting the Cancel button displays the Registration Configuration screen without saving any changes
- To move a field up or down the list, click and drag the field to the position at which you want it to display
- Select the Add Custom Text button to add a custom field to your form
The Add a Divider dialog box displays, as illustrated below:
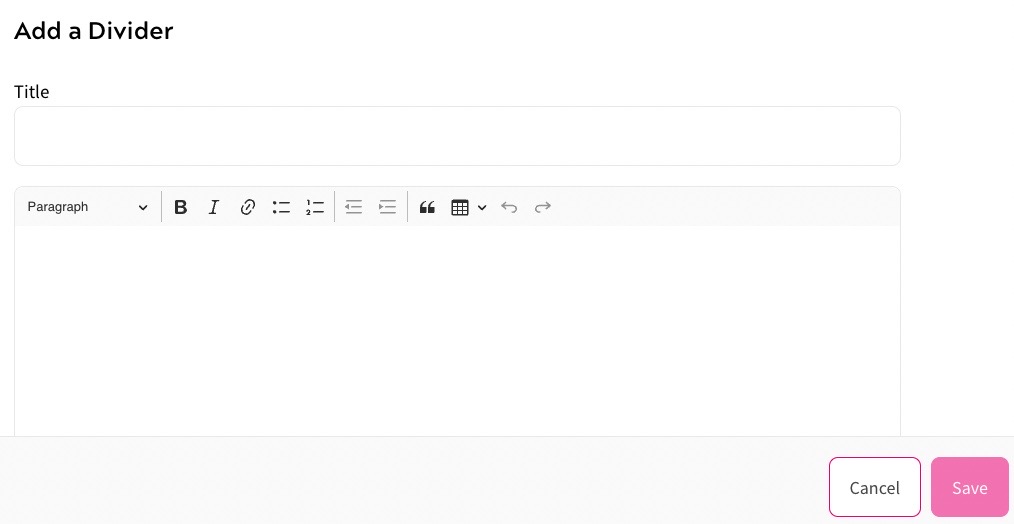
To define the custom text, complete the following steps:
- Enter the heading for your custom text in the Title text box
- Enter the text you want to display in the text box
Note: If you want to format the text, for example to include a heading or a list, use the formatting bar at the top of the text box.
- Select the Save button to save your changes and return to the Registration Configuration screen. Selecting the Cancel button displays the Registration Configuration screen without saving any changes
- Select the Add A User Attribute button to add a field based on a previously-created user attribute
Note: You must have defined user attributes for any fields that you want to add. For further information on user attributes, see the User Attributes topic.
The Add a User Attribute dialog box displays, as illustrated below:
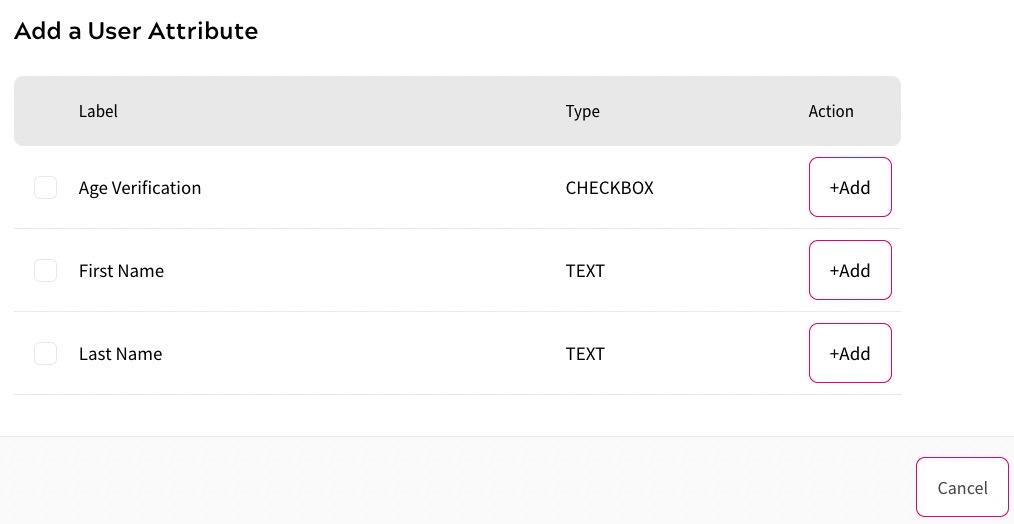
To add a single field, select the Add button at the end of the row for the user attribute you want to add. The Registration Configuration screen displays with the field added in the step.
To add multiple fields, select the checkbox beside the user attributes you want to add, then select the Add Selected button. The Registration Configuration screen displays with each user attribute added as a field in the step.
If you want to make a user attribute field mandatory in your registration form, select the Required toggle at the end of the row for the relevant user attribute.
To edit the display of a user attribute field in your registration form, complete the following steps:
- Select the Edit button at the end of the row for the user attribute you want to edit
The Edit dialog box displays, as illustrated below:
- Edit the label displayed above the field in the Label text box. By default, this is pre-filled with the name of the user attribute
- If required, edit the text displayed in the field in the Place Holder (Optional) text box. By default, this is blank
- If required, edit the default value of the field in the Default Value (Optional) text box
- Select the Save button to save your changes and return to the Registration Configuration screen. Selecting the Cancel button displays the Registration Configuration screen without saving any changes
For information on editing the user attribute, see the User Attributes topic.
To delete a user attribute field, select the Delete button at the end of the row for the user attribute you want to delete.
- Select the Edit button at the end of the row for the user attribute you want to edit
- Select the Add a Section button to add a section in your form
Add custom text and/or user attribute fields to the new section, as described above, to define this step in a multi-step registration form.
- If a section can be removed from your form, select the delete icon (
 ) from the top right of the box. If this icon is not available, you cannot remove sections from this step in your form
- To edit any field, select the Edit button at the end of the row for the field
- Select the Done button to save your changes and return to the configuration options screen. Selecting the Cancel button displays the configuration options screen without saving any changes