Add a Redirect
To add a redirect, complete the following steps:
- Select Delivery from the main menu
- Select Redirects from the menu options
The Redirects screen displays, as illustrated below:
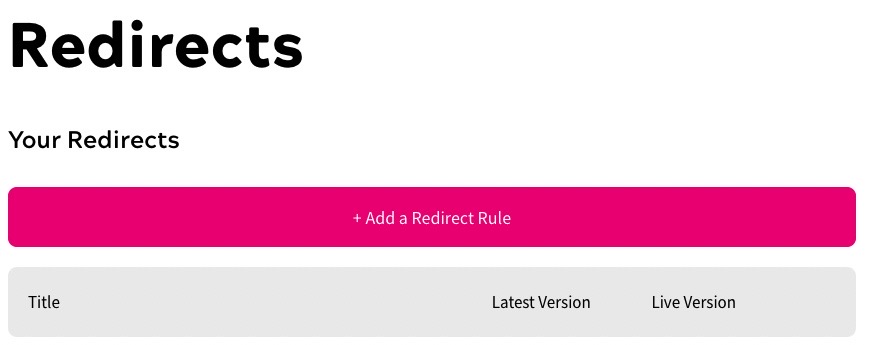
- Select the Add a Redirect Rule button
The Add a Redirect screen displays, as illustrated below:
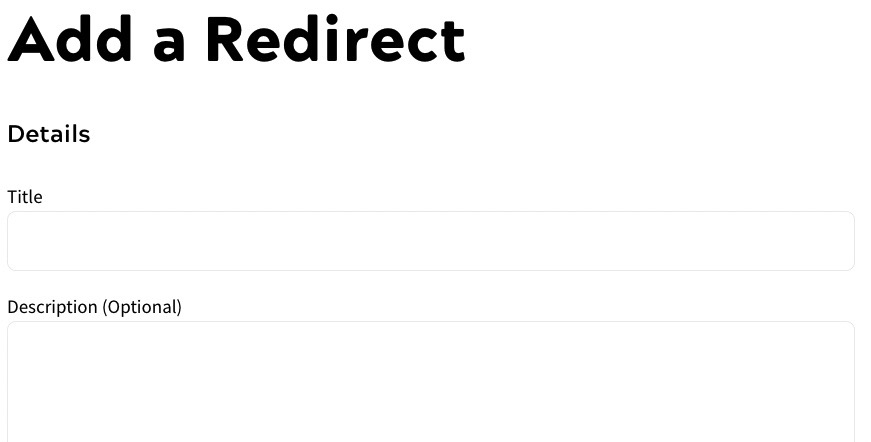
- Enter a name for the redirect in the Title text box
- Optionally, enter a description of the redirect in the Description (Optional) text box
- If you want to apply the redirect when the URL path matches the defined URL, select the URL Path matches checkbox
A further field displays, as illustrated below:
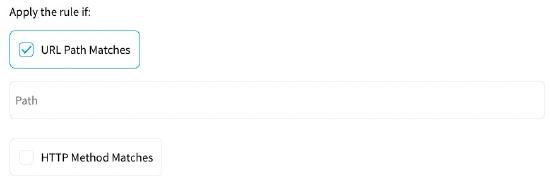
Enter the URL path to match in the text box.
- If you want to apply the redirect when the HTTP method matches the method defined in the rule, select the HTTP Method Matches checkbox
A further field displays, as illustrated below:
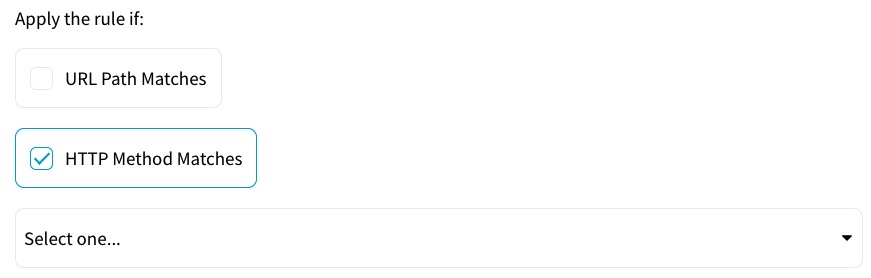
Select the HTTP method to match from the drop-down menu. The options are as follows:
- DELETE
- GET
- HEAD
- OPTIONS
- PATCH
- POST
- PUT
- Select the weighting for the redirect from the Priority drop down menu
By default, a priority of 5 is selected. You can choose a priority of between 1, for a low priority, and 10, for a high priority.
- Build your rule in the Rules Builder
The Zephr Rules Builder is where you decide what your site visitors see.
Select the Anonymous, or Registered user type to display the rules canvas for that user type. You can build bespoke journeys for each user type.
Select the decision points and outcomes from the decision bar. You can filter the decision points using the search on the left of the decision bar.
Each journey begins with a Page View node, which starts the rule when an end user views a page that includes this redirect. To build your rule, drag decision nodes from the decision bar onto the rules canvas, and connect them to other decision nodes or outcomes.
For example, you can change the headers and body responses, and preserve the origin status in your rule. For further information on changing the responses, see the Modify Response topic. For further information on preserving the origin status, see the Responses topic.
For further information on the available decision nodes, see the Redirect Decision Nodes topic.
- Select the Save button to save a draft of your redirect and return to the Redirects screen. Selecting the Cancel button displays the Redirects screen without saving your changes.
To publish the rule, select the down arrow beside the Save button and select Save & Publish.