Create a Custom Email Template
To create a custom email template, complete the following steps:
- Select the Settings icon (
 )
) - Select Email Templates
The Email Template Library screen displays, as illustrated below:
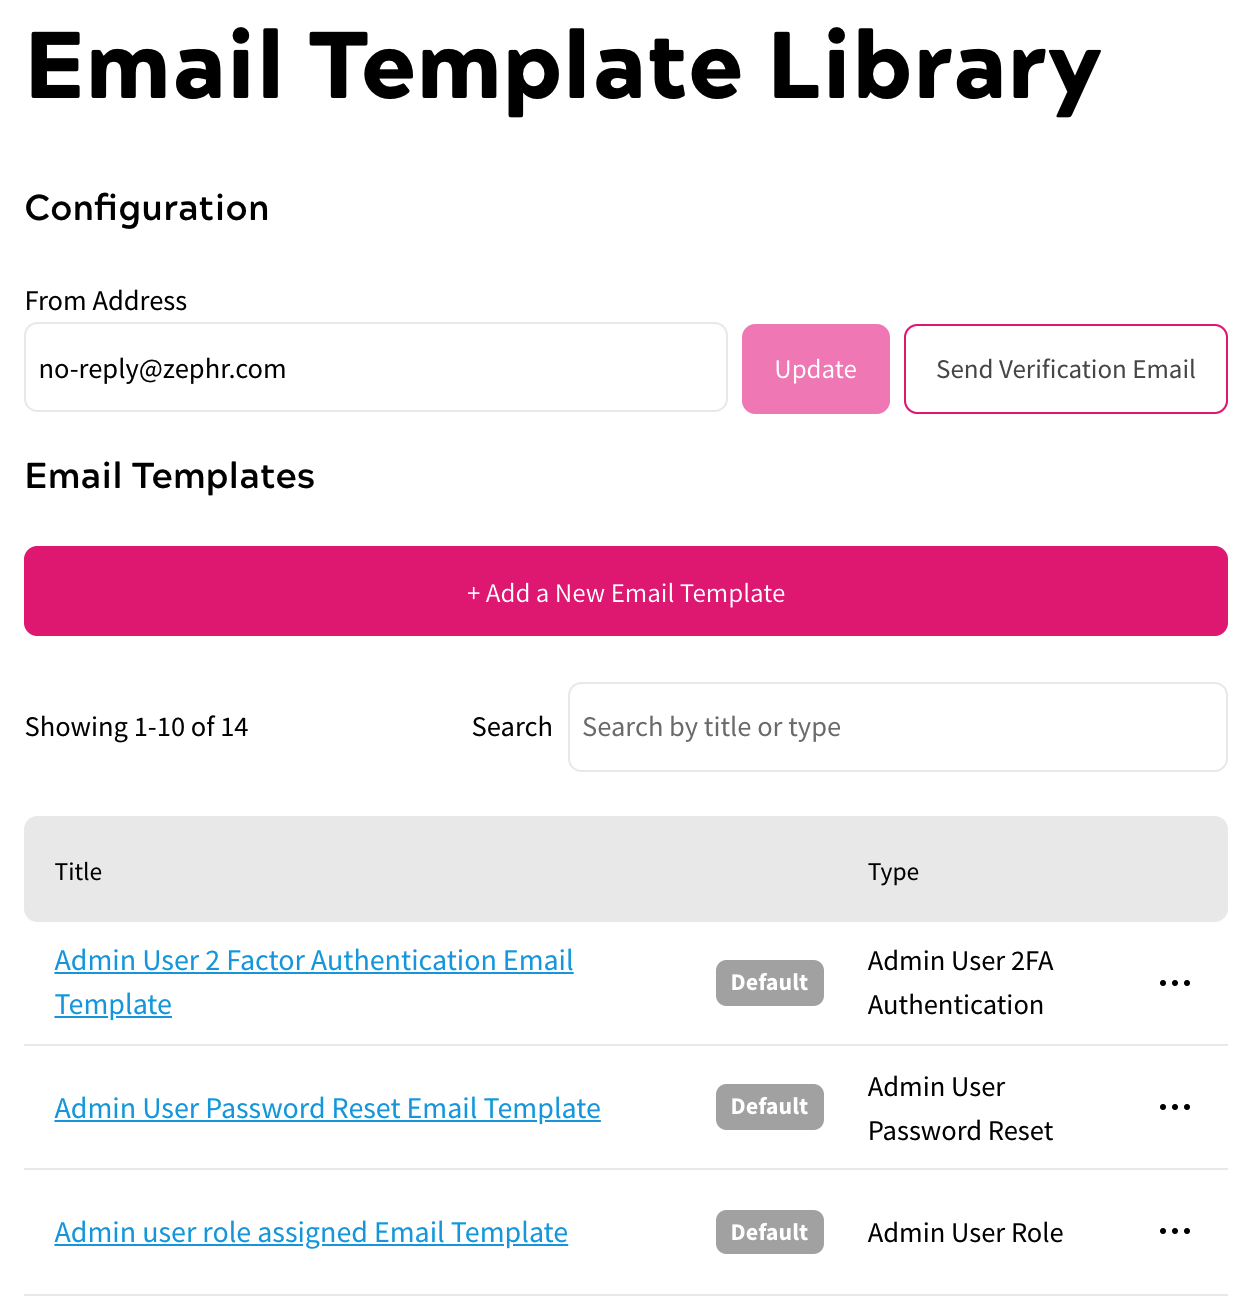
- Select the Add a New Email Template button
- Enter a name for the email template in the Title text box
- Select the type of template to create from the Type menu
The options are described in the following table:
Option Description Pages User Email Update The email sent when an end user updates their email address on a Zephr Preference Centre page Pages User Password Reset The email sent when an end user resets their password on a Zephr Preference Centre page User 2FA Authentication The email sent when an end user logs in to a site that uses two-factor authentication
The supplied six-digit code allows the end user to authenticate their accountUser 2FA Password Reset The email sent when an end user resets their password on a site that uses two-factor authentication
The supplied six-digit code allows the end user to complete their password resetUser Email Update The email sent when an end user has updated the email address that they use to access your site User Email Update Interstitial The email sent to allow an end user to confirm a change to their email address when email verification is required For further information on using email verification for authentication, see the Authentication topic
User Email Verification The email sent when an end user registers on your site to confirm their email address User Oversubscription Notification The email sent to the Account Manager when their company account becomes oversubscribed For further information on oversubscription on your site, see the Companies & Accounts topic
User Password Reset The email sent when an end user resets their password on your site, which uses the Zephr Identity Store User Passwordless Authentication The email sent to supply the login link when an end user logs in to your site, which uses passwordless authentication For further information on passwordless authentication, see the Passwordless Authentication topic
Product Sharing Invite The email sent to the specified email address, or addresses, to invite the recipient to join the subscriber’s shared product The
{{invite-link}}attribute is required, and is used to direct invitees to a page that allows them to accept the invitation and login or register. The{{sharing-id}}path parameter is used to identify the email invitation being acceptedYou can also use the meta data defined in your user attribute mappings. The field name is alphanumeric and can be specified using the following Available Template Variable, where the
*is replaced with the field name:{{invite-meta-data-*}}For example,
{{invite-meta-data-first-name}}For further information on shareable products, see the Offer Shareable Products example
Product Sharing Removed – Owner The email sent to the customer who owns the shared product when a member of that shared product is removed Product Sharing Removed – Member The email sent to the member of a shared product when their access has been removed - Enter the text to include in the subject of the email in the Subject text box
- Select the method to use in creating the email text from the Content Edit Mode radio buttons. The options are as follows:
- Visual
- HTML
Visual is selected by default.
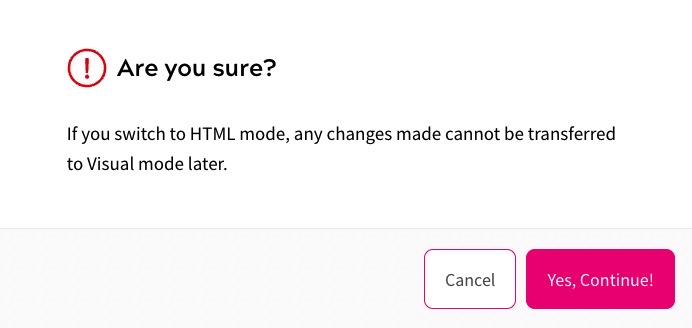
Note: If you select HTML, anything you have entered in the Visual edit mode will be coded in HTML as appropriate. However, you cannot move back to the Visual edit mode without losing your content.
A confirmation dialog displays, as illustrated below:
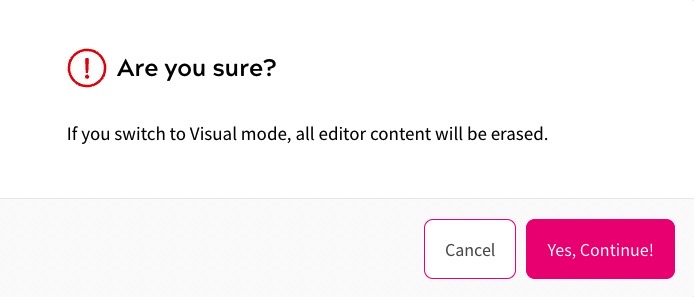
Note: If you switch back to the Visual edit mode, any changes made in the HTML edit mode cannot be transferred and your changes are lost.
A confirmation dialog box displays, as illustrated below:
Select the Yes, Continue! button to switch edit mode and return to the edit email template screen. Selecting the Cancel button closes the dialog box without switching the edit mode.
- Enter the body of the email in the text box
The variables that you can include in your template are provided in the Available Template Variables code box. Zephr replaces the variables with the appropriate text in your email. For example, the
{{password-reset-form}}variable is replaced with the URL of your password reset form and the{{password-reset-target}}variable is replaced with the URL to which the form redirects after the password request is submitted.Note: If you want to format the text, for example to include a heading or a format the text using a table, use the formatting bar at the top of the text box.
- Select the Save button to save your changes and return to the Email Template Library screen