Set Up Braintree in the Admin Console
To integrate Zephr with Braintree, complete the following steps:
- Select the Settings icon, which is located at the top right of all screens
- Select Extensions
- Select Braintree from the Payment Provider section
The Braintree screen displays, as illustrated below:
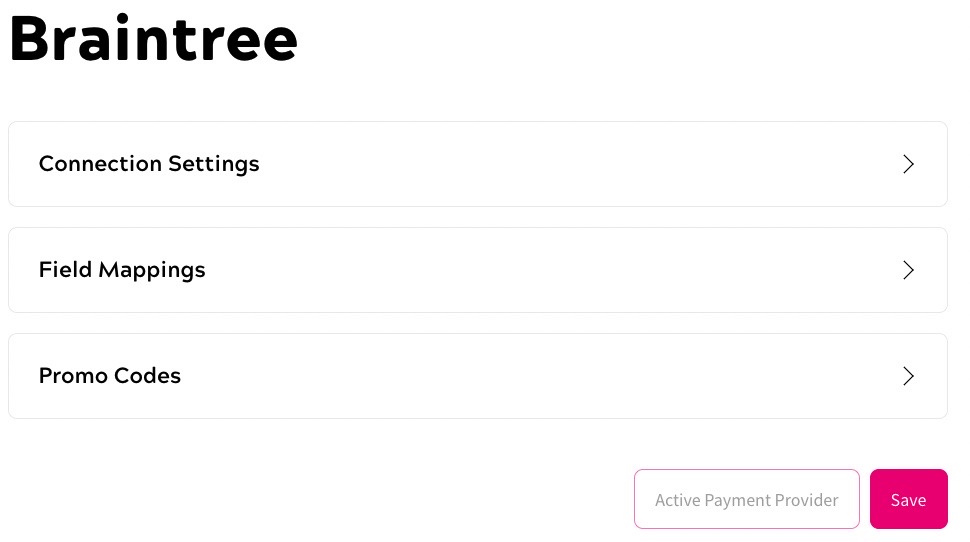
- Configure the connection, as described below:
- Select the Connection Settings buttonThe Connection Setting screen displays, as illustrated below:
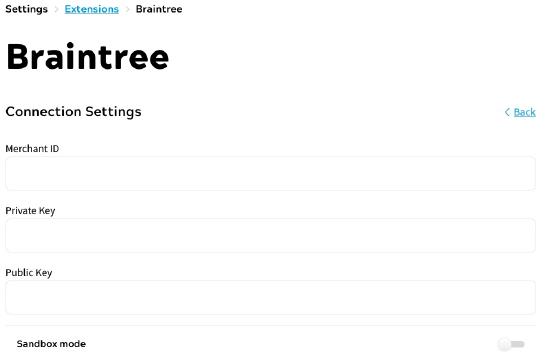
- Enter your Braintree merchant ID in the Merchant ID text box
- Enter the private key for your Braintree account in the Private Key text box
- Enter the public key for your Braintree account in the Public Key text boxTo find your Braintree details, complete the following steps:
- Sign in to your Braintree Admin Console
- Navigate to the API section
- Locate the API Keys table
- Select View from the Private Key column
- The Public Key, Private Key and Merchant ID entries display in the Client Library Key
- If you are testing your site before going live and want to use Braintree in sandbox mode, select the Sandbox toggle
- Select the Done button to add the connection and return to the Braintree screen
- Select the Connection Settings buttonThe Connection Setting screen displays, as illustrated below:
- If you want to include the user email address on the purchase, set the field mappings as described below:
- Select the Field Mappings buttonThe Field Mappings screen displays, as illustrated below:
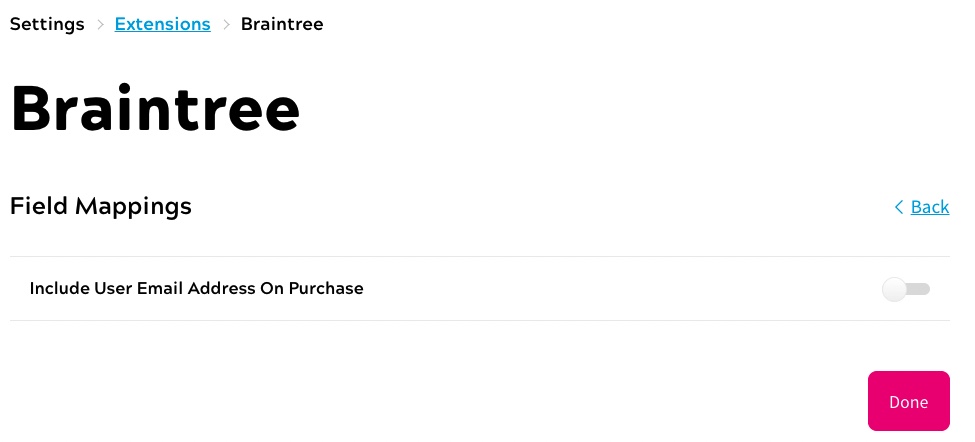
- Select the Include User Email Address on Purchase toggle
- Select the Done button to add the mapping and return to the Braintree screen
- Select the Field Mappings buttonThe Field Mappings screen displays, as illustrated below:
- If you want to allow the use of Braintree discount codes on your payment forms, add the promo codes as described below:
- Create your discounts in Braintree, as described in the Braintree Add-ons and Discounts guide
- Select the Promo Codes button on the Braintree screen
- Select the Add a Promo Code button
- Enter the code you want your customers to use in the Code text box; for example, 20Off
- Select the type of discount to apply from the Discount Type options. The options are as follows:
- Percentage. This applies a percentage discount to the total price
- Absolute. This reduces the total price by a specific amount
- Enter the amount of discount to apply in the Discount Amount text boxFor example, if you enter 15 in this text box, depending on the type of discount you have specified, this either applies a 15% discount or subtracts 15 from the total price.
Note: Zephr uses the discount amount defined here when applying discounts and not the Discount Amount defined in Braintree.
- Enter the number of billing cycles to which the discount applies in the Billing Cycles text boxNote: Zephr uses the billing cycles defined here when applying discounts and not the Billing Cycles defined in Braintree.
- If required, enter a limit for the amount of discount available to each customer in the Limit text box
- Enter the Discount ID or Discount Name used by Braintree in the Braintree Discount ID text box
- Select the Add button to add the discount and return to the Braintree screen
- If you want to use Google Pay and/or Apple Pay, configure your mobile payment providers, as described below:
- Select the Mobile Payment button
The Mobile Payment List screen displays, as illustrated below:
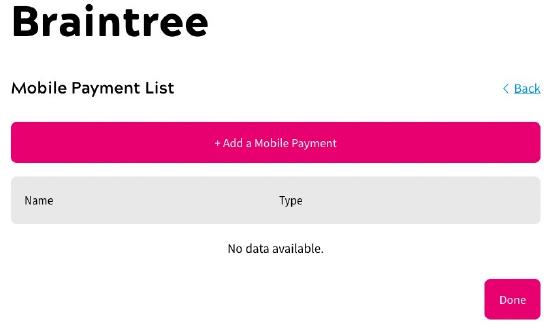
- Select the Add a Mobile Payment button
The Add Mobile Payment screen displays, as illustrated below:
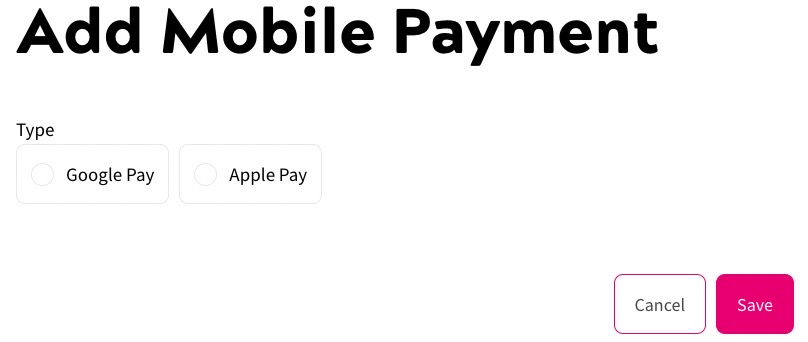
- Select the payment provider from the Type radio buttons. The options are as follows:
- Google Pay
Select this to configure Google Pay as a mobile payment provider.
A further field displays, as illustrated below:
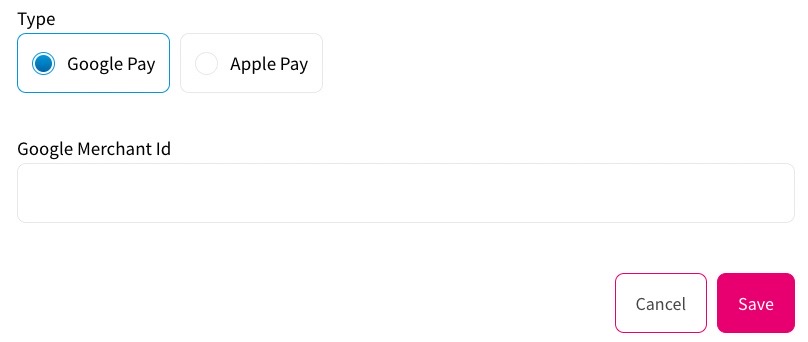
Enter your Google Merchant ID in the Google Merchant Id text box.
- Apple Pay
Select this to configure Apply Pay as a mobile payment provider.
- Google Pay
- Select the Save button to save your mobile payment provider and return to the Mobile Payment List screen. Selecting the Cancel button displays the Mobile Payment List screen without saving your changes
- Select the Done button to save the mobile payment provider settings and return to the Braintree screen
- Select the Mobile Payment button
- If Braintree is not your current payment provider, select the Use as Payment Provider button
Note: If Braintree is already set as your payment provider this button is disabled and labelled Active Payment Provider.
If you currently have a different payment provider activated, a warning dialog box displays, as illustrated below:
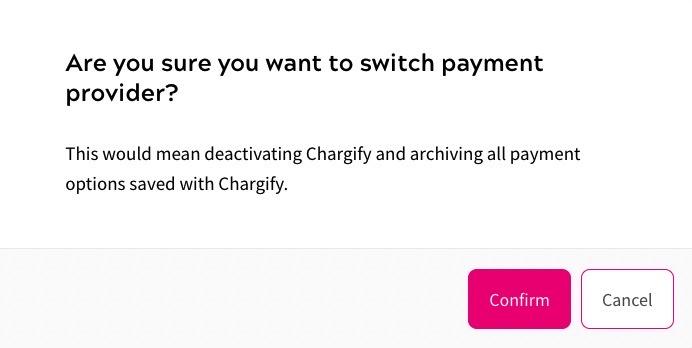
Select the Confirm button to save your settings and activate Braintree as the payment provider. Selecting the Cancel button returns you to the Braintree screen without changing the payment provider.
- Select the Save button
For information on using the discount on your payment form, see the Use a Promo Code on a Payment Form topic.