Set Up Stripe in the Admin Console
To set up Stripe in the Admin console, complete the following steps:
- Select the Settings icon
- Select Extensions
- Select Stripe
The Stripe screen displays, as illustrated below:

- Configure the connection, as described below:
- Select the Connection Settings button
The Connection Settings screen displays, as illustrated below:
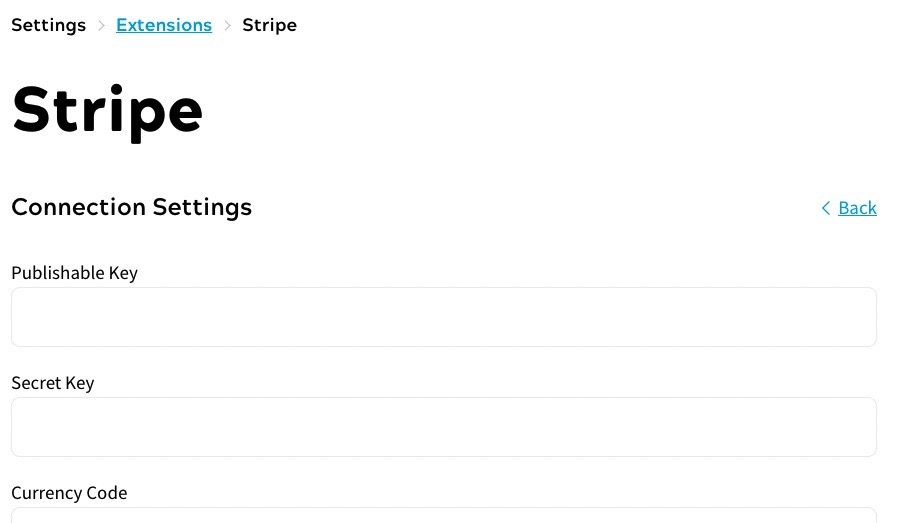
- Enter your publishable key from Stripe in the Publishable Key text boxEnter your secret key from Stripe in the Secret Key text box
For information on finding your API keys, refer to the Stripe API keys documentation.
- Enter the code of the currency you want to use for payments in the Currency Code text box
For information on the currency codes supported by Stripe, refer to the Stripe Supported currencies documentation.
- Select the Done button to save your changes and return to the Stripe screen
- Select the Connection Settings button
- If you want to use Google Pay and/or Apple Pay, configure your mobile payment providers, as described below:
- Select the Mobile Payment button
The Mobile Payment List screen displays, as illustrated below:
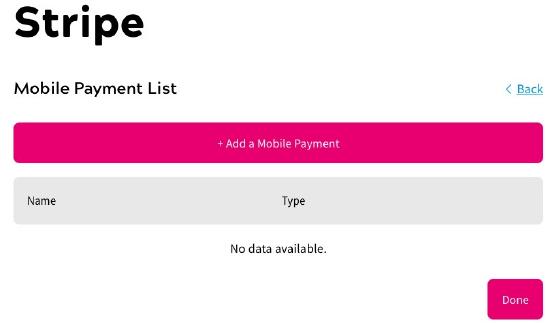
- Select the Add a Mobile Payment button
The Add Mobile Payment screen displays, as illustrated below:

- Select the payment provider from the Type radio buttons. The options are as follows:
- Google Pay
Select this to configure Google Pay as a mobile payment provider.
- Apple Pay
Select this to configure Apply Pay as a mobile payment provider.
- Google Pay
- Enter the code for the country from which payments are made in the Country Code text box
- Select the Save button to save your mobile payment provider and return to the Mobile Payment List screen. Selecting the Cancel button displays the Mobile Payment List screen without saving your changes
- Select the Done button to save the mobile payment provider settings and return to the Stripe screen
- Select the Mobile Payment button
- Select the Save button to save your changes
- If Stripe is not your current payment provider, select the Use as Payment Provider button
Note: If Stripe is already set as your payment provider, this button is disabled and labelled Active Payment Provider.
If you currently have a different payment provider activated, a warning dialog box displays, as illustrated below:
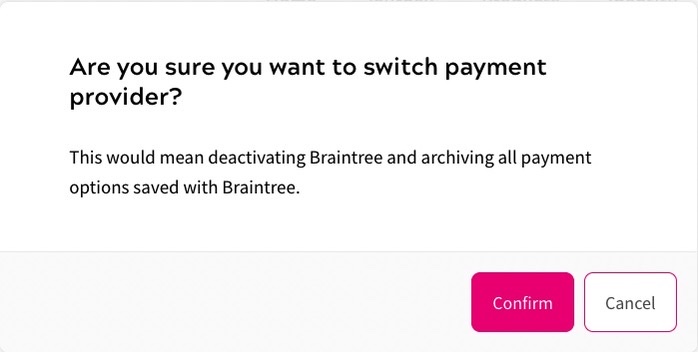
Select the Confirm button to save your settings and activate Stripe as the payment provider. Selecting the Cancel button returns you to the Stripe screen without changing the payment provider.
To complete the integration, you must add a webhook in Stripe. For further information on setting up the webhook in Stripe, see the Configure a Webhook in Stripe topic.