Add Your User Attributes
In this example, we use First Name and Last Name user attributes in our registration form. Before we can use these user attributes, we must set them up in Zephr.
To set up your user attributes, complete the following steps:
- Select Identity from the main menu
- Select User Attributes from the menu options
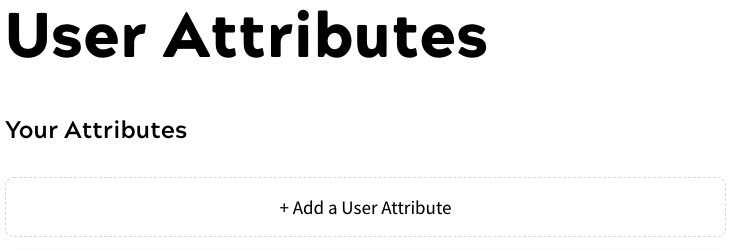
The User Attributes screen displays, as illustrated below:
- Select the Add a User Attribute button
The Add User Attribute screen displays, as illustrated below:
- Enter First Name in the Label text box
- Select Text from the Type drop-down options
- Optionally, enter a description of the user attribute for internal purposes in the Internal description (Optional) text box
- Optionally, enter a description of the user attribute to display in the Public description (Optional) text box
- If the information is required, select the Mandatory field checkbox
Notes:
- Mandatory fields must always be completed when a user is created, whether directly on your site by the end user, using the Zephr API or directly in the Admin Console
- You must include any fields that are defined as mandatory in your registration forms. If you do not want end users to provide the related information in all of your forms, Zephr recommends that you do not select the Mandatory checkbox here; instead, make the field mandatory in any form in which you want to collect the information when you create it
- Select the Add another checkbox
- Select the Save button
The Add User Attribute screen re-displays.
- Enter Last Name in the Label text box
- Repeat steps 5 to 8 above
- Select the Save button
The First Name and Last Name user attributes are added to the Zephr store.