Define Your Registered User Journey
In this example, we provide registered users with two views of content each week. If they have viewed both pieces of content, they encounter a paywall, which allows them to subscribe to the site.
To do this, we must do the following:
- Create the product that we want to offer to our registered users
- Create a trial to provide registered users with two views of content each week before encountering the paywall
- Create a payment form outcome
- Build the rule to display the paywall to any registered users for whom the trial has expired
Create Your Product
Before you can offer your subscriptions to your registered users, you must define at least one product. You can select the features that are packaged in your product and monetise access to your content using third-party payment providers.
Before you create a product, ensure that you have done the following:
- Created the feature that you want to include in the product. For this example, we use the feature that we created in Build Your Feature
- Set up your chosen payment provider with the plan or subscription options that you want to offer, as described in the Payments topic
To create your product, complete the following steps:
- Select Products from the main menu
- Select Catalogue from the menu options
The Catalogue screen displays, as illustrated below:
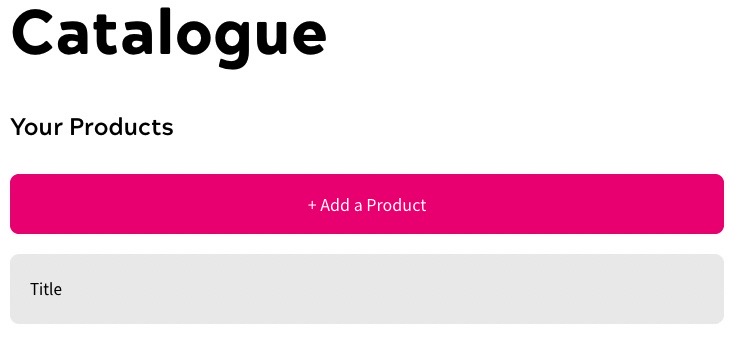
- Select the Add a Product button
The Add a Product screen displays, as illustrated below:
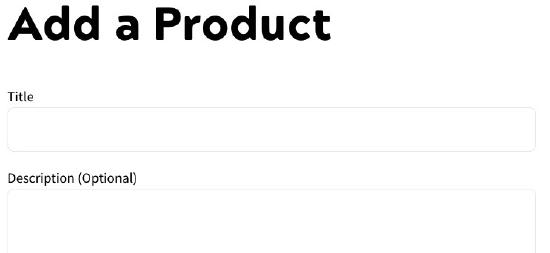
- Enter a name for your product in the Title text box
- Optionally, add a description of the product in the Description text box
- Select the checkbox beside the Article feature we created earlier to include it in the product
A further section displays, as illustrated below:
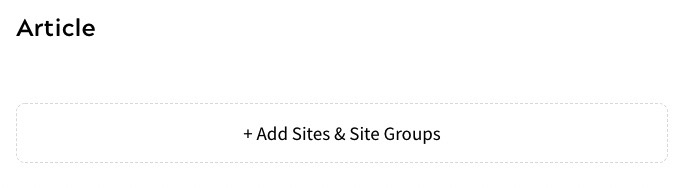
- Select the Add Sites & Site Groups button
The Add Sites and Groups dialog box displays, as illustrated below:
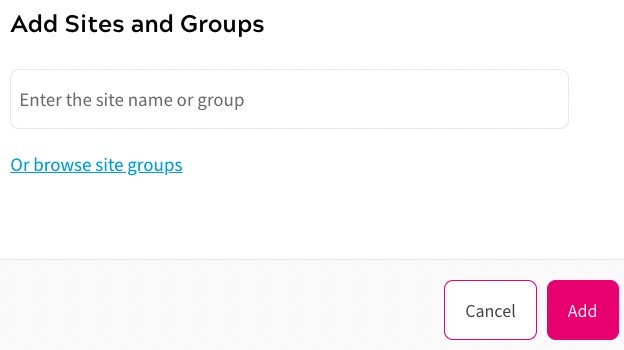
Complete this dialog box as follows:
- Start entering the name of the site we created in the Set Up Your Site topic in the text box, sites that match the characters that you enter are listed
- Select the site from the list
- Select the Add button to save your updates and return to the Add a Product screen. Selecting the Cancel button displays the Add a Product screen without saving any changes
- Select the Add A Payment Option button
The Add Payment Option dialog box displays, as illustrated below:
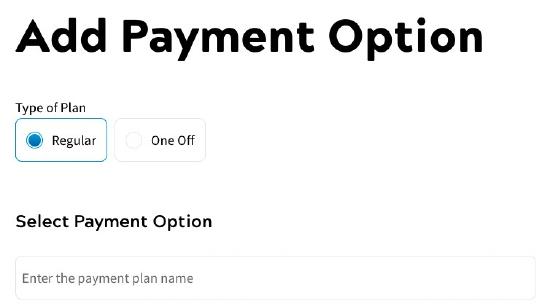
- Add the payment plans that you created as described in the Create a Product topic
- Select the Save button to save your product
Now that we have our product set up for use in our payment form outcome, we can return to our feature and start defining our registered user journey. To start, we create the trial that allows them two views of content each week.
Create Your Trial
A trial allows you to grant limited access to a feature on a one-off or recurring basis.
We’re going to offer registered users a free trial or two views each week, so that they can see the quality of our content. To do this, we use a Basic Trial. For further examples of using Basic and Advanced Trials, see the Example Trials topic.
Note: You can use trials in the same way for both features and redirects. For further information on using trials in redirects, see the Access topic.
To create your trial, complete the following steps:
- Navigate to the feature we created in the Build Your Feature topic as follows:
- Select Products from the main menu
- Select Features from the menu options
- Select the Article feature
- Select the version to update
The rules builder displays
- Select the circle beneath Registered in the user type selector bar
A blank canvas displays.
- Select the Access segment title from the decision bar and drag the Trials decision node to your rules canvas
The Trials dialog box displays, as illustrated below:
The Trial dialog box displays, as illustrated below:
- Enter 2 in the Limit of field
This limits the number of content views to two.
- Select Page Views from the first drop-down
This means that every view is counted toward the limit; even repeat views of the same content.
- Select In the last from the second drop-down
This allows you to define the duration for which the limit applies.
- Enter 7 in the last field
This limits the duration to seven days.
- Select the Save button
The Trials decision node is added to your rules canvas.
We’ll connect the decision node when we build the rule.
Now, we create the payment form outcome that we’ll use when the trial expires.
Create Your Payment Form Outcome
When a registered user has viewed two pieces of content, we want to present them with a paywall to allow them to subscribe so that they can access more content. To do this, we need to build a payment form outcome.
To build your payment form outcome, complete the following steps:
- Select the Outcomes segment title from the decision bar
- Select the Add Outcome button
The Add an Outcome screen displays.
- Enter Payment Form in the Title text box
- Optionally, enter a description of the outcome in the Description text box
- Select the Add a New Form or Custom Component Block button
- Select the Add button under the Payment Form heading
The Add Payment Form screen displays, as illustrated below:
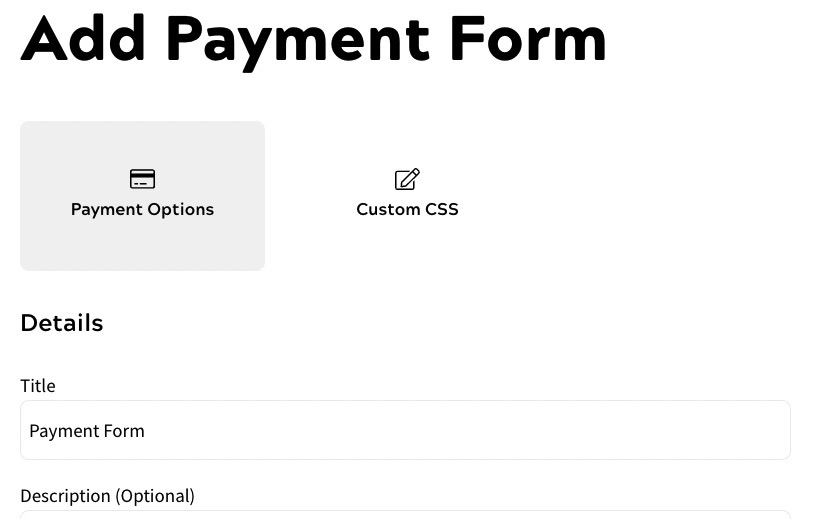
- Select the plan you want to use from the Select a plan drop-down menu
- Enter the description of the plan as you want it to appear on your site in the Description text box
Note: If you want to format the text, for example to include a heading or a list, use the formatting bar at the top of the text box.
If the payment option is part of a Scheduled Payment Plan, your users see the price for the first billing period on the payment form. Zephyr recommends that you include details of the time and manner in which the price changes as part of the description.
- Select the Add button to save your changes and return to the Add Payment Form screen. Selecting the Cancel button displays the Add Payment Form screen without saving any changes
The payment option is listed in the Payment Options section.
You can add further payment options if required.
- To add the Recommended tag to a payment option in your payment form, select the Recommended toggle
- Select the Save button to save your changes and return to the Add an Outcome screen. Selecting the Cancel button to display the Add an Outcome screen without saving any changes
- Continue completing the Add an Outcome screen as described in the Add an Outcome topic
Zephr recommends that you define lead-in text, as described in the Hide or Show Content topic.
- Select the Save button to add your outcome
Your Payment Form outcome is added to the decision bar.
We can now build the registered rule to display the payment form outcome when a registered user comes to the end of their trial.
Build the Registered Rule
To complete your registered user journey, we must build the rule.
To build the rule, complete the following steps:
- Drag the Payment Form outcome that we created in the Create Your Payment Form Outcome section to the rules canvas
- Drag from the white circle under the Page View node to the black circle to the left of the Trials decision node that we created in the Create Your Trial section
- Select the Outcomes segment title from the decision bar
- Drag the Show Articles outcome to the rules canvas
- Drag the In Trial node of the Trials decision node to the Show Article outcome
- Drag the Trial Expired node of the Trials decision node to the Payment Form outcome
Your rule is similar to the following:
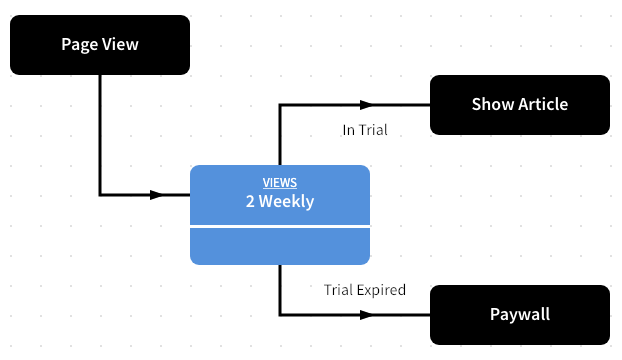
- Select the Save as New Version button to save your work so far
When a registered user encounters the paywall, they see options similar to the following:

They can select the plan and make their payment. They are granted access for an hour to allow the payment provider to process their payment. Once payment has been successfully processed, the end user is granted the corresponding product in Zephr and becomes a customer.