Setting Up A New Tenant
In this tutorial, you will learn the steps required to Setup a New Tenant within Zephr. It will guide you through the initial Onboarding process as well as provide an overview on how to use the Feature Builder function.
Logging in for the First Time
If you have been invited you use Zephr, you should receive an email with a link to the Admin Console. Follow the link.
- If you are already registered then log in and start using Zephr
- If you have not registered click ‘click here to register’, and create an account, then log in.
Initial Site Setup
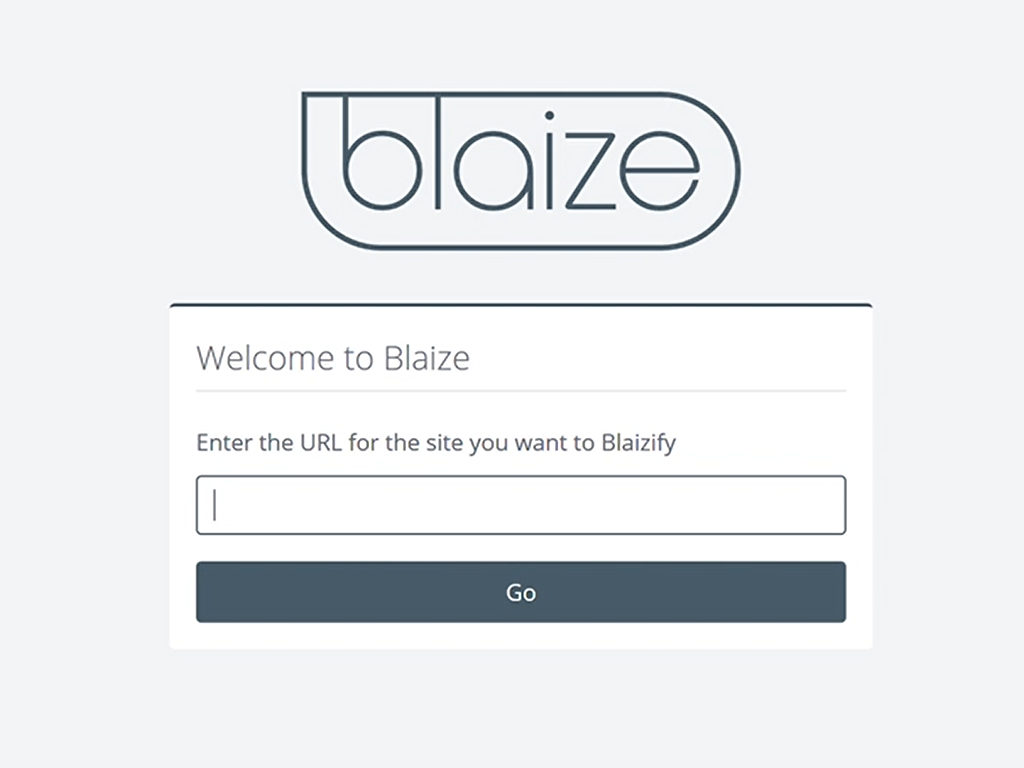
Once you’ve logged in for the first time, Zephr will start the initial setup process. The first screen you see will ask you to enter the URL of the Website that you want to apply identity and access management to. Note that this should be the base URL, also known as the Origin. This is likely the URL that your core domain name points to.
You’ll then be directed to the Zephr Dashboard.
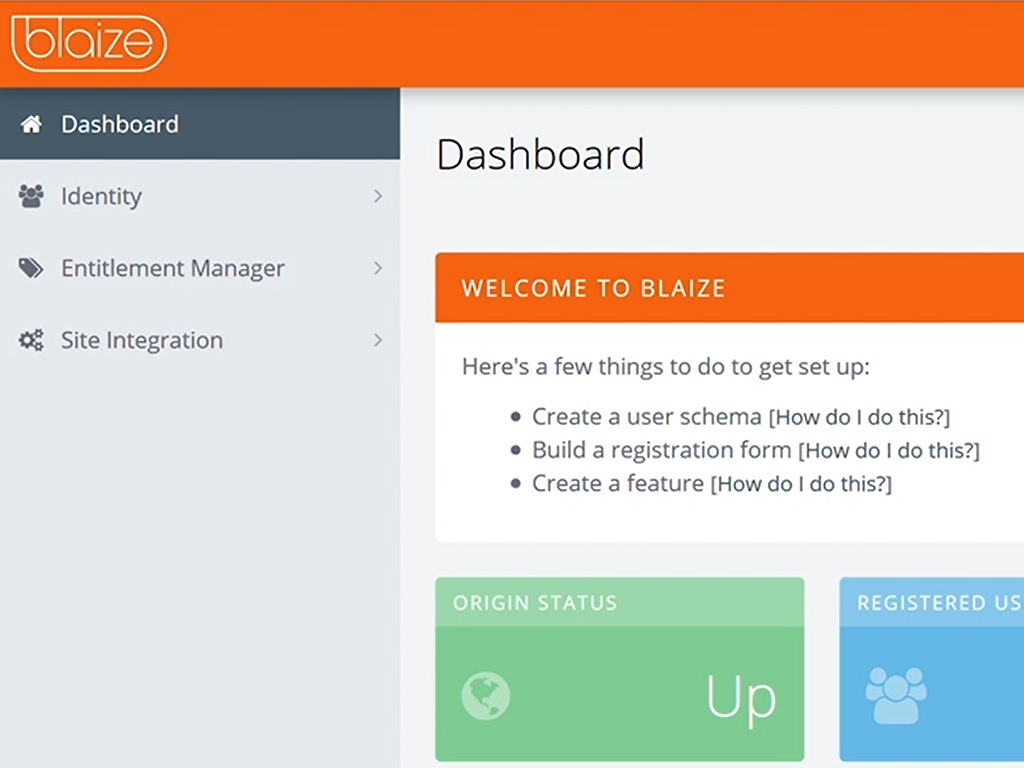
Next Steps
Within the Zephr Dashboard, you’ll see a Welcome to Zephr widget containing the following 3 options. The following 3 steps must be completed to successfully complete your setup. Click the links below to learn about each of the setup steps.
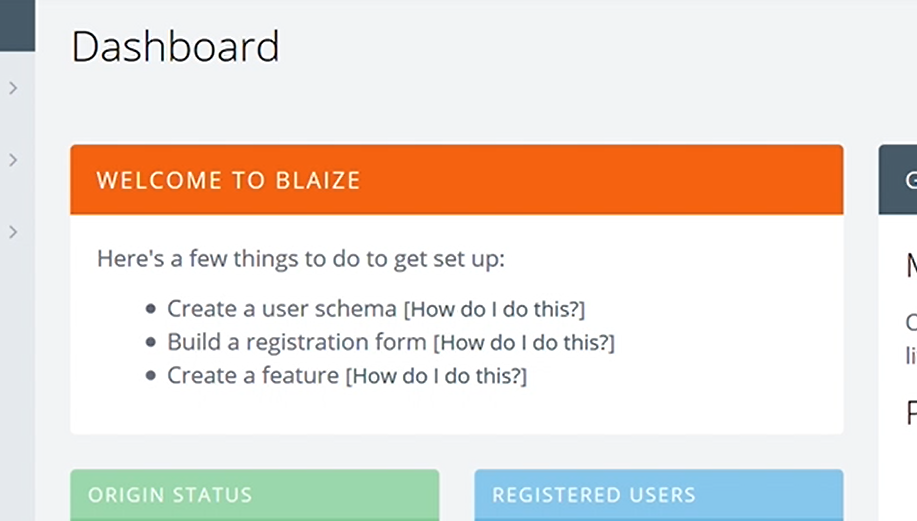
The onboarding process is completed once all 3 links have been checked off with a green tick e.g.
