Manage user access
Zuora Revenue uses role-based access control to restrict system access to authorized users. A role is a collection of permissions that control the actions a user can take in Zuora Revenue. You can create different roles with different permissions in Zuora Revenue. Then, you create users for individuals who need to log into Zuora Revenue and assign appropriate roles to the users. In this way, after a user logs into Zuora Revenue, he/she can perform only the allowed actions according to the user's role assignment.
Create a role
By default, a role named RevPro Super User is provided with full access to all functions. You can create your own roles and grant different permissions for this role.
Complete the following steps to create a role:
-
Log into Zuora Revenue as a superuser or another user who has full access to security setups.
-
Navigate to Setups > Security. The Roles page is displayed listing all the defined roles.
-
To add a role, click the New Role icon
 . The New Role window is displayed.
 -
In the Role Details tab, specify the role name.
-
(Optional): Use the toggle switches in the Controls section to have some high-level control of this role:
-
To create a read-only role, toggle the Read Only switch to Yes. Then, all privileges in the Role Privileges tab are set to READ ONLY by default.
-
For the role to run some programs that are blocked by soft freeze during period-open or period-close process, toggle the Override Soft Freeze switch to Yes.
-
-
Click
 . The role is created.
 -
To assign different permissions for the role, complete the following steps:
-
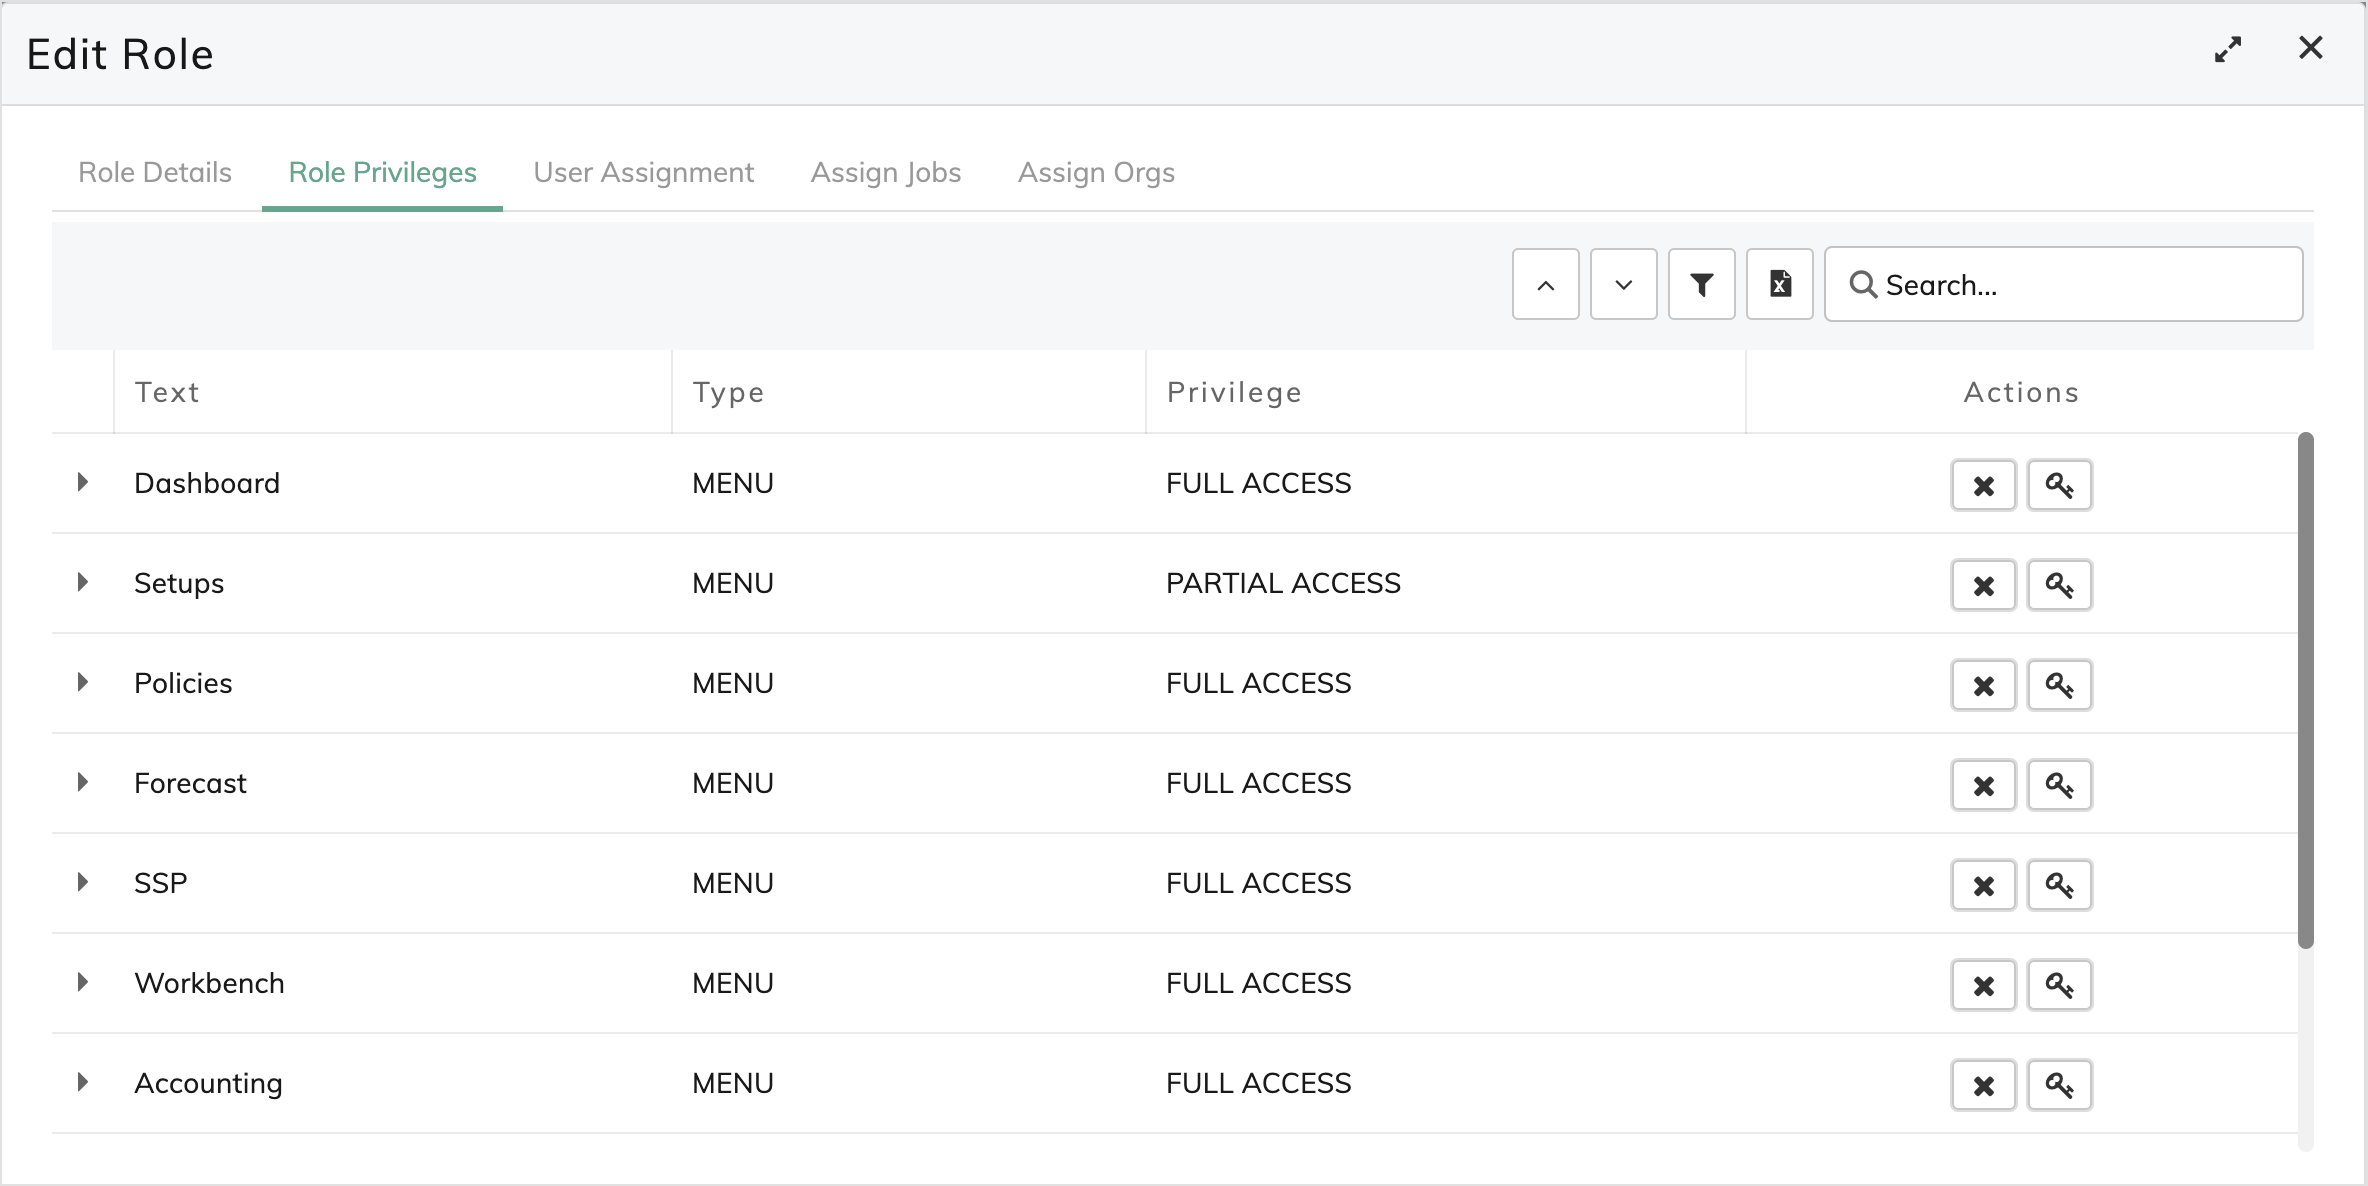
Click the Role Privileges tab.
All categories on the main menu are listed as the MENU type. Expand each category to view the menu options listed as SUB MENU type under the category. The Privilege column displays the current permission assigned, which can be NONE, READ ONLY, PARTIAL ACCESS, or FULL ACCESS.
-
Locate the line that you want to change the permission.
-
To assign the same permission for all menu options under the same category, locate the MENU type line.
-
To control permissions for a submenu option under a category, expand the category and locate the SUB MENU type line.
-
To control permissions for a specific operation on a submenu, expand the submenu and locate the ACTION or BUTTON type line.
-
-
In the Actions column on the located line, click the Revoke icon
 to set the privilege to NONE, which means the role cannot access the item. Or click
  to switch the privilege between FULL ACCESS and READ ONLY.
-
-
If users are already created, to assign this role to appropriate users, complete the following steps.
-
Click the User Assignment tab.
-
To assign this role to a user, click
 . A new user line is added.
 -
In the User Name column, select the target user name from the drop-down list.
-
(Optional): Specify the period when this user is assigned to this role in the Active From and Active To columns.
-
Toggle the Enabled switch to Yes.
-
Click
to add other users if necessary. -
After all users are added, click
 .
.
-
-
(Optional): Use the Assign Jobs tab to specify the tasks or jobs that the current user role can start. Available jobs are listed on the right side. Select the appropriate ones and move them to the left so that the current role can access the selected ones.
-
If there are multiple organizations configured in the system, use the Assign Orgs tab to specify the organization that the current user role can access. Available organizations are listed on the right side. Select the appropriate ones and move them to the left so that the current role can access the selected ones.
-
After you complete all the necessary configurations, close the Edit Role window.
Create a user
A user must be created for each individual that needs to log into Zuora Revenue. The procedures are different depending on whether the login portal has been migrated.
After a user is created and you want to change the user name, it is recommended to create another user with the new name assigned instead of updating the existing user. This is because all the audit information is recorded based on the user name.
Use migrated login portal
If you use a single URL to access all Zuora Revenue instances, it means the login portal has been migrated with unified authentication. Zuora Revenue user management has been combined with Zuora Platform.
- Log in to Zuora Revenue as a superuser on the target tenant.
- Click your username at the top right and click one of the following options to open the Users page:
- For standalone Zuora Revenue users, click User Management and then click Manage Users on the Administration Settings page.
- For Billing - Revenue Integration users, click Settings > Administration > Manage Users.
- To add a new user, on the Users page, click add single user.
- On the New User page, specify the required details for the new user.
- Assign appropriate Zuora Platform role to the new user.
- Administrator: Users in this role will be assigned as the administrator role (Revpro Super User) in Zuora Revenue.
- Standard User: Users in this role will be assigned as the First Time User Role in Zuora Revenue.
- Click save.
After the new user is created and the user logs in to the system, you can further assign specific Zuora Revenue roles to the new user as instructed in Create a role. Specific Zuora Revenue roles have different permissions to the Zuora Revenue UI items based on the role privilege settings.
Overriding the approver
The Override Approvers menu option is used to enable or disable the override approver capability for all the users associated with a tenant by using the inline edit mode.
-
Log in to Zuora Revenue.
-
Navigate to Setups > Security > Override Approvers.
-
Enable/Disable the override approver capability as needed against each user.
-
Save the changes.
Use legacy user management page
If you still use different URLs to access Zuora Revenue instances, use the legacy Users page in Zuora Revenue UI to create a user:
-
Log into Zuora Revenue as a superuser or another user who has full access to security submenu options.
-
Navigate to Setups > Security.
-
Click
 to open the side menu and click Users. The Users page is displayed.
 -
To add a user, click the New User icon
. The New User window is displayed. -
Specify the user name, email, and password for this user. This information is used for login.
-
Provide other optional information if necessary.
If the Override Approvers switch is toggled to Yes, it means the current user can provide approvals or rejections on behalf of the assigned approver. For example, the MJE for some lines are submitted for approval, however, the approver is out of the office. In this case, an override approver can approve or reject the MJE.
-
Click
. The user is created. -
If the user role is already created, click the Role Assignment tab to assign appropriate rules to this user:
-
Click
to add a line. -
In the Role Name column, select the role from the drop-down list.
-
(Optional): Specify the period when this role is assigned to this user in the Active From and Active To columns.
-
Toggle the Enabled switch to Yes.
-
Click
to add other roles for this user if necessary. -
After all roles are added, click
.
-