Lytics
The Lytics Customer Data Platform enables one-to-one marketing personalisation by analysing user behaviour and segmenting users.
Zephr has an out-of-the-box extension with Lytics which provides decision nodes based upon a user’s Lytics segment.
Zephr is also able to send event information into Lytics for use within the tool.
Configuring the Lytics Extension
To enable the Lytics plugin within Zephr, navigate to Settings > Extensions > Lytics. If you cannot see the Lytics option in your list of extensions, email support@zephr.com.
Once on the configuration screen, you’ll see three sections – Lytics API, Lytics JavaScript Tag, and Forwarding Zephr Events Into Lytics.
Lytics API
To authenticate with the Lytics API you will need the following details:
- Your Lytics Account ID
- A Lytics API Token – created within your Lytics account
- The base URL of the Lytics API you wish to use – usually this is
https://api.lytics.io
These details can all be found within your Lytics account. If you have trouble locating these details, please review the Lytics Support Guide.
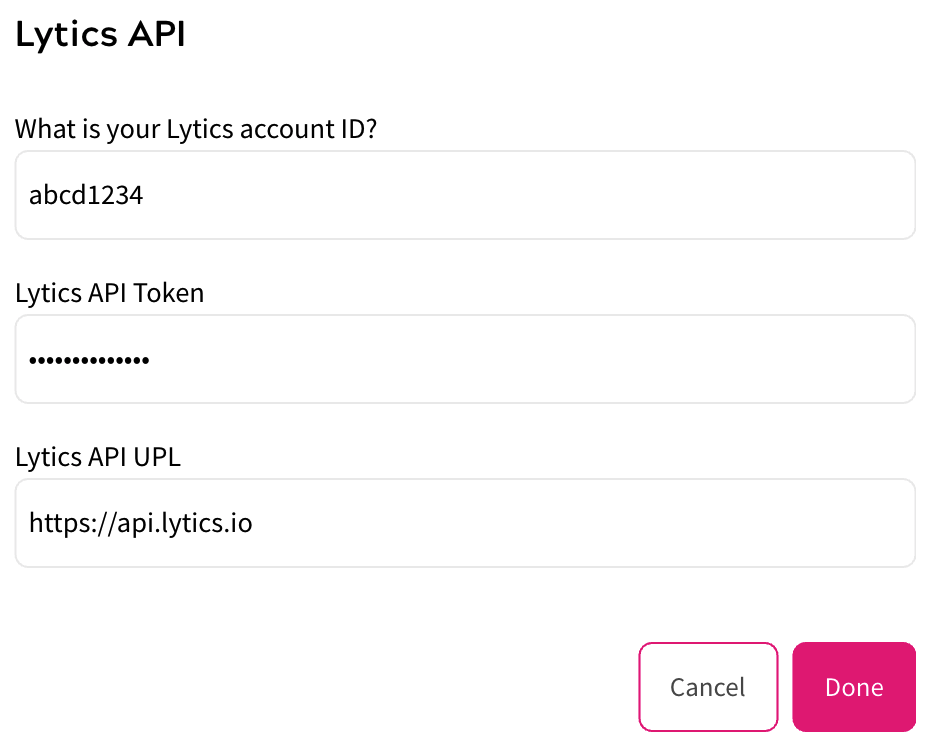
Once you’ve added the relevant details, click Done.
Lytics JavaScript Tag
In order for Lytics to gather user data from your site, the front-end Lytics SDK must be injected into relevant pages.
Zephr’s Lytics integration includes the ability for this to be managed via the Zephr CDN, under the Lytics JavaScript Tag configuration menu.
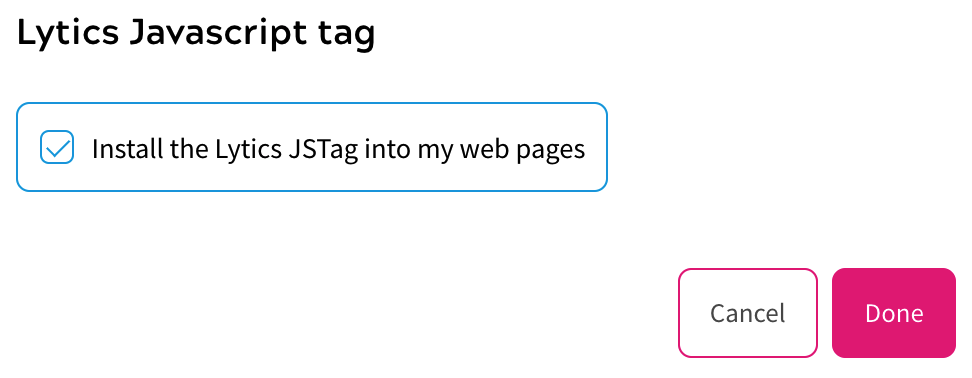
To enable this, select the ‘Install the Lytics JSTag into my web pages’ checkbox, then click Done.
Note: this must be enabled in order to use Lytics segments within a Zephr rule. Please let Zephr Support or your Zephr CSM know when you are enabling this.
Forwarding Zephr Events into Lytics
In this section, you can configure which events in Zephr get sent into Lytics, along with which Lytics stream they are sent into.
Here, name the Lytics stream you wish to send Zephr events to, then select from the following options:
- Forward an event to Lytics whenever a new user is created
- Forward an event to Lytics whenever a user’s details are updated
- Forward an event to Lytics whenever a user is deleted
- Forward an event to Lytics whenever a grant is created for a user to access a feature
- Forward an event to Lytics whenever an authenticated session is created
- Forward an event to Lytics whenever a successful purchase is made
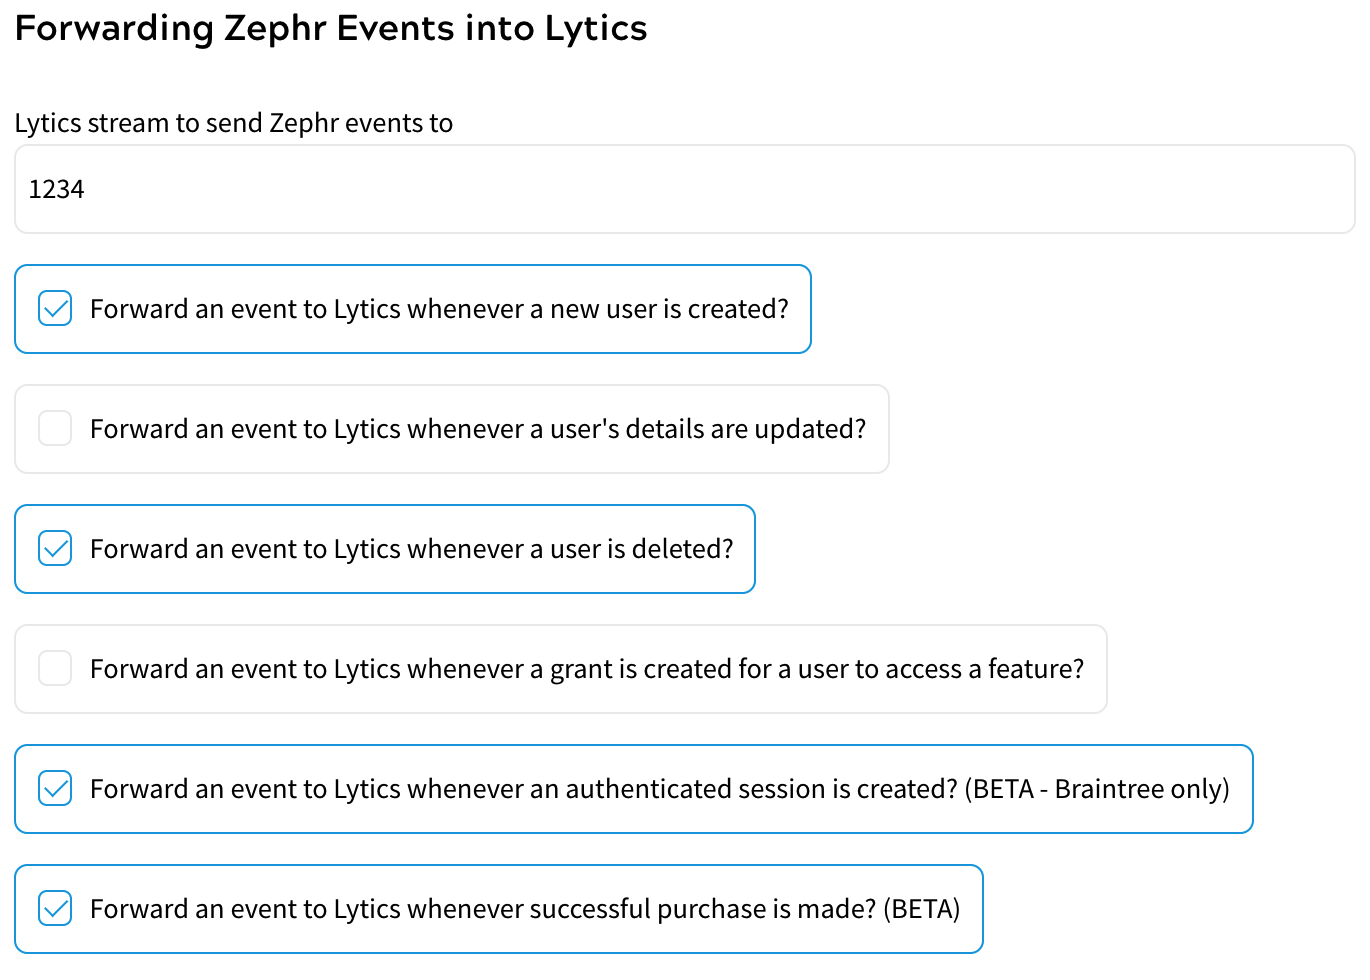
Select all events that are relevant to you, then click done.
Note: Once you have configured these events, please speak to your Lytics account manager to ensure your Lytics account is set up to receive them.
Activate Plugin
Once you’ve input the relevant details, you will need to confirm which of your Sites the extension should be active on. To do this, use the toggles for each site under the Activate Plugin section, or choose Select All Sites.
Once completed, click Save. Your extension is now enabled.
Using the Lytics Integration In Rules
Once you have activated your extension, a new Lytics tab will be available within the Rule Palette for all of your rules.
To use this, open the tab and drag the Lytics Segment decision node onto your canvas. Select the user segment you wish to check for, then click Save.
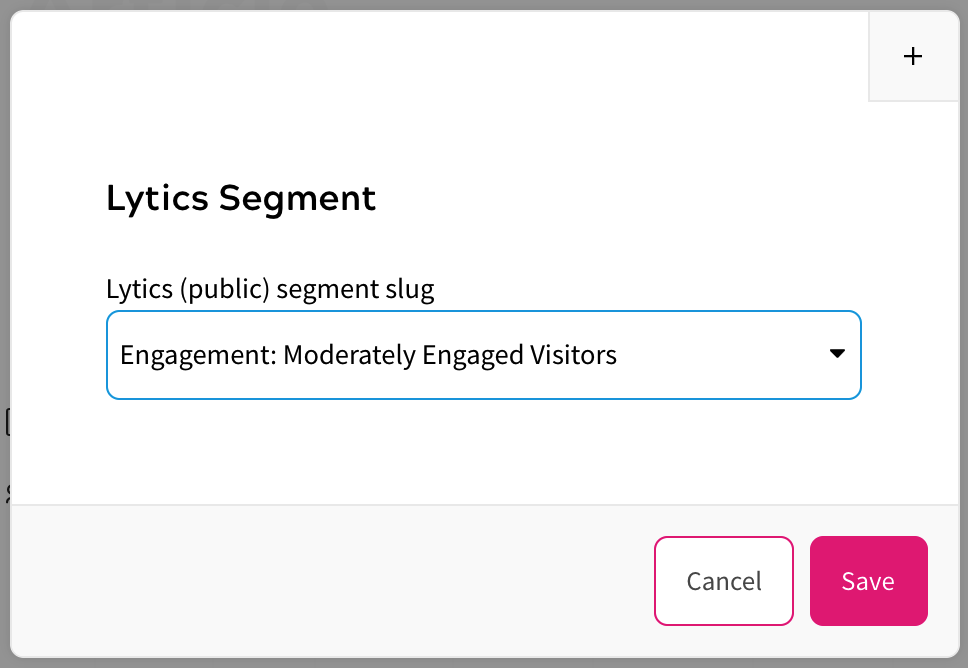
Complete your rule as normal, then save your rule as a new version and publish it.