End to End Metered product
In this tutorial, you will learn the steps required to Create an End to End Metered product within Zephr.
To complete this tutorial you will need:
- A Braintree Account: https://www.braintreepayments.com/en-gb?locale=en-gb
- Access to your CMS templates or site HTML
In this tutorial you will learn to:
- Setup Payment Providers
- Setup Product
- Create Entitlements
- Create Meter
- Create Bundle
- Create a Registration Form
- UI Component
- Create Feature
- Test via CDN
Setup Payment Providers
Navigate to Settings > Payment Providers within your Zephr Admin Console.
From here, enter the configuration details based upon your pre-existing Braintree Account. You will need to provide the following details:
- Merchant ID
- Private Key
- Public Key
- Include User Email Address on Purchase: Tick this if you would like to share a User’s email address with Braintree when processing a payment
- Sandbox Mode: Tick this if you would like to put the integration into Sandbox Mode
To find this information within Braintree, navigate to the API section within your Braintree account.
Once in the API section, locate the API Keys table, then click View under the Private Key column.
This will open your Client Library Key, where you will find the Public Key, Private Key, and Merchant ID needed for your Zephr-Braintree integration.

Please note: The information above does not relate to your specific Braintree environment and is for demonstration purposes only.
Add this information to the configuration screen, as mentioned above, and click Save.
Setup Product
When a site visitor hits the paywall, you will ask them to buy a product. If they do buy the product, they will be granted a bundle of entitlements that will give them access to content on your site.
The first step in setting up the product is to configure the bundle of entitlements.
Entitlements Setup
Select Entitlement Manager > Entitlements
Click the Add Entitlement button
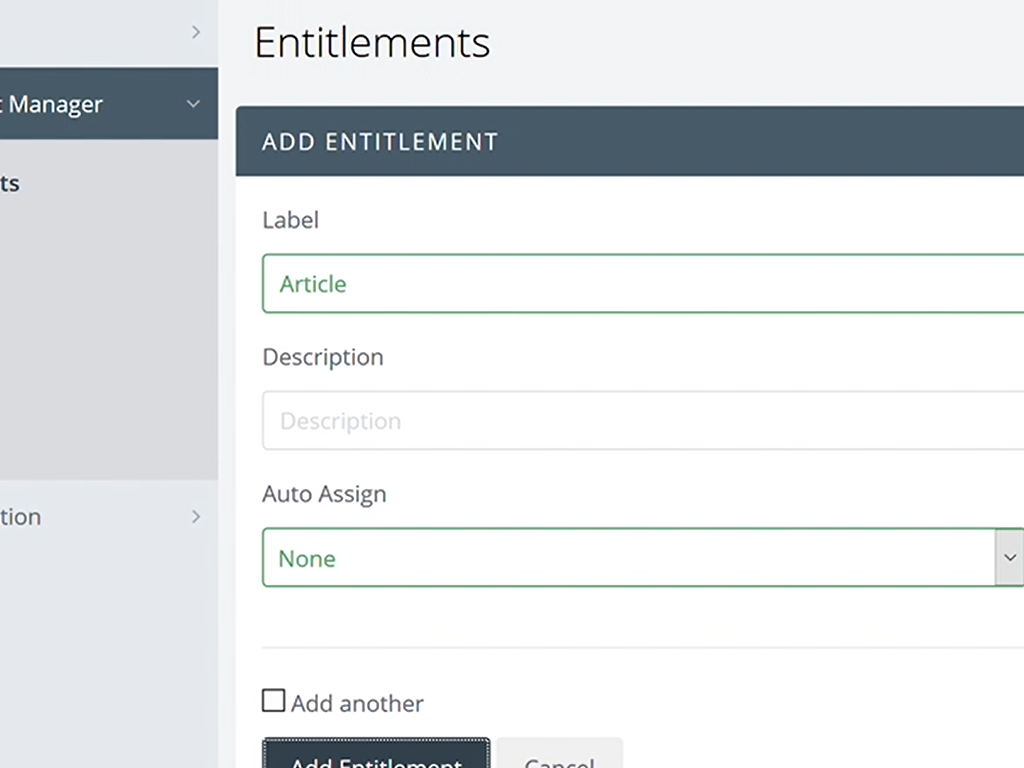
- Complete the fields
- Label
- Title as appropriate e.g. Article
- Description
- Optional Reference
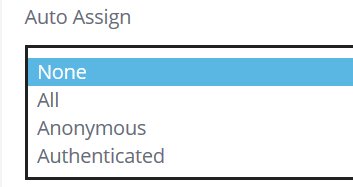
- Auto Assign
- Selecting Auto Assign means the entitlement will automatically be granted to all user who fulfil certain predicates
- Label

-
-
- None (Default)
- To All Users by default
- To All Anonymous Users by default
- To All Authenticated Users by default
-
Select the Add Entitlement button to return to the Entitlements page
Meter Setup
Select Entitlement Manager > Meters
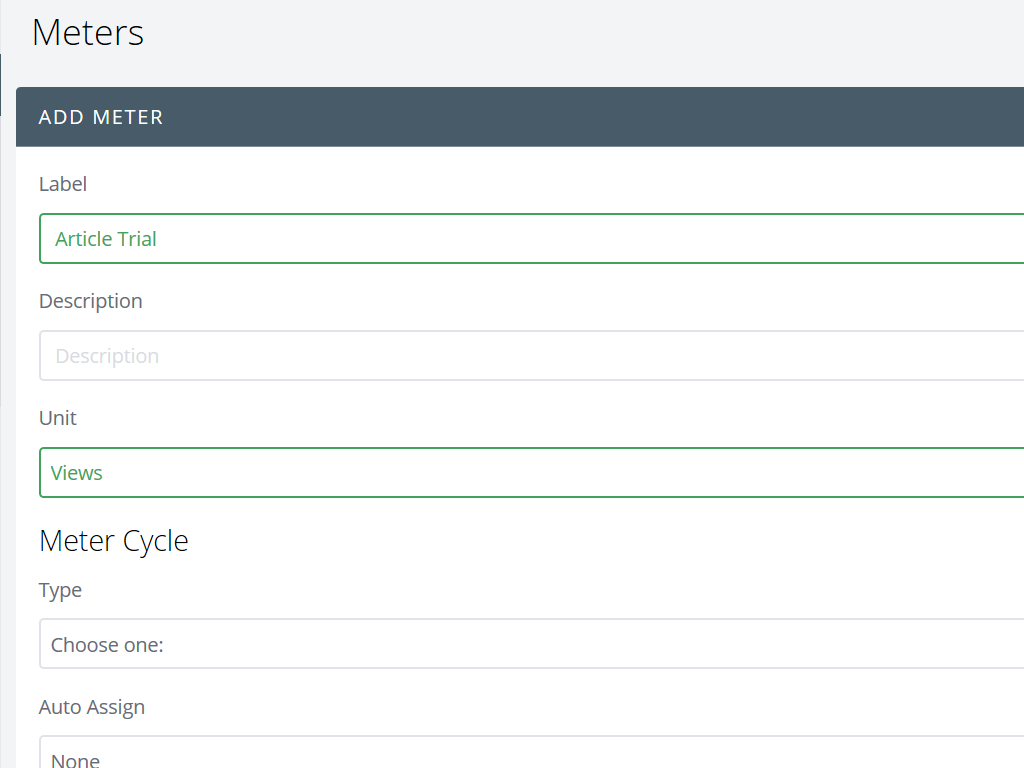
Click the Add Meter button
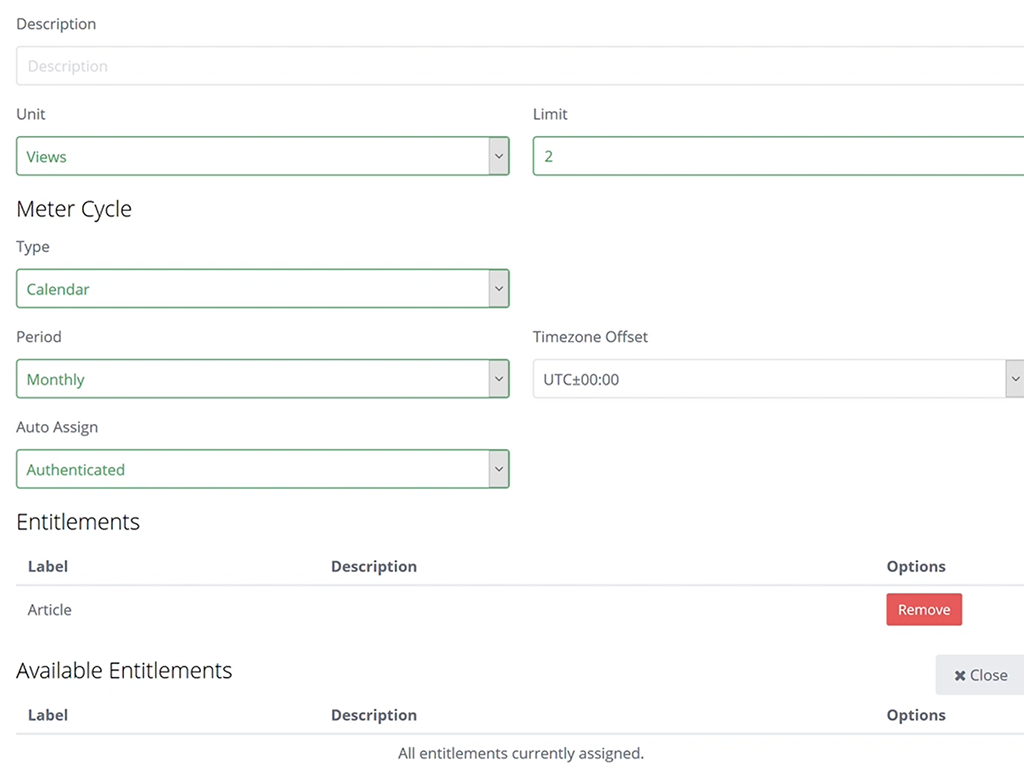
Complete the fields
-
- Label
- Titles as appropriate e.g. Article Trial
- Description
- Optional Reference
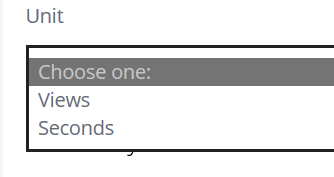
- Unit
- Label
Unit of consumption e.g. for articles it would be Views
-
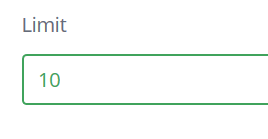
- Limit Numerical limit for meter e.g. 2
-
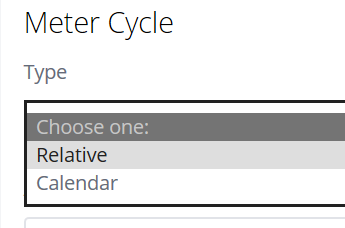
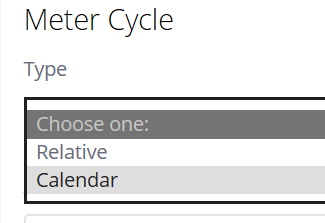
- Meter Cycle
- Type
- Select from the Drop down menu
- Type
- Meter Cycle
Relative
Add a time period eg. 5d to represent 5 Days
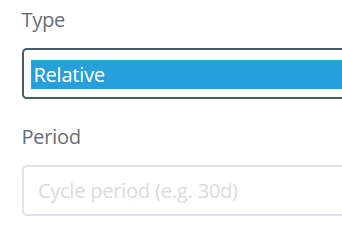
-
- Time period starts from first use
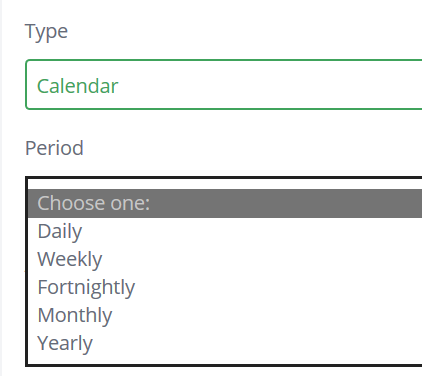
- Calendar
- Time period starts from first use
Monthly meaning from the beginning of the calendar month to the end
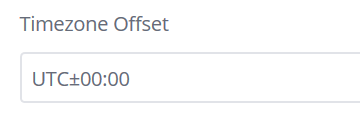
Timezone Offset for global time requirements
-
- Auto Assign
Selecting Auto Assign means the entitlement will automatically be granted to all user who fulfil certain predicates
-
-
-
-
-
- None (Default)
- To All Users by default
- To All Anonymous Users by default
- To All Authenticated Users by default
-
-
-
-
Click the Add Entitlements button to select the previously created Entitlement
Using this example, Authenticated/Registered users can view 2 articles for the month
- Select the Add Meter button to return to the Entitlements page
Bundle Setup
Select Entitlement Manager > Bundles
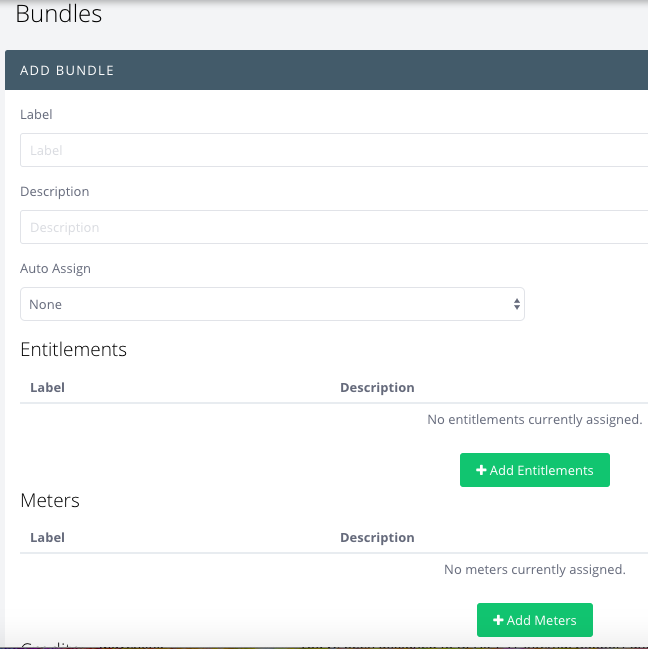
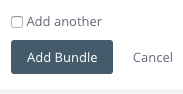
Click the Add Bundle button
Complete the fields
-
- Label
- Titles as appropriate e.g. Subscription
- Auto Assign
- Set to None
- Label

- You can now create your Bundle by adding your previously created entitlements
-
-
- Entitlements
- Click Add Entitlements to reveal a list of all available Entitlements in a new row entitled Available Entitlements
- Entitlements
-
Click Add to select your entitlement created previously and automatically move it into the Entitlements row
Once complete, select the Add Bundle button to create and return to the Bundle homepage
Product Setup
Select Entitlement Manger > Products
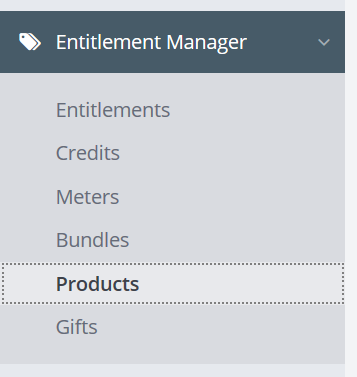
Click the Add Product button
-
- Label
- Name the product
- Entitlement Bundle
- Select the Bundle created previously from Drop Down selection
- Payment Methods
- Select Braintree (One-off)
- Label
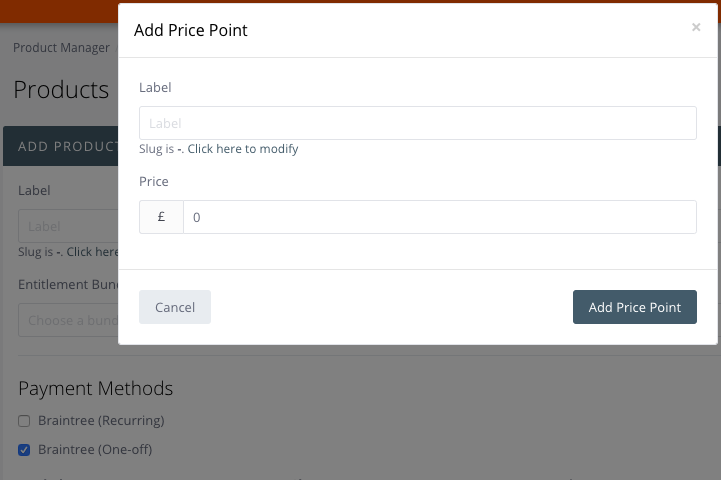
Selecting this option creates a modal windows for the user to add price points. Select the Add Price Point button to initiate this
-
-
-
- Select Add Price Point
- Complete the product setup by selecting Add Product to return to the Products page
-
-
Registration Form Setup
From the main left hand side navigation menu, select Site Integration > Forms
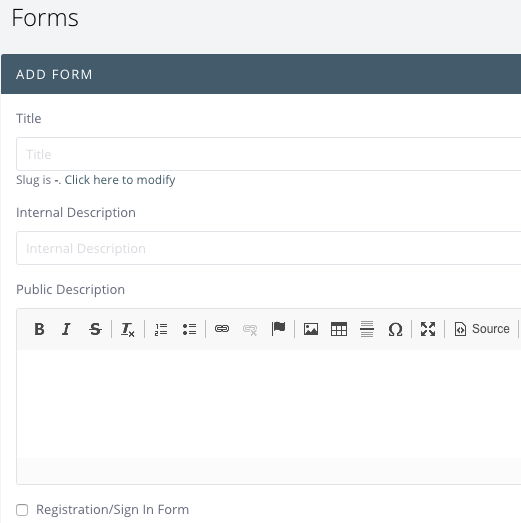
Select Add Form
- Complete the Fields
- Title
- Click the text to modify the Slug if required. The Slug is the website URL for this page.
- Internal Description
- Public Description
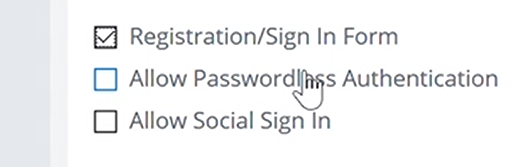
Check the Registration/Sign in Form option
Upon doing this you are presented with another two options:
-
- Allow Passwordless Authentication
- This optional feature removes the Password Field from the Registration Form
- Allow Social Sign On
- This optional feature allows users to login with their Social Media Accounts
- Allow Passwordless Authentication
Checking this expands the option to show Social Accounts (Facebook, Google) for OAuth access
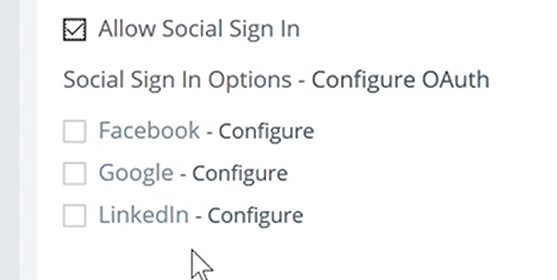
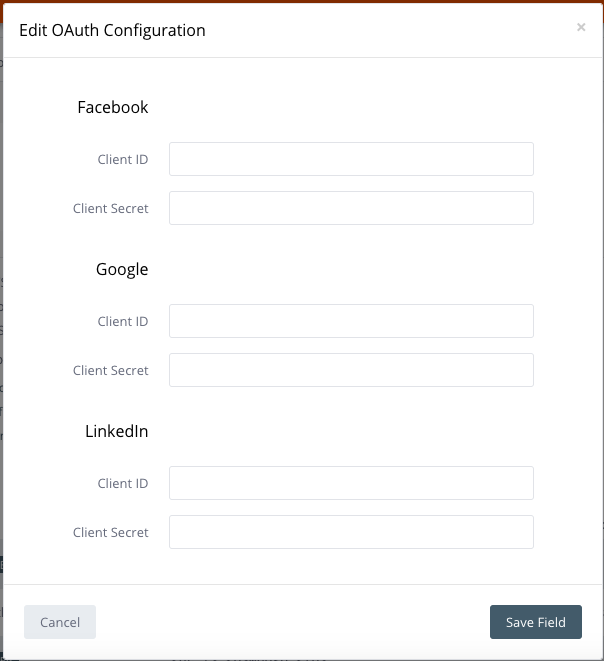
To configure the Social Sign On, Click Configure which opens a modal window for field configuration. Please note these must be previously setup correctly before use.
Select Save to return to the Forms page
Clicking Add Form returns you to the Identity Management page where your Attributes are listed
Select Save to return to the the Forms page
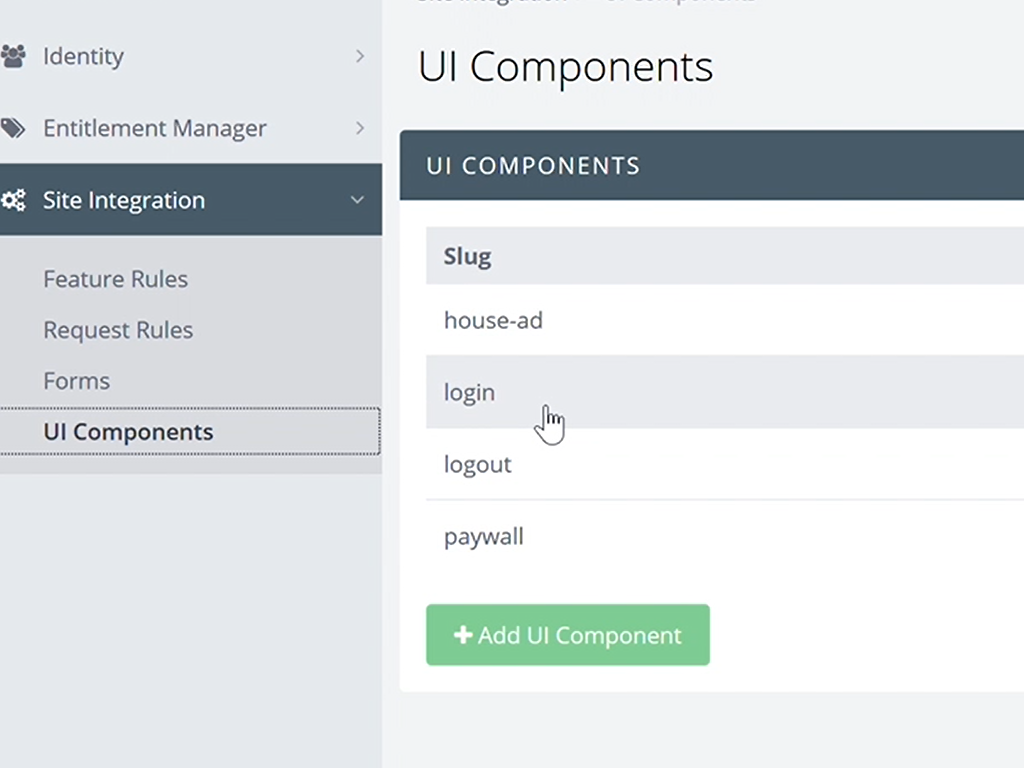
UI Components
A UI component is a block of code which can be used to replace content within a decision engine transformation.
Select Site Integration > UI Components
-
- This is HTML code which is embedded onto the website.
- Standard options already packaged within Zephr include a Paywall
Create Feature
Create Rules using the Feature Builder
Select Site Integration > Feature Rules
Select the Add Feature button
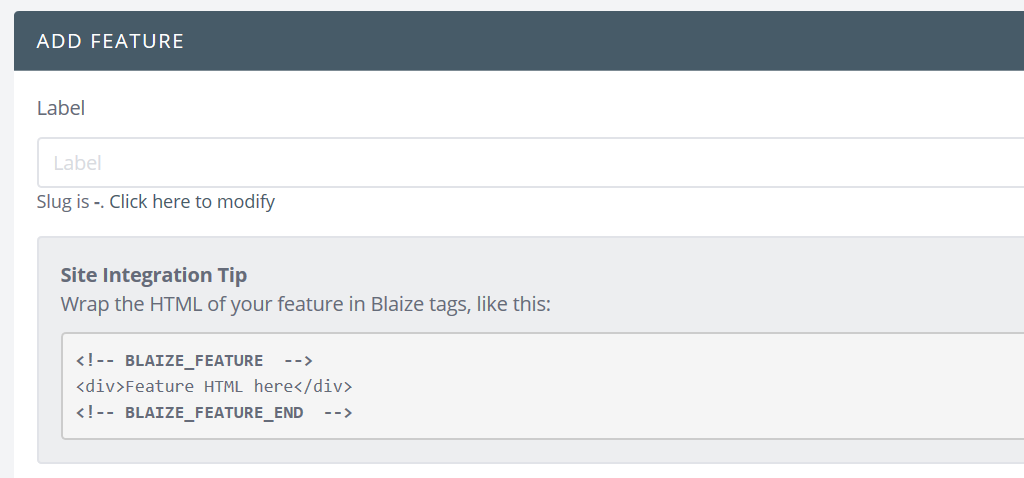
Complete the Fields
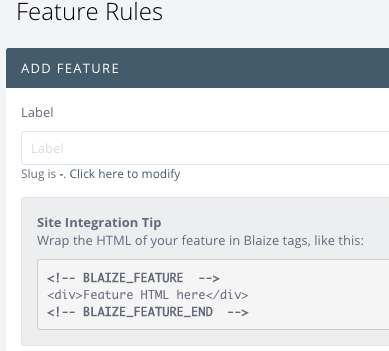
Label
Label you feature ‘Article’.
Zephr provides you with a Site Integration Tip which shows you how to update your HTML code so that Zephr can understand what the feature corresponds to.
-
-
-
- You must now update your CMS’s page template (or otherwise your site HTML) with the comments above.
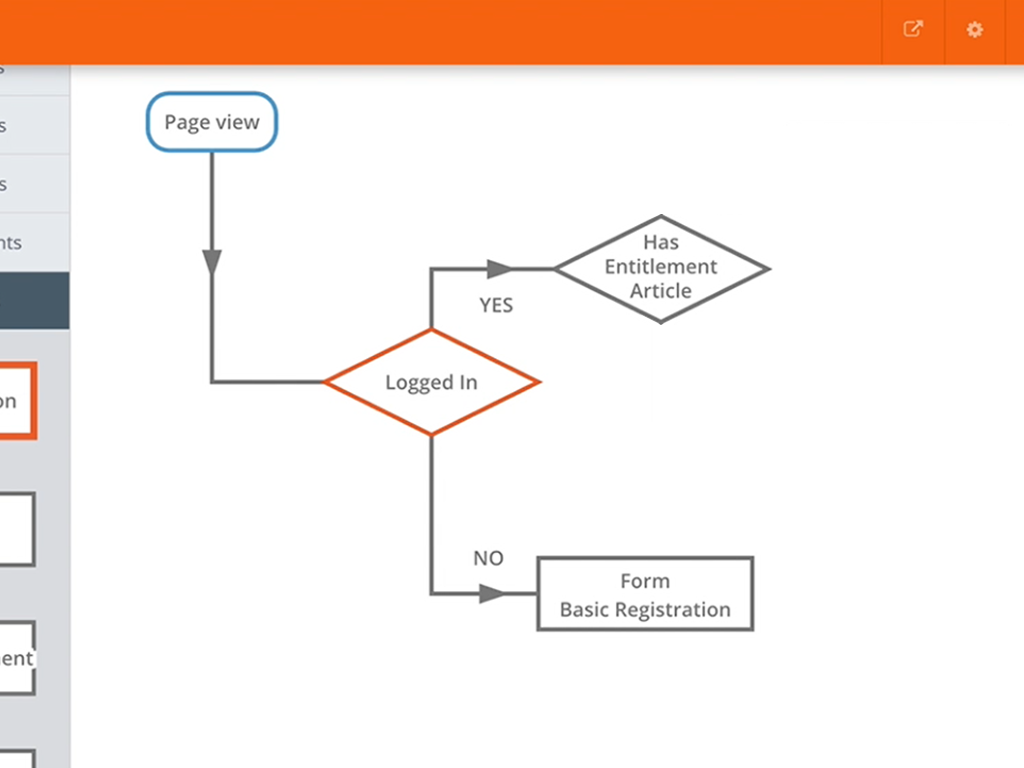
- You can now use the drag and drop Feature Builder to construct the logic by dragging the options onto the canvas to visualise the user flow.
-
-
- Using the Feature Builder Setup a Basic Paywall Rule
- Using the Canvas
- Click the Undo, Delete or Clear Canvas buttons to undo or clear the canvas
- If the Feature is a registration form, the Registration Form created in the previous step will be an available option under the Form option
- Any other form created will also be available from the Feature Builder navigation.
- Select Add Feature to complete the process
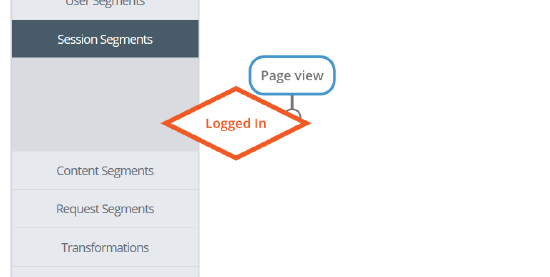
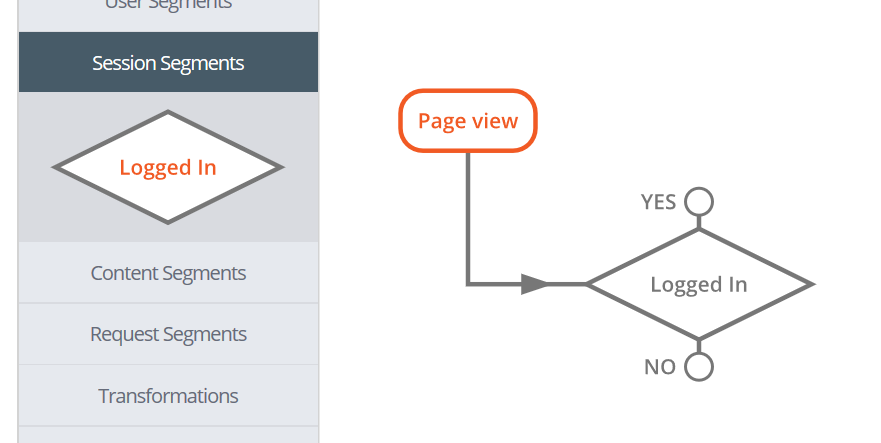
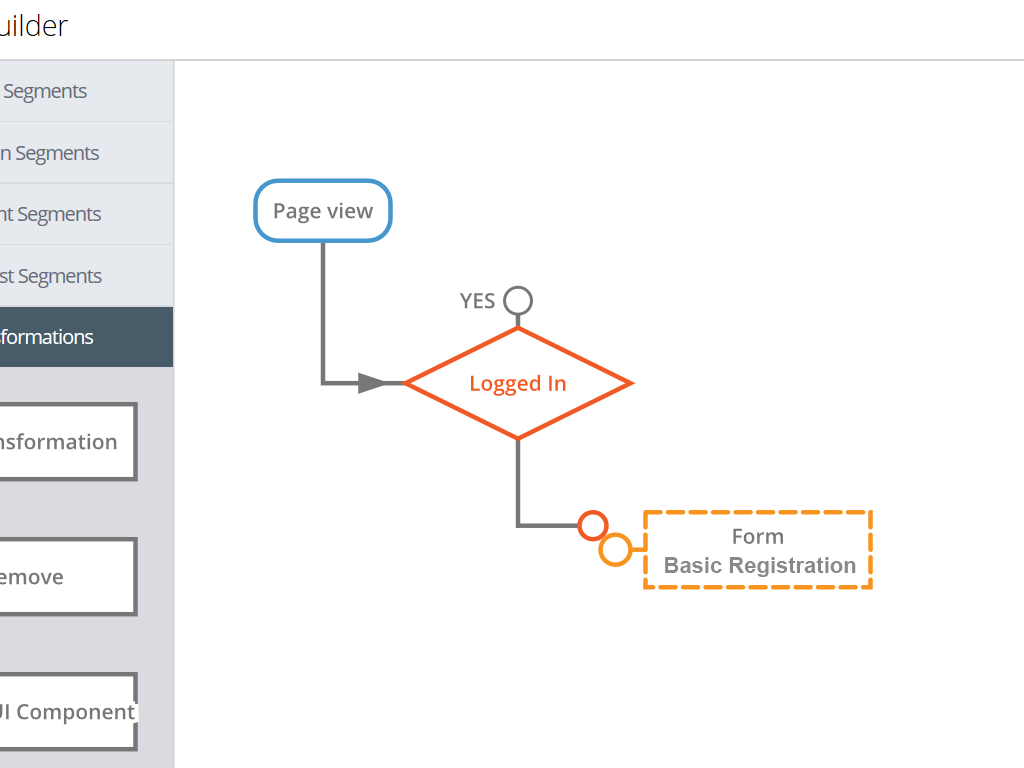
- Click and Drag your options from the Feature Builder menu onto the blank canvas to create the user flow:
01 Drag in the session > Logged In decision point to check if the user is logged in
02 Drag onto the canvas and link the Functions
05 Connect the No connector from Logged In to the Form box
06 Drag the Entitlement Segment > Entitlement option onto the stage
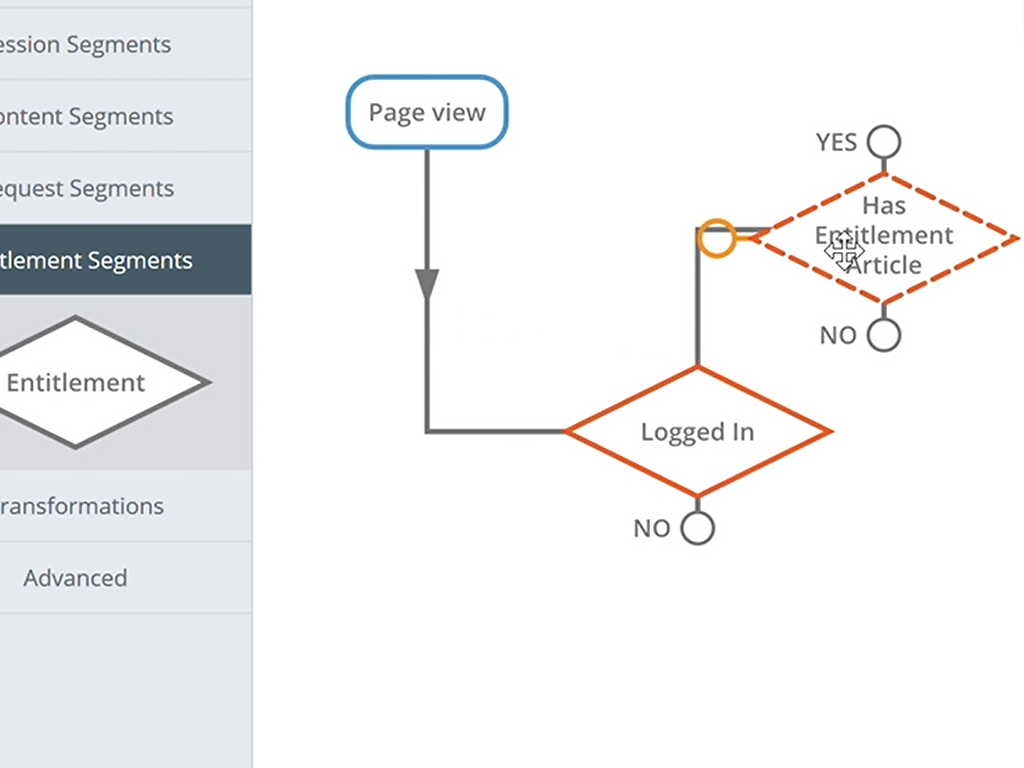
07 Connect with the Yes connector from the Logged In feature
08 Drag the Transformations > UI Component and link to No connector from the Has Article Entitlement feature
09 Drag the Transformations > No Transformation and link to the Yes feature Has Entitlement Article connector
Testing the Feature on your Website
You can test the flow by clicking the CDN on the top right hand corner of the UI to visit the Website (in a new browser Tab), being served with the Zephr CDN (In this case it’s a demo location)
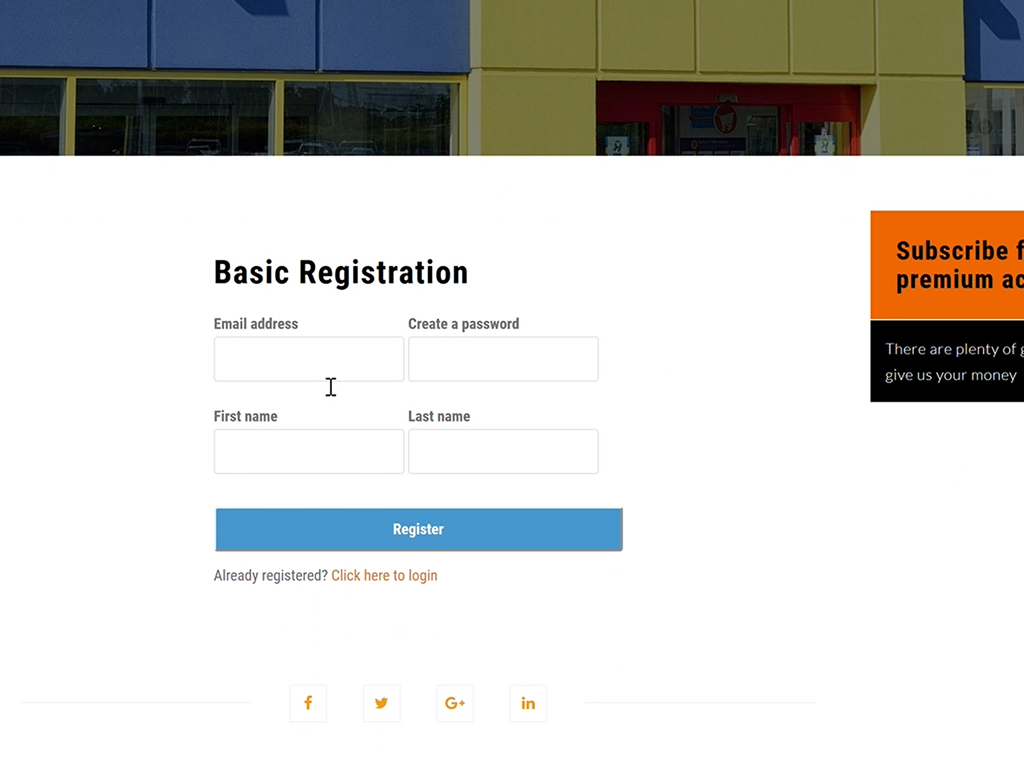
The End To End Paywall you have just created will result in the following:
- A user not Logged In user will experience the following Registration form
- From the Zephr Admin Dashboard, should you wish to check a users Entitlement, visit Identity > Users
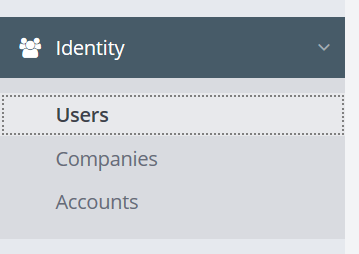
- All registered users will be displayed to which you can add additional users manually by clicking the Add User button
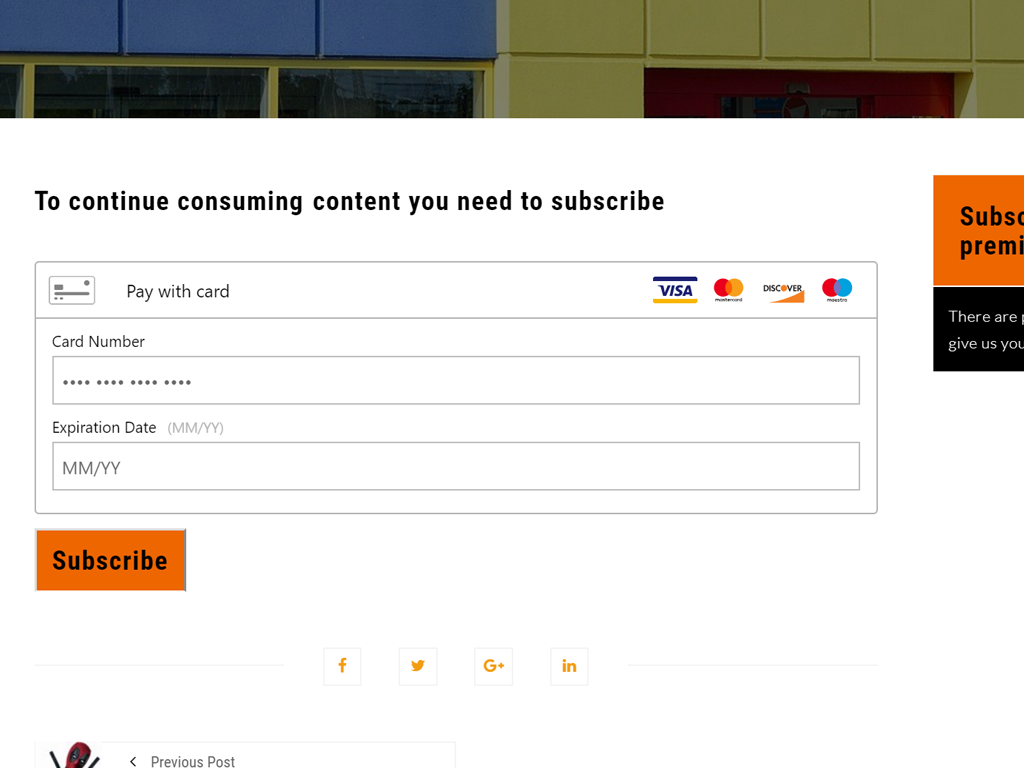
- A logged in registered user without Entitlements will experience the following Payment Gateway:
- A logged in registered user with Entitlements will experience seamless (no change) access to the Article:
