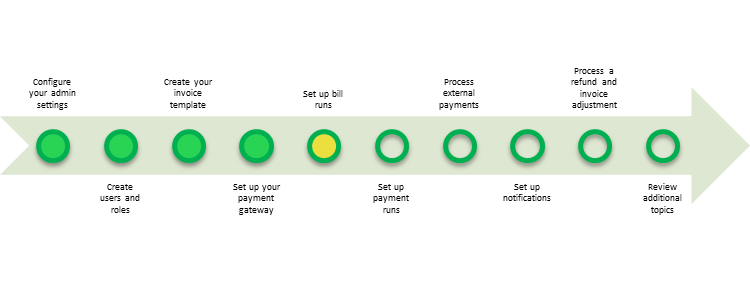
Part 5: Set Up Bill Runs
Overview
Zuora Internal Documentation. This article is intended for Zuora only. Do not share or distribute publicly.
Ad Hoc and Scheduled Bill Runs
There are two types of bill runs: ad hoc and scheduled.
- An ad hoc bill run is one that you can run once to create invoices on demand.
- A scheduled bill run occurs on a regular interval, such as once a week or once a month. It creates invoices for you automatically on that schedule. (Scheduled bill runs are also called recurring bill runs.)
You can create a bill run for multiple or single customer accounts. After a bill run is created, you will have the options of posting invoices individually, or posting all invoices for the bill run. Invoices must be posted before you can collect payments.
This section will take you through the process of creating both types of bill runs, and posting the invoices created by the bill runs.
Exercise: Create an Ad Hoc Bill Run
In this exercise, we will walk you through creating an ad hoc bill run.
- Log in to Zuora with your user name and password (if necessary).
- Using the left navigation bar, click the Billing Operations link.
- Click the Bill Runs link, located at the top of the page. You should now see a detail page that looks like this:

- Select new bill run.
- Leave it set to all customers, all charge types. Leave the processing rules unchecked.
- Select today’s date as the Invoice Date and as the Target Date.

- Click create bill run.
- When the bill run has completed, you can view the invoices in the bill run by clicking the bill run number in the All Bill Runs page. Scroll to the bottom of the bill run detail page to see the invoices. You can click each invoice number to see detailed information about the invoice.
- Invoices must be posted before they can be paid. See the exercise "Post an Invoice," below.
Exercise: Create a Scheduled Bill Run
In this exercise, we will walk you through creating a scheduled bill run.
- Log in to Zuora with your user name and password (if necessary).
- Using the left navigation bar, click the Billing Operations link. You will now see the All Bill Runs page.
- Select new scheduled bill run.
- Leave it set to all customers, all charge types. Leave the processing rules unchecked.
- Select today’s date as the Invoice Date and as the Target Date.
- Zuora recommends setting a time in the early morning as your time to perform scheduled bill runs.
- Fill in the rest of the schedule fields like below to create a daily bill run that will repeat every day.

- Click create bill run.
- When the bill run has completed, you can view the invoices in the bill run by clicking the bill run number in the All Bill Runs page. Scroll to the bottom of the bill run detail page to see the invoices. You can click each invoice number to see detailed information about the invoice.
- Invoices must be posted before they can be paid. See the exercise "Post an Invoice," below.
Exercise: Post an Invoice
In this exercise, we will walk you through posting an invoice.
- Using the left navigation bar, click on the Billing Operations link.
- Select Bill Runs link at top of page. You will now see the All Bill Runs page.
- Click the number of the bill run that you want to review. Zuora will display detailed information about the bill run.

- Review the invoices in the bill run.
- To post the invoices in this bill run, click the post button, located in the upper-right of the page.
What's Next
Congratulations! You have now created two types of bill runs and posted an invoice.
Next, proceed to Part 6: Set Up Payment Runs.