State Transitions
You can link your states using transitions. The state transitions define the criteria that allow end users to move from one state to another.
To link states using a transition, complete the following steps:
- Drag from a white circle on the state from which you want to transition to a white circle with an arrow inside on the state to which you want to transition if the criteria are met
The New Criteria dialog box displays, as illustrated below:
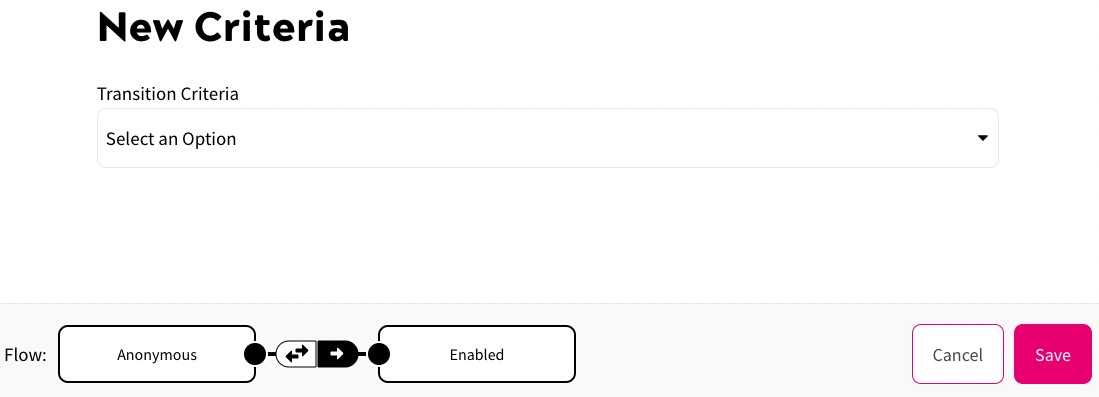
- Select the criteria to match when triggering a transition from one state to another from the Transition Criteria menu. The options are as follows:
- Page Viewed
Select this to trigger the transition when the end user views a defined number of pages in a set period
When selected, further options display, as illustrated below:
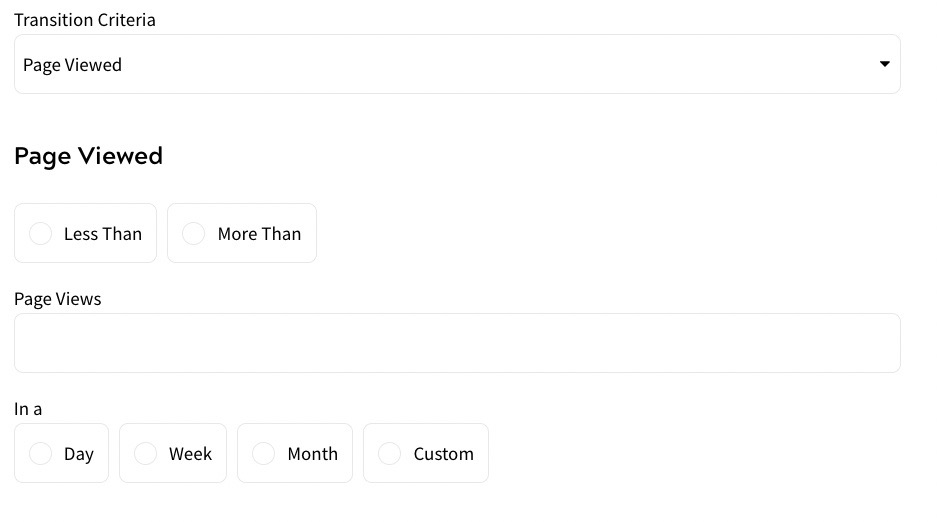
Complete these fields as follows:
- Select the option against which you want to measure the viewed pages. The options are as follows:
- Less Than
Select this if you want to trigger the transition when an end user views fewer pages than entered in the Page Views text box
For example, you might want to trigger a transition to prevent churn when an end user views fewer than two pages each day.
- More Than
Select this if you want to trigger the transition when an end user views more pages than entered in the Page Views text box
For example, you might want to trigger a transition for engaged user when an end user views more than than ten pages each day.
- Less Than
- Enter the number of page views to count in the Page Views text box
- Select the period over which you want to count page views from the In a radio buttons. The options are as follows:
- Day
- Week
- Month
- Custom
If you select Custom, further options display, as illustrated below:
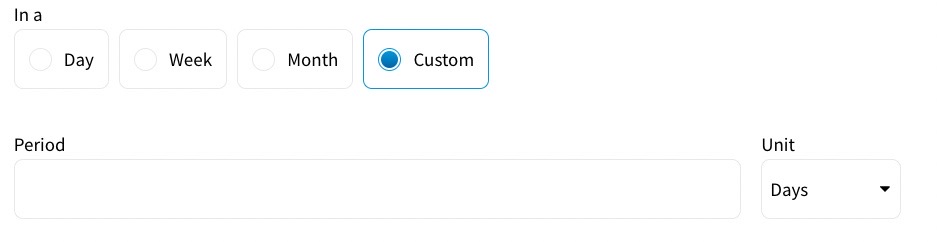
Enter the number of days to include in the custom period in the Period text box
- Select the option against which you want to measure the viewed pages. The options are as follows:
- Logged In
Select this to trigger the transition when the end user logs in a defined number of times in a set period
When selected, further options display, as illustrated below:
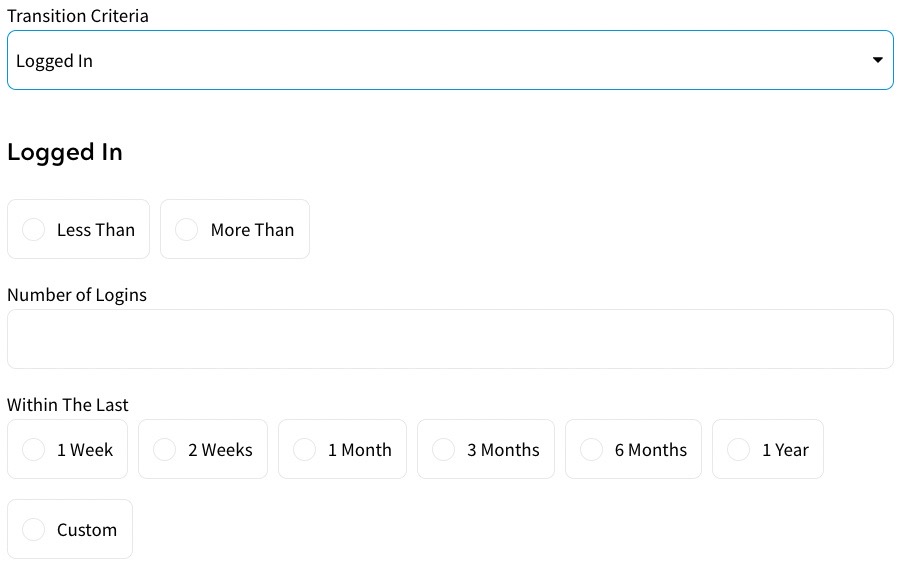
Complete these fields as follows:
- Select the option against which you want to measure the logins. The options are as follows:
- Less Than
Select this if you want to trigger the transition when an end user logs in less often than entered in the Number of Logins text box
For example, you might want to trigger a transition to prevent churn when an end user logs in less than twice each week.
- More Than
Select this if you want to trigger the transition when an end user logs in more often than entered in the Number of Logins text box
For example, you might want to trigger a transition for engaged user when an end user logs in each day.
- Less Than
- Enter the number of logins to count in the Number of Logins text box
- Select the period over which you want to count page views from the Within the Last radio buttons. The options are as follows:
- 1 Week
- 2 Weeks
- 1 Month
- 3 Months
- 6 Months
- 1 Year
- Custom
If you select Custom, further options display, as illustrated below:
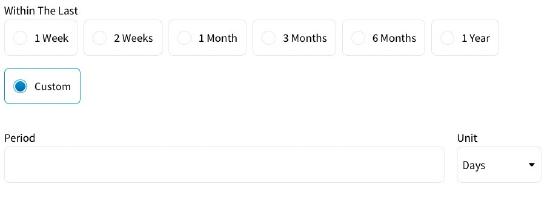
Enter the number of days to include in the custom period in the Period text box
- Select the option against which you want to measure the logins. The options are as follows:
- Has Product
Select this to to trigger the transition when the end user has the defined product grant
When selected, further options display, as illustrated below:
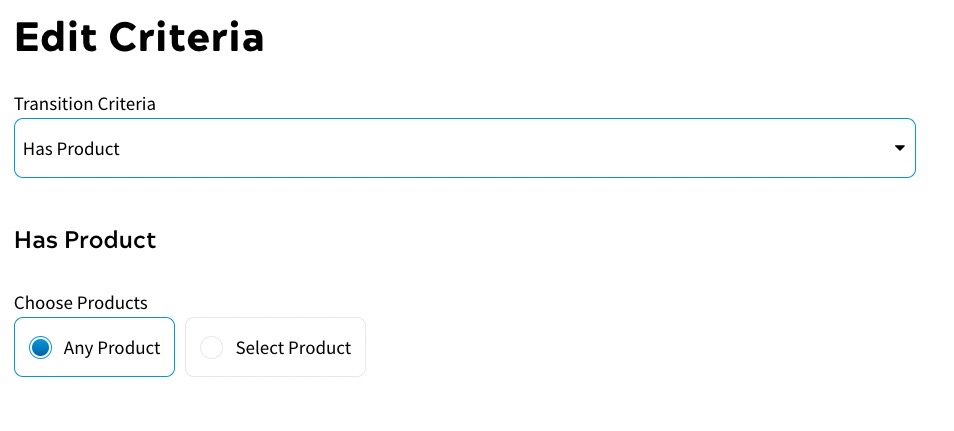
Select the option that matches the products you want to match from the Choose Products radio buttons. The options are as follows:
- Any Product
Select this if you want to trigger the transition if the end user has any product grant.
- Select Product
If you select Select Product, further options display, as illustrated below:
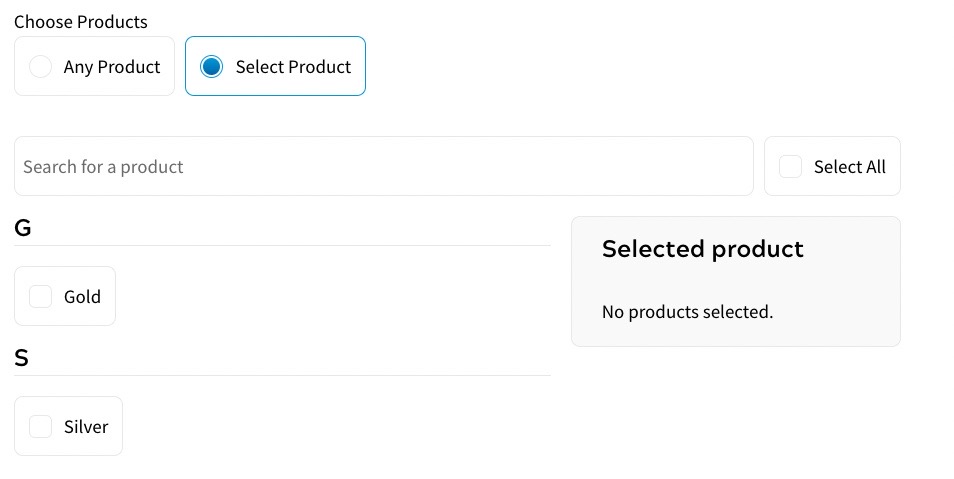
You can select the product, or products, that you want to use to trigger the transition in any of the following ways:
- Enter the name of the product in the search text box
- Select the Select All checkbox to select all products
- Select the checkbox next to the product you want to add
- Any Product
- Page Viewed
- If you want to add more criteria to the transition, select the plus (+) icon in the top right of the dialog box
A New Criteria dialog box opens on a new tab. Complete this dialog box as described above.
- Select the arrow button that represents the direction of the transition
The arrow buttons are as follows:
- Bi-directional transition:

This means that the end user can transition in both directions. For example, if they are considered Engaged when they view more than ten articles in a month, they can be transitioned back to the original state if they do not view more than ten articles in the next month.
- One-way transition:

This means that the end user can only transition from the first state to the second. For example, if they are considered a VIP when they view more than 100 articles, they retain the VIP state even if their views drop in frequency.
If you have tabbed criteria, you must also specify how to apply the criteria using the Type options, as follows:
- Select the And radio button if all criteria from the tabbed criteria must be met to trigger the transition
- Select the Or radio button if any criteria from the tabbed criteria must be met to trigger the transition
- Bi-directional transition:
- Select the Save button to add the transition to the user state map canvas. Selecting the Cancel button displays the user state map canvas without adding the transition
- Select the Save button to save the changes to your user state map