Pardot
Pardot is a marketing automation platform aimed at helping marketing and sales teams find and nurture leads, and maximise ROI.
Zephr offers an out-of-the-box Pardor Extension which allows you to create and modify prospects in Pardot.
It also makes it possible to subscribe or unsubscribe a given Prospect from mailing lists, depending on the value of nominated Zephr user attributes.
Main Features
- Creation of a Zephr user will trigger the creation of a corresponding Prospect in Pardot
- Zephr User Attributes are mapped to Pardot Prospect attributes
- Prospects can be subscribed/unsubscribed from Pardot mailing lists depending on the value of nominated Zephr User Attributes
- Optionally, a Zephr User Attribute may be nominated as an ‘Unsubscribe’ field.
Notes on Setup & Behaviour
- If you wish to control user subscription status for mailing lists using Zephr User Attributes, it’s best to create these before configuring and activating the extension (to avoid duplication of work). Any fields to denote subscription to a mailing list (and the optional ‘Unsubscribe’ option detailed below) should be of type Checkbox. You can create your Zephr User Attributes by navigating to Identity > User Attributes.
- The extension does not delete Prospects from Pardot when that user is deleted from Zephr. This is as the Prospect may be someone towards whom marketing effort should still be directed. To cover cases where a user has issued a ‘Forget Me’ request through Zephr, please configure a Webhook and a corresponding listener so appropriate action may be taken.
- The extension (optionally) allows you to nominate a Zephr User attribute to unsubscribe a user from all mailing lists and block their addition to additional lists. Please bear this in mind if designing a ‘My Account’ area using the Zephr Public API and displaying Zephr Attributes to the user that will control subscription preferences; you will need to devise some way to clearly communicate to the user that they cannot subscribe to mailing lists whilst the ‘Unsubscribe’ attribute checkbox is checked.
Configuring the Pardot Extension
To enable the Pardot Extension within Zephr, navigate to Settings > Extensions > Pardot. If you cannot see the Pardot option in your list of Extensions, contact support.
Once on the configuration screen, you’ll see three sections – Pardot API Credentials, Zephr <> Pardot Mapping, and Activate Plugin.
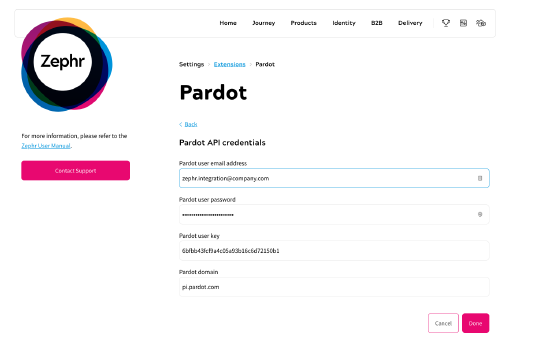
Pardot API Credentials
First, click Pardot API Credentials. Here, you’ll need to input the following information:
- Pardot user email address: it is recommended that you create a user in Pardot to specifically handle integration with Zephr.
- Pardot user password: Please generate a strong password.
- Pardot user key: Whilst authenticated as the Zephr integration user in Pardot, you will be able to find this by clicking the Cog Icon (the top right corner) > Settings > My Profile, then look for the ‘API User Key’ field.
- Pardot domain: This is usually pi.pardot.com, but if you have a different one, add it here.
These details should come from an existing Pardot account. If you are unable to find these details, please consult the Pardot help guide, or get in touch with your Pardot Account Manager.
Once complete, click Done.
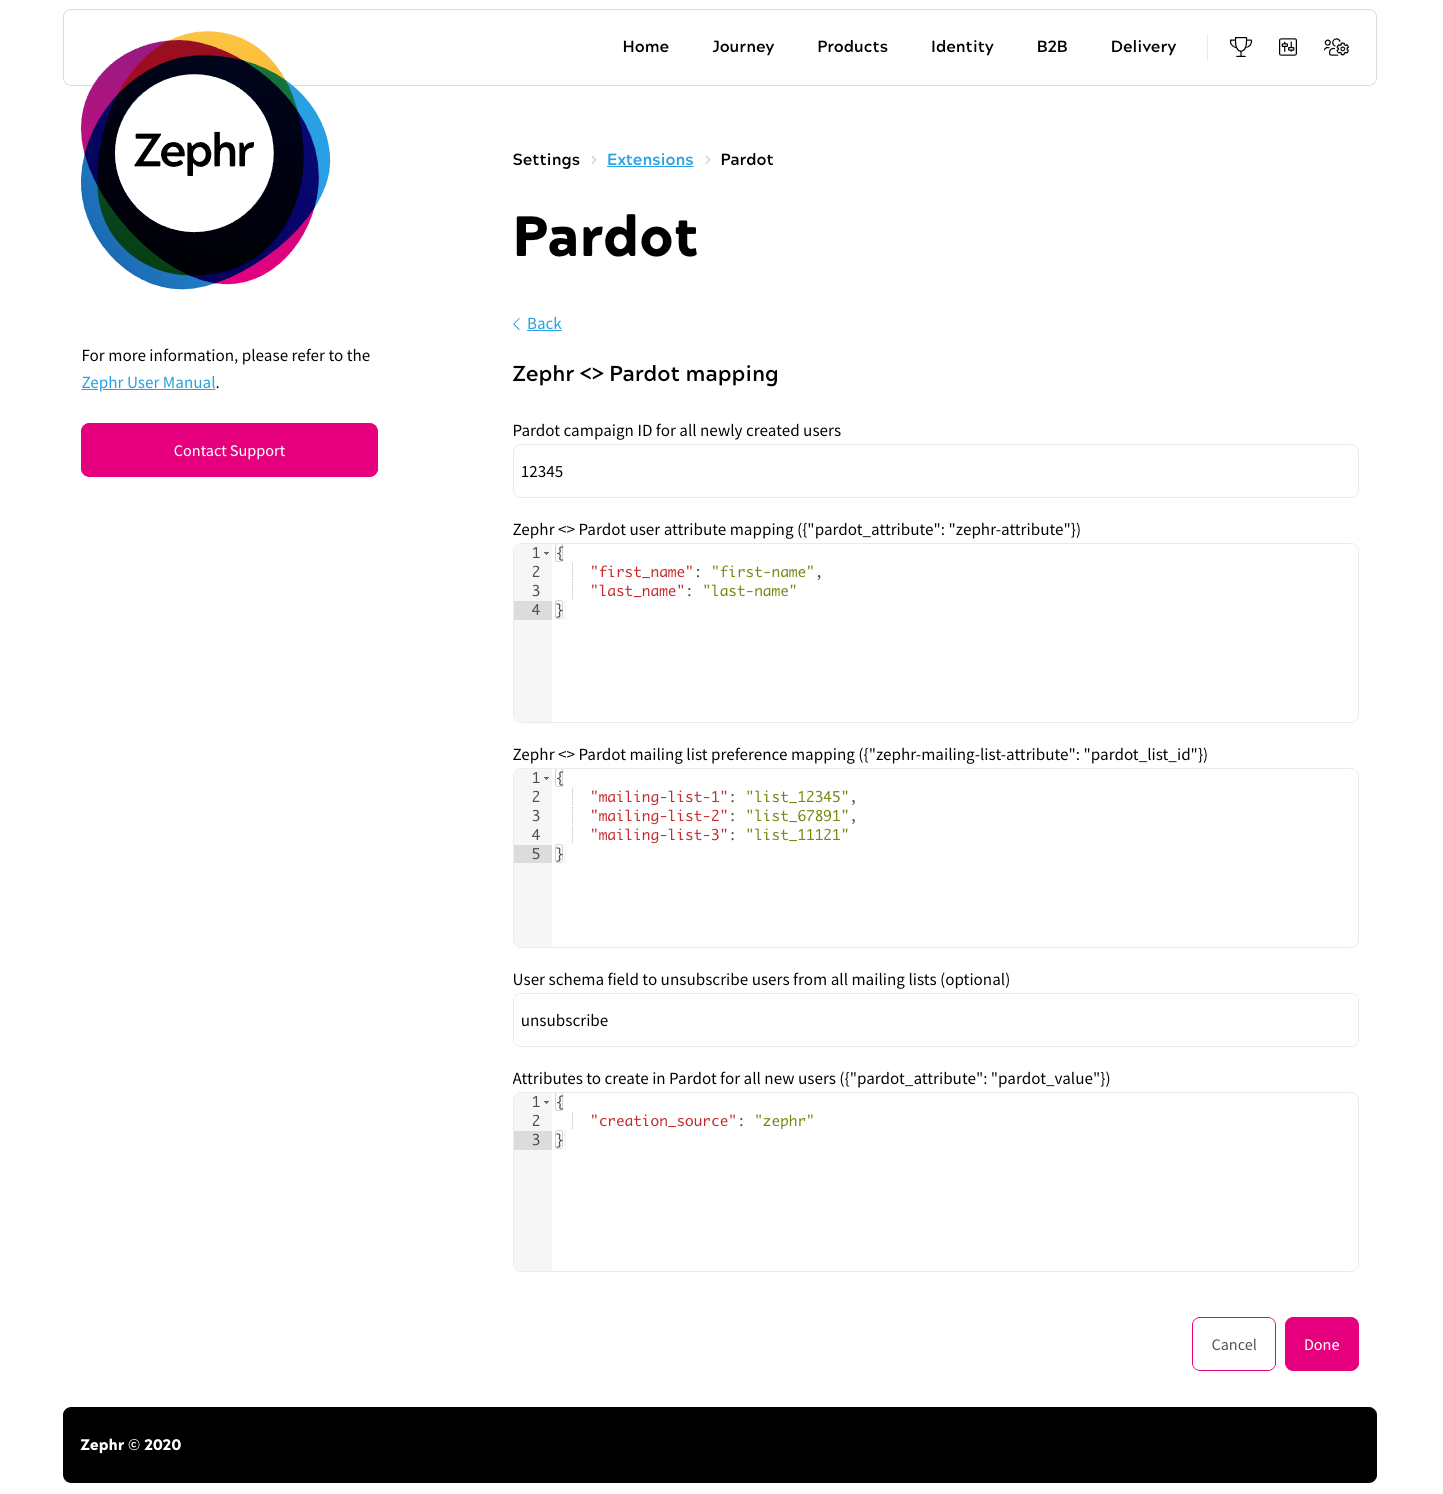
Zephr <> Pardot Mapping
Once you’ve input your API Credentials, navigate to the Zephr <> Pardot Mapping page.
Here you will need to input the following information:
- Pardot campaign ID for all newly created users: Pardot expects a campaign ID to be provided for each new Prospect. If no campaign ID is provided, it defaults to the oldest campaign that exists in that Pardot account. Please provide an explicit campaign ID in this field to ensure no unexpected, default behaviour is encountered.
- Zephr <> Pardot user attribute mapping: a mapping file, where the keys are Pardot Attribute IDs and the values are Zephr User Attribute IDs.
- Zephr <> Pardot mailing list preference mapping: a mapping file where the keys are nominated Zephr User Attribute IDs (these attributes should be of type ‘Checkbox’) and the values are Pardot Mailing List IDs, prefixed with the string list_ (for example list_12345).
- User schema field to unsubscribe users from all mailing lists: Optional field to use a nominated Zephr User Attribute (of type ‘Checkbox’) to unsubscribe a Prospect from all mailing lists. Whilst the value of this field is TRUE it will also block a user from subscribing to any further mailing lists.
- Attributes to create in Pardot for all new users: Static attributes added to all Prospects created in Pardot. Commonly used to store information on where the user was originally created (e.g. Zephr)
Once complete, click Done.
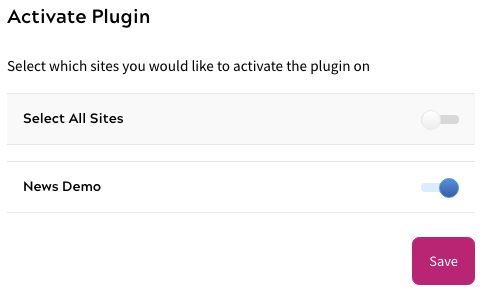
Activate Plugin
Once you’ve input your API details, confirm which of your Sites the extension should be active on. To do this, use the toggles for each site under the Activate Plugin section, or choose Select All Sites.
Once completed, click Save. Your extension is now enabled and will be in use for all new Zephr registrations.