PostUp
PostUp is an email service provider. The PostUp extension in Zephr allows a welcome email to be sent automatically to the end users when they register to your websites. A user entry will be created and added to the specified mailing list in PostUp. In addition, you can configure the extension to allow a new user entry to be created in separate PostUp mailing lists each time an end user makes a purchase.
Pre-Requisites
- You must have a PostUp account with the relevant API credentials.
- The email template and mailing lists are already set up in PostUp.
- You must use either Stripe or Braintree as the active payment provider extension and have configured a subscriptionChargedCallback webhook. For more information about how to set up the extensions, see Braintree and Stripe.
Behaviour
- Trigger email sending in PostUp upon user registration: A welcome email is triggered in PostUp upon user registration. The template id for the email is created in PostUp, which then is configured in the PostUp extension settings.
- Create a user entry in PostUp mailing lists upon user registration: Upon registration of a new user in Zephr, a corresponding user entry is created in PostUp and allocated to a subset of mailing lists which is configurable in the extension settings.
Note: Zephr User Attributes are mapped to the corresponding PostUp recipient demographics fields.
- Create a user entry in PostUp mailing lists upon user conversion to subscriber: Paid users are allocated to an extra mailing list upon successful purchase.
Note: Zephr updates a dedicated checkbox user attribute to flag the user as customer upon their first purchase. This flag would remain permanently. If the checkbox is `false`, it means that the user becomes a customer and Zephr subscribes the user to the relevant mailing list.
There is no conditional adding in Post Up, i.e every user who gets registered is added to PostUp inside the relevant emailing lists based on the extension settings.
Configure the PostUp extension
To configure and activate the PostUp extension within Zephr, navigate to Settings > Extensions > PostUp. If you cannot see the PostUp option in your list of Extensions, email support@zephr.com.
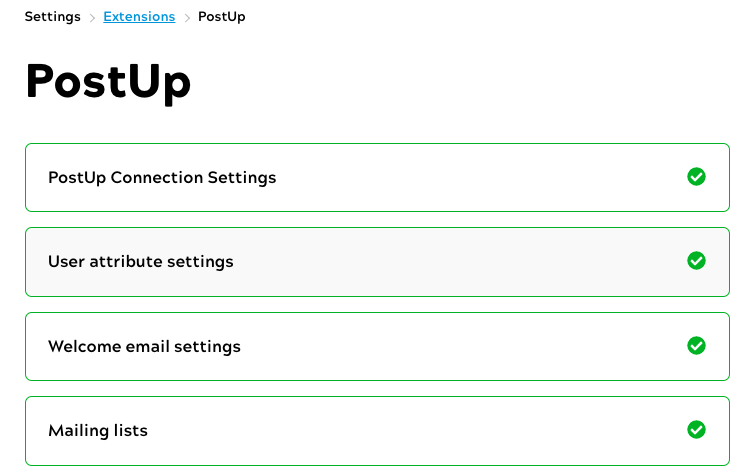
Take the following steps to complete the configuration:
Step 1. On the PostUp Connection Settings tab, enter the following required information:
- PostUp API URL: For example, https://api.postup.com/api
- PostUp API username: This can be found on the top right corner of your PostUp portal
- PostUp API password
Note: The credentials used in the extension must only be associated with one environment, i.e., one “site” in PostUp.
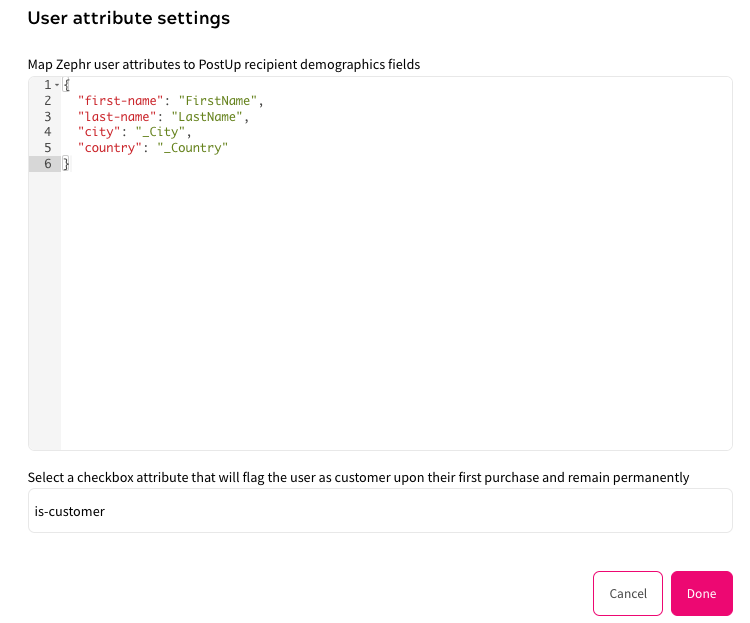
Step 2. On the User attribute settings tab, specify the following fields:
- Map Zephr user attributes to PostUp recipient demographics fields: This mapping is required in order for the extension to send and map the selected user attributes to the PostUp recipient fields. For a list of PostUp demographics properties, refer to the Create a RecipientPostUp doc.
- The attribute mapping should be specified in JSON. The key field should be the slug name of the Zephr attribute and the value field should be the corresponding PostUp demographics property name. For example, {“first-name”: “FirstName”}.
- Select a checkbox attribute that will flag the user as customer upon their first purchase and remain permanently.
Note: You must first define the attribute in Identity > User attributes.
The following screenshot provides an example of how to specify the settings on this tab:
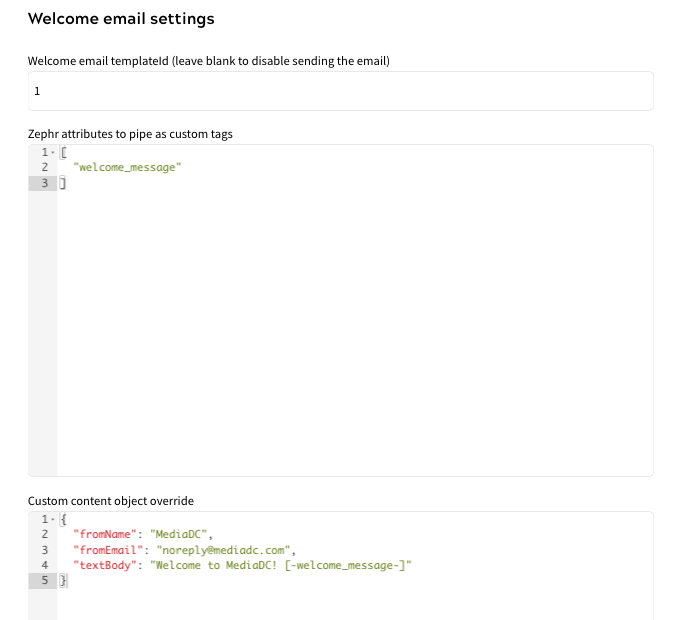
Step 3. On the Welcome email settings tab, specify the following fields:
- Welcome email templateId: The unique number assigned to each email template configured in PostUp.In the PostUp dashboard, go to Send > Triggered to see a list of templates with their IDs. To disable email sending, leave the field blank.
- Zephr attributes to pipe as custom tags: For attributes that are not mapped to recipient demographics, the extension allows custom tags to be added directly to the email template. The relevant Zephr attribute that will be used as a custom tag needs to be set here.
Note: PostUp does not accept hyphens in template variables passed in this way. Please make sure the Zephr user attributes in use comply with that.
- Custom content object override: The extension also provides the functionality to override the content defined in the PostUp email template.
The elements that can be overridden are as follows:
{
"subject": "Insert Mailing Subject",
"charset": "UTF-8",
"encoding": "quoted-printable",
"fromEmail": "sender@domain.com",
"fromName": "PostUp",
"toEmail": "[-emailaddr-]",
"toName": "[-name-]",
"replyToEmail": "[-email_reply_alpha-]",
"replyToName": "PostUp",
"htmlBody": "<html>Insert HTML Content Here</html>",
"textBody": "Insert Text Content Here.",
"unsubContentId": 0,
"replyContentId": 0,
"headerContentId": 0,
"footerContentId": 0,
"forwardToFriendContentId": 0
}
Note: For more information about the content object, refer to the Send a Triggered Mailing PostUp doc.
The following screenshot provides an example of how to specify the settings on this tab:
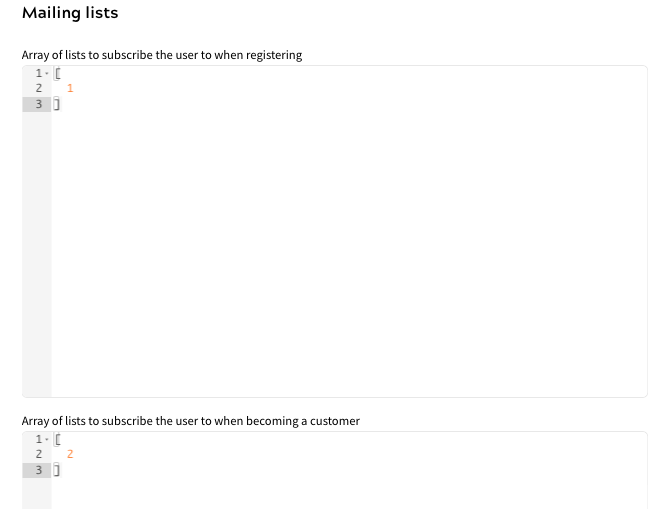
Step 4. On the Mailing lists tab, specify the IDs of the PostUp mailing lists to which user entries will be added. Arrays of numbers are expected. In the PostUp portal, lists are available in the Lists section.
The following screenshot provides an example of how to specify the settings on this tab:
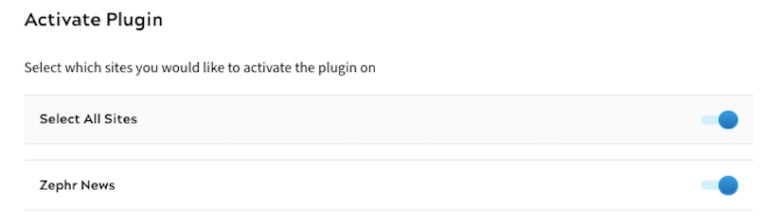
Step 5. Once you’ve input the relevant details, confirm which of your Sites the extension should be active on. To do this, use the toggles for each site under the Activate Plugin section, or choose Select All Sites.
Step 6. Once completed, click Save. Your extension is now enabled.