Define your products and payments
In the Console, you can define products and their associated payment options for your end user in the Products and Payments section of the Payment Form.
You can either use the default component, or if you have configured product selection screen templates in Component Library, you can inject a template into an existing form in the Component Library or on-the-fly in an outcome.
To define the products and associated payment plans, complete the following steps:
-
Select the Products & Payment Plans button. By default, the Title text box is pre-filled with Plan Select. This is displayed on the progress bar. You can edit the text if required.
-
Select the default component or pick an existing one from the component library using the Build Type drop-down list.
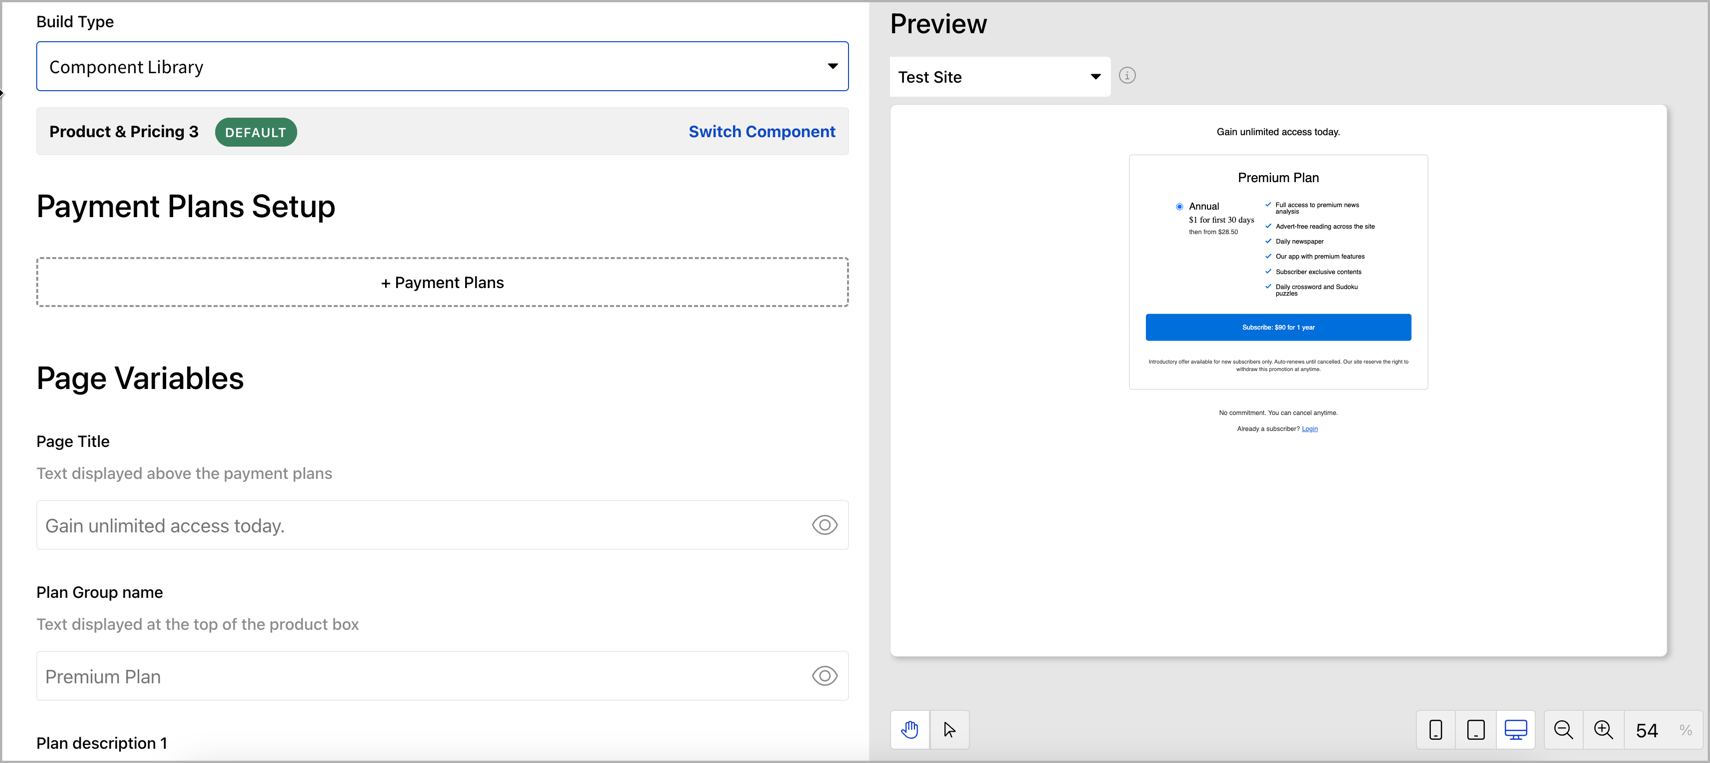
If you opt for an existing component from the component library, you can decide to show or hide each component variable in the form by clicking the  icon. However, you cannot modify the variables or add new ones to this screen. You can navigate to the Delivery > Component Library screen to create a new component or modify an existing one. It is recommended to create a new component from this page and then associate it with your payment plan.
-
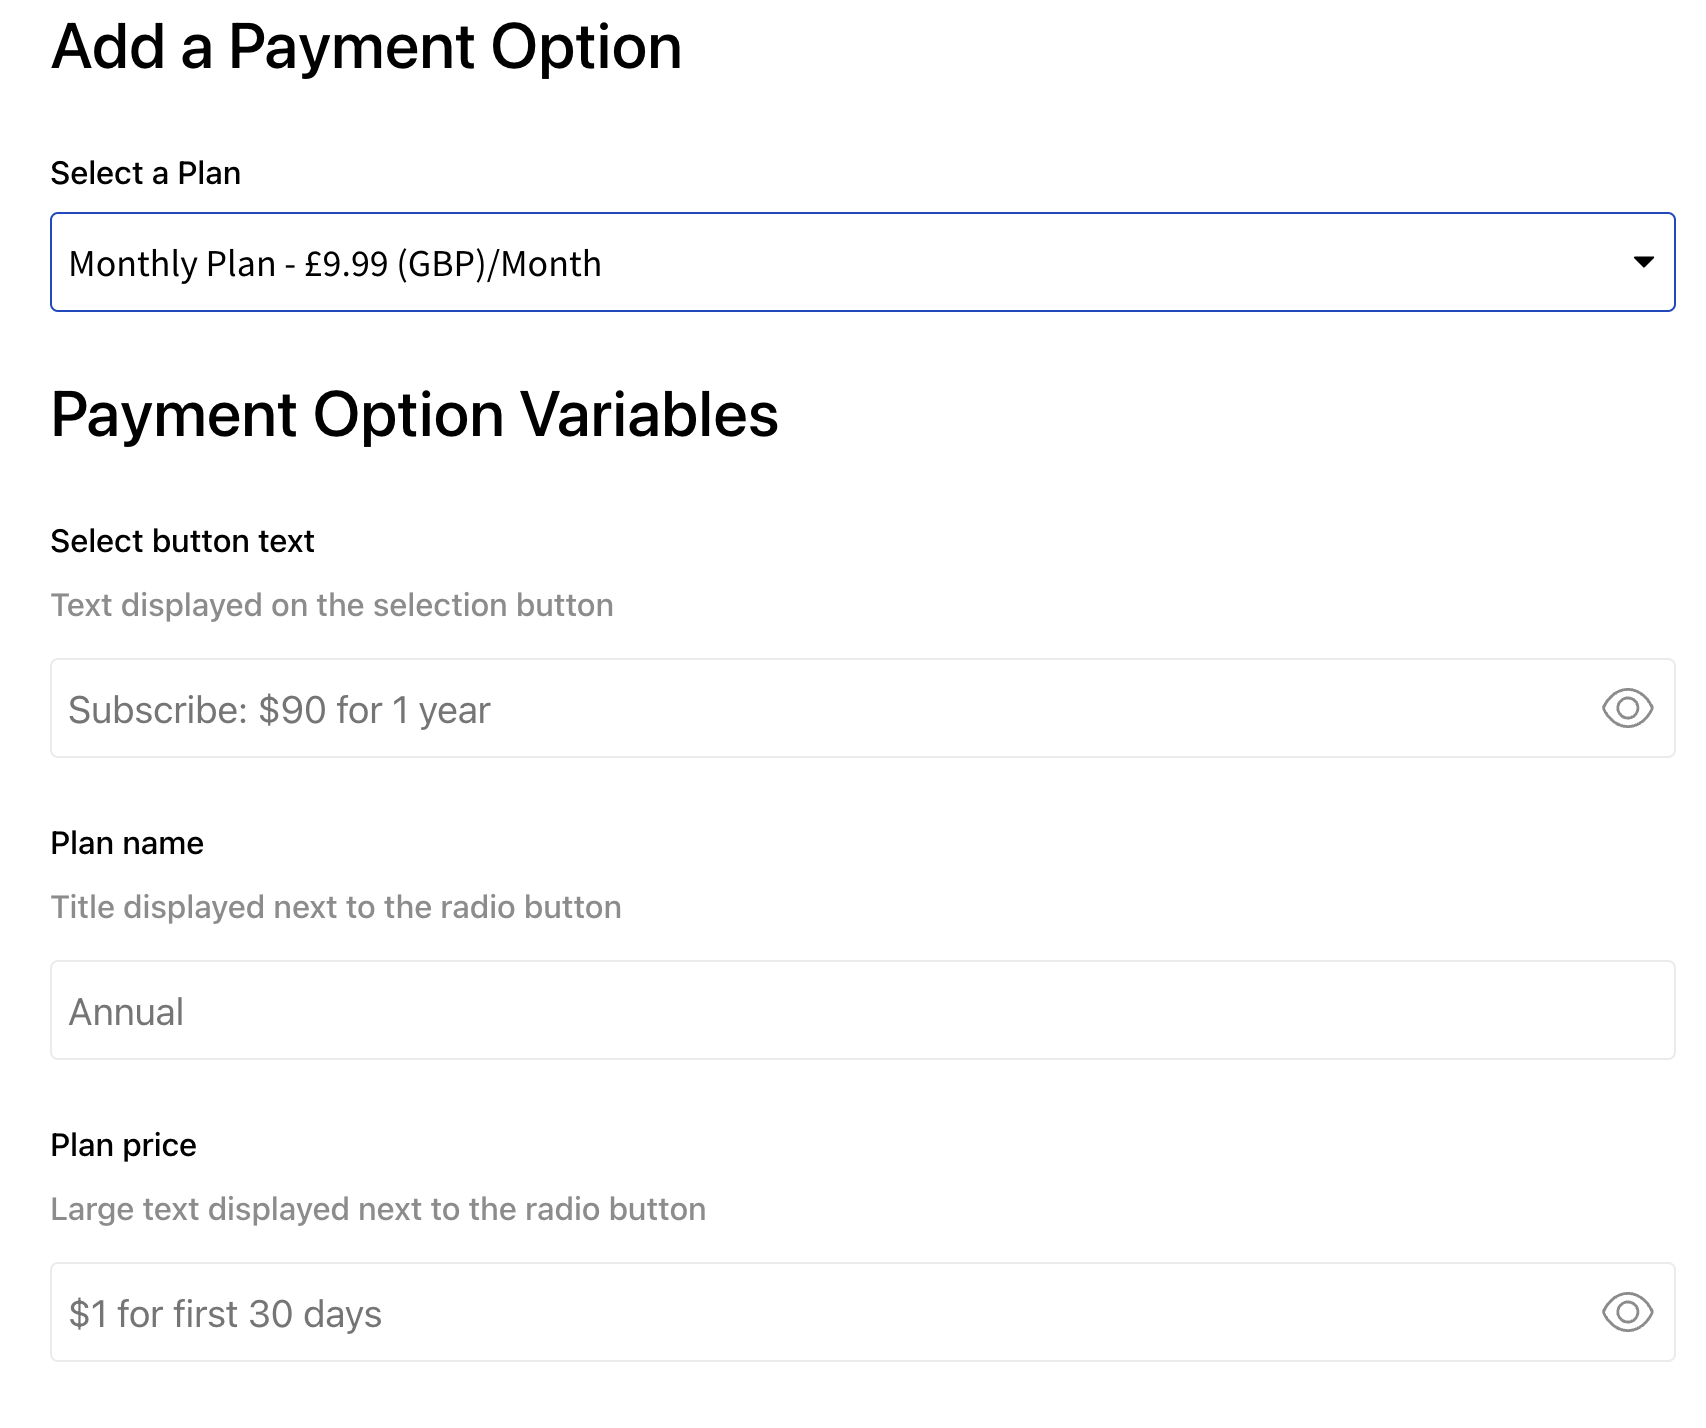
Select the Payment Plans option from the Payment Plan Setup section. The Add a Payment Option screen is displayed.
Different payment plans can be set up for multiple environments.
-
You can edit, and show/hide specific payment-option variables with the Eye icon.
-
Select the Done button to return to the Add Payment Form screen.
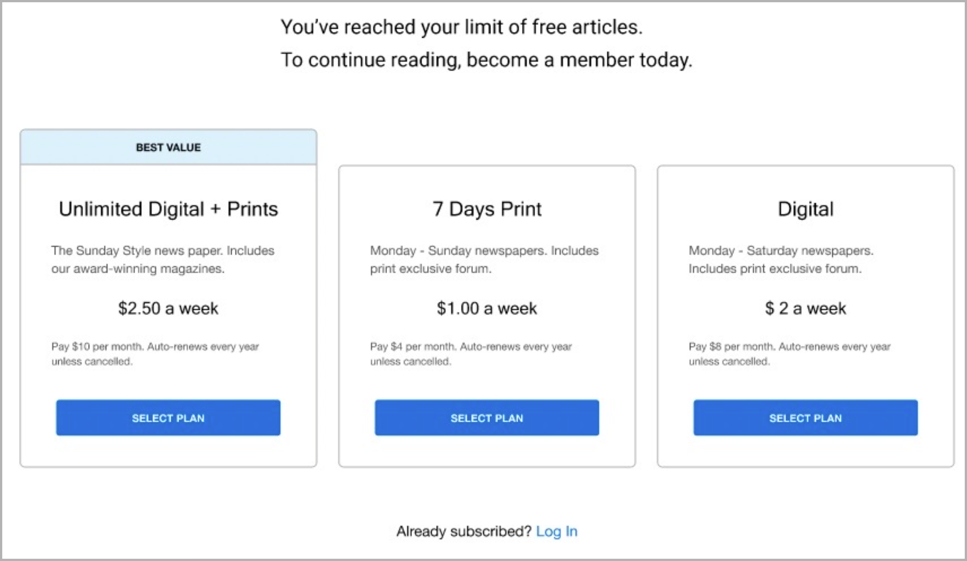
When you publish your feature, the payment options display on your site in a similar way to the following: