Using the Feature Builder
To use the Feature Builder, click and drag your options from the Feature Builder menu onto the blank canvas to create the user flow:
You’ll see the function colour will change to orange while selected.
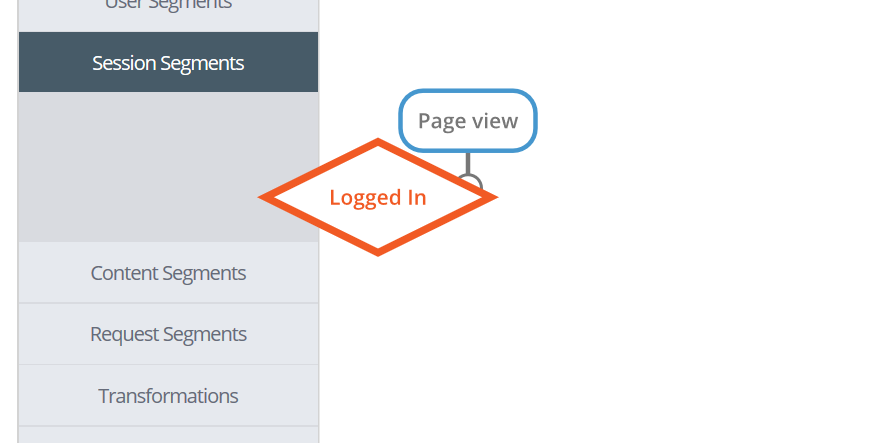
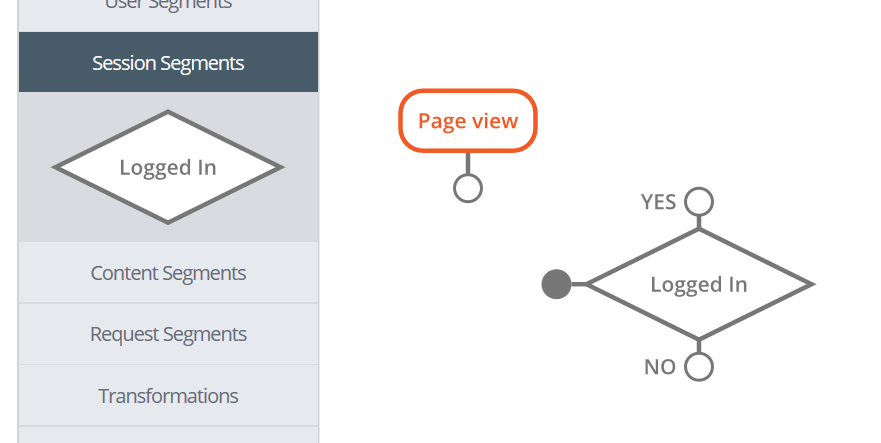
Place the function onto your preferred canvas location. The function will Snap to Grid to retain layout consistency.
Once placed onto the canvas, the colour of the function will return to its original blue and the connector points will appear.
At any time you are not happy with the progress you can click the Undo button.
Click on any available Connector and drag to connect to your preferred function. Whilst doing this, the connector will change to orange in colour and the nearest available function will change to an orange dashed outline.
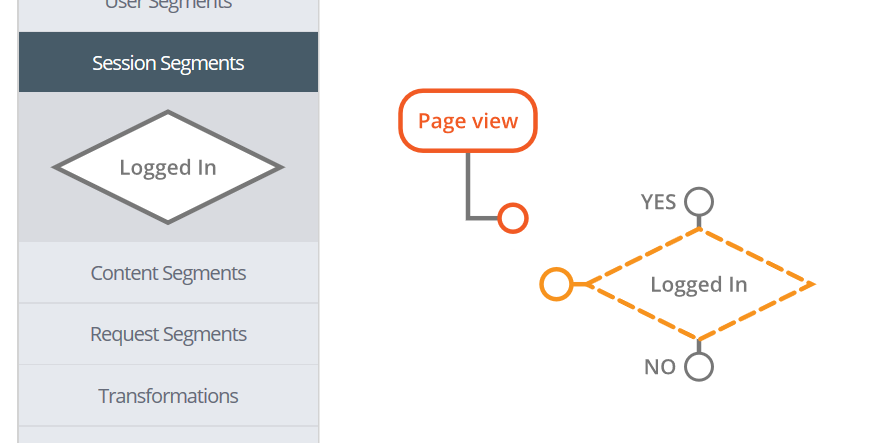
Once connected, the connected line will change to a blue colour and display an arrow to highlight the direction of the workflow.
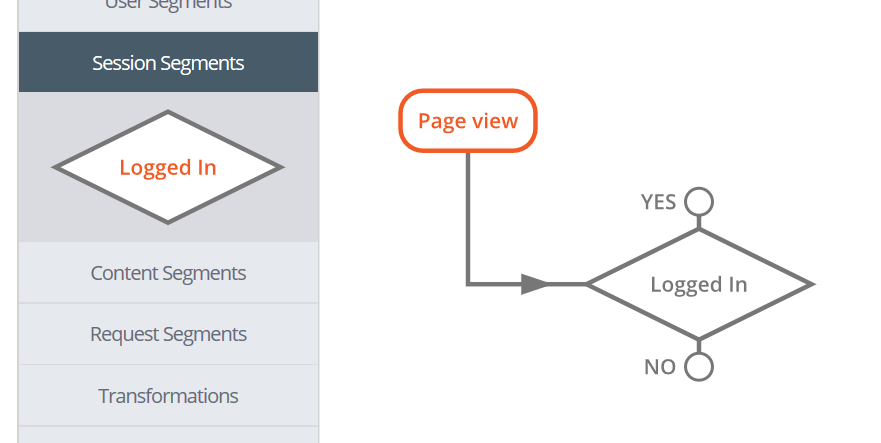
All functions placed onto the canvas can be moved to suit.
In this example, If a User is Not Logged in you can insert your Form Basic Registration, created previously.
The image below is displaying: If a user is logged in, then they will experience no change to their experience and will proceed to their desired page/article

Using the Canvas, click the Undo, Delete or Clear Canvas buttons to undo or clear the canvas
If the Feature is a registration form, the Registration Form created in the previous step will be an available option under the Form option
Any other form created will also be available from the Feature Builder navigation.
Select Add Feature to complete the process. The click Publish next to your new rule version.
Click the CDN on the top right hand corner of the UI to visit the Website (in a new browser Tab), being served with the Zephr CDN.

Clicking on a feature e.g. Article, will then display the Basic Registration form created above
Returning to Zephr, click the Dashboard link to return to to the Admin Dashboard.
You will see that the onboarding checklist is now completed and does not appear on the dashboard.
