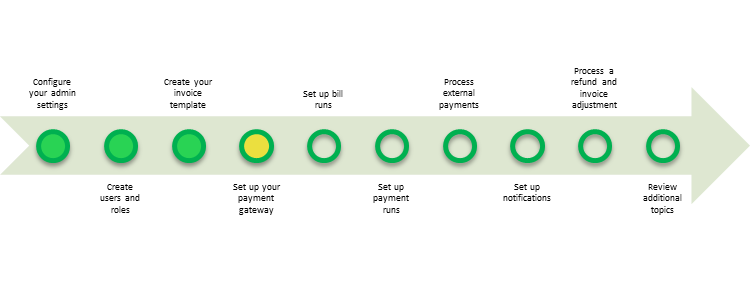
Part 4: Set Up Your Payment Gateway
Overview
Zuora Internal Documentation. This article is intended for Zuora only. Do not share or distribute publicly.
When a customer subscribes to your service, Zuora uses a payment gateway in order to charge recurring payments. If you do not already have a gateway that is supported by Zuora, this guide will walk you through the process of setting up your gateway.
Select the Right Gateway
In Milestone 1, Part 7 we discussed how to select the right payment gateway for your business. In this section let's look at how to set one up in your tenant based on which payment gateway you selected. However, please note that depending on the payment gateway you selected, there may be a few fields that you need to enable in your payment gateway admin screen. Please follow the link here to get the required fields from your payment gateway before you begin to configure your payment gateway in Zuora.
Exercise
In this exercise, we will walk you through the process of creating and testing a payment gateway based on the payment gateway you selected. Please click on one of the links below to look at and follow specific payment gateway configuration steps.
Chase Paymentech Orbital (Salem)
Paypal Payflow Pro, Website Payment Payflow, Website Pro Payment Gateway
What's Next
Congratulations! You have now created and tested a payment gateway.
Next, proceed to Part 5: Set Up Bill Runs.