Data Capture Forms
You can use a data capture form to gather information from your end users, which was not gathered during registration. The form displays as follows:
- For an anonymous end user who has not provided any information, the form is blank
- For an end user who has provided information previously, the form is pre-filled with that information. The end user can edit the information, if necessary and save the form
For further information on data capture, see the Incremental Data Capture customer journey example.
To create a Data Capture Form, complete the following steps:
For information on editing the user attribute, see the User Attributes topic.
To delete a user attribute field, select the Delete button.
- Select the Add button under the Form heading
The Form Details screen displays, as illustrated below:
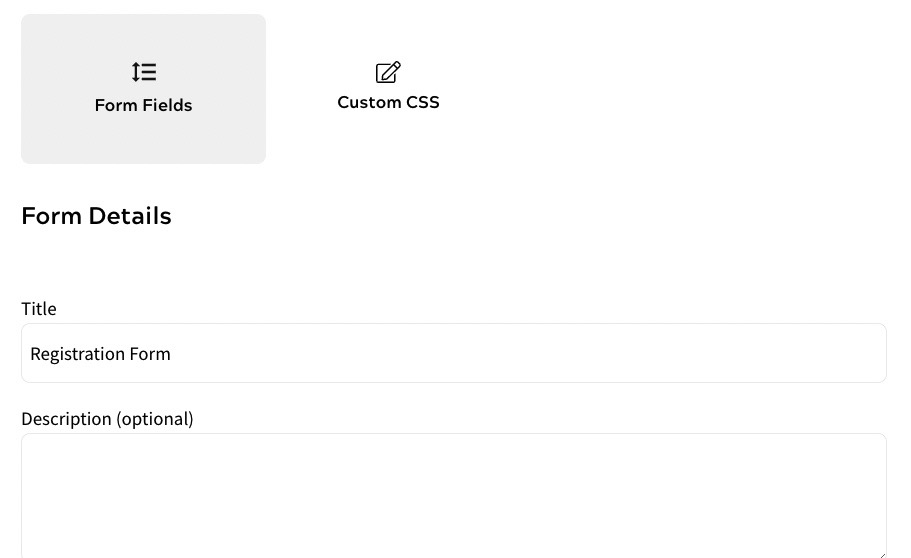
By default, the Registration radio button is selected and the Title text box is pre-filled with Registration Form.
- Select the Data Capture radio button from the Type options
The Title text box, is updated to Data Capture Form. You can edit this if required.
- Optionally, add a description of your form in the Description text box
- If you want to allow your end users to register and login using social sign in, select the login providers as follows:
- If you do not have any login providers defined, the following message displays:
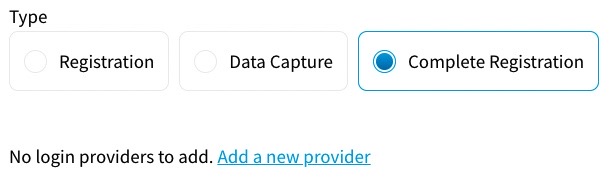
For further information on adding login providers, see the Login Providers section.
- If you have defined login providers, they are listed as illustrated below:
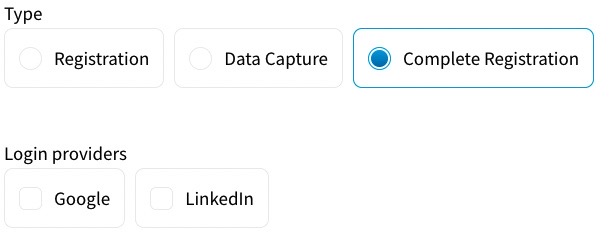
Select the checkbox for each login provider you want end users to be able to use for social sign-in.
- If you do not have any login providers defined, the following message displays:
- Select the Add A User Attribute button to add a field to obtain further information from the end user
Note: You must have defined user attributes for any fields that you want to add. For further information on user attributes, see the User Attributes topic.
The User Attribute dialog box displays, as illustrated below:
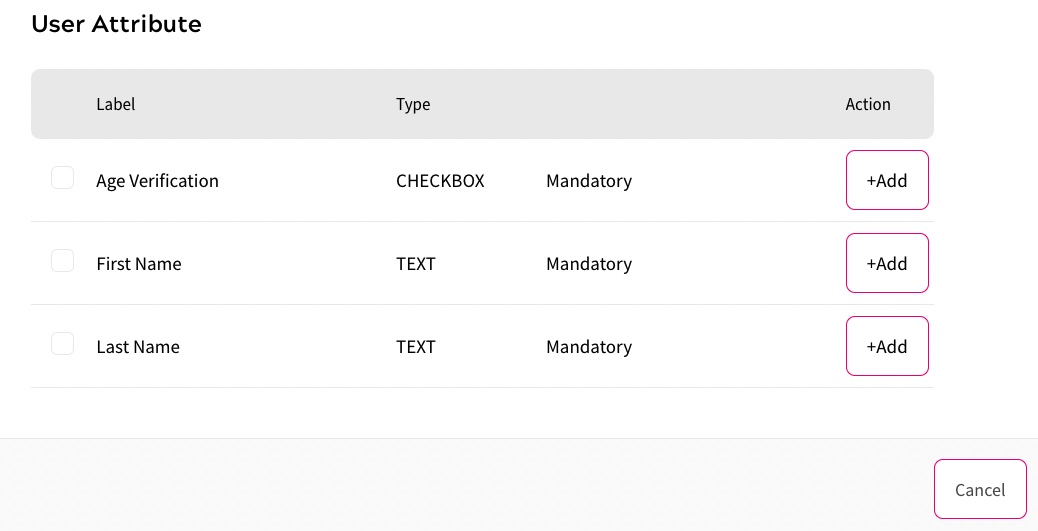
To add a single field, select the Add button at the end of the row for the user attribute you want to add. The Form Details screen displays with the field added.
To add multiple fields, select the checkbox beside the user attributes you want to add, then select the Add Selected button. The Form Details screen displays with each user attribute added as a field.
If you want to make a user attribute field mandatory in your data capture form, select the Required toggle at the end of the row for the relevant user attribute.
To edit the display of a user attribute field in your data capture form, select the Edit button.
The Edit dialog box displays, as illustrated below:
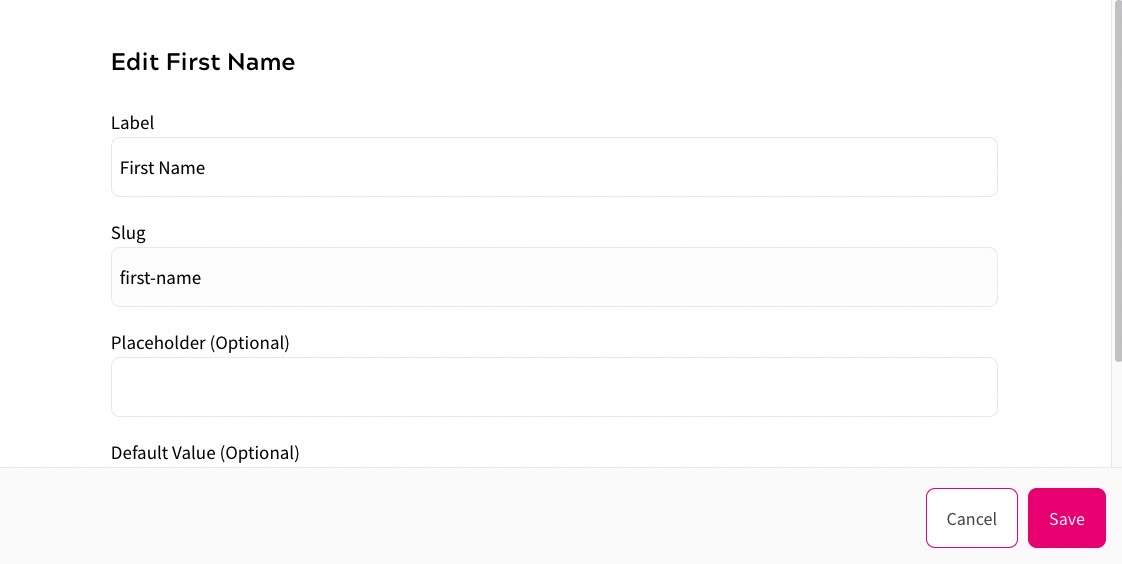
- Edit the label displayed above the field in the Label text box. By default, this is pre-filled with the name of the user attribute
- If required, edit the text displayed in the field in the Place Holder (Optional) text box. By default, this is blank
- If required, edit the default value of the field in the Default Value (Optional) text box
- Select the Save button to save your changes and return to the Form Details screen. Selecting the Cancel button displays the Registration screen without saving any changes
- Select the Add A Divider button to add a divider
The Add a Divider dialog box displays, as illustrated below:
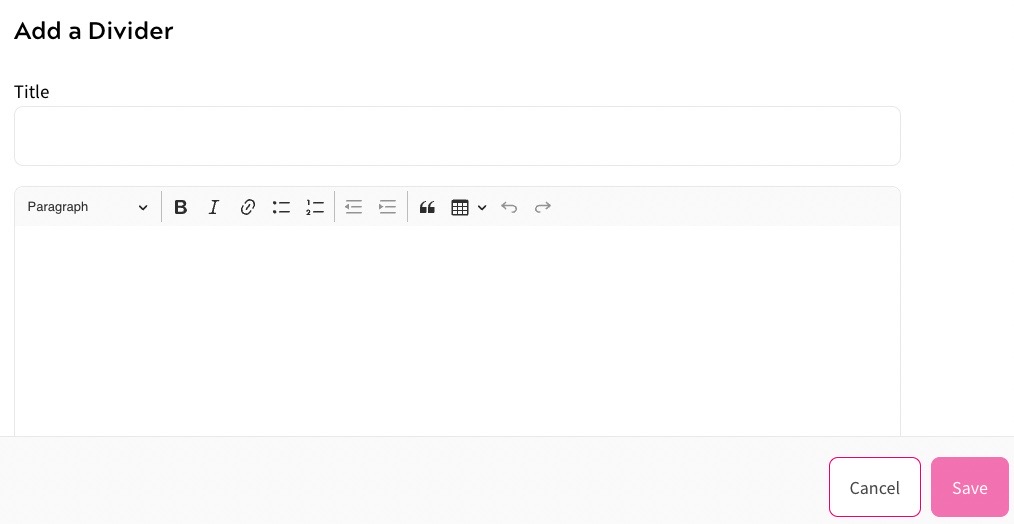
To define the divider, complete the following steps:
- Enter the heading for your divider in the Title text box
- Enter the text you want to display in the text box
Note: If you want to format the text, for example to include a heading or a list, use the formatting bar at the top of the text box.
- If required, rearrange the user attributes and/or dividers by clicking and dragging the field to the position at which you want it to display in your form
- Select the Save button to save your changes and return to the Edit an Outcome screen. Selecting the Cancel button displays the Edit an Outcome screen without saving any changes