JWT Product Integration
To add the JWT details used to integrate a product, complete the following steps:
- Select the Lock icon to access the Developer Interface
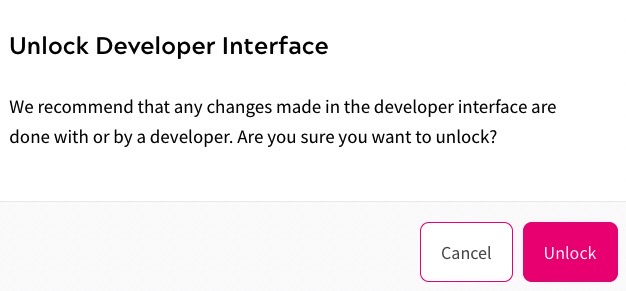
The Unlock Developer Interface dialog box displays, as illustrated below:

- Select the Unlock button to open the Developer Interface. Selecting the Cancel button closes the dialog box without opening the Developer Interface
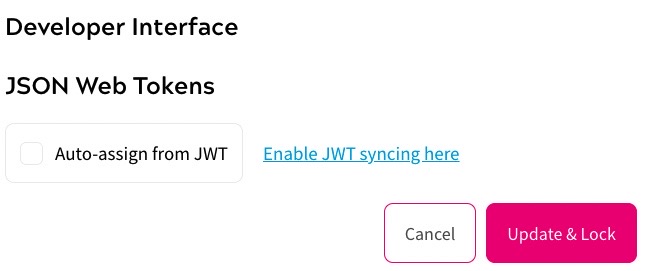
If you have not set up JSON Web Token (JWT) syncing, the Developer Interface displays as illustrated below:

You must enable JWT syncing, as described in the JSON Web Tokens (JWT) topic.
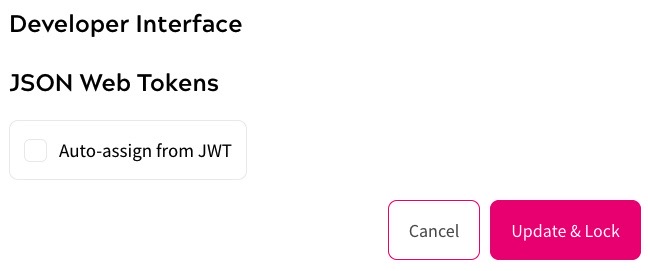
If you have set up JWT syncing, the Developer Interface displays as illustrated below:

- Select the Auto-assign from JWT checkbox
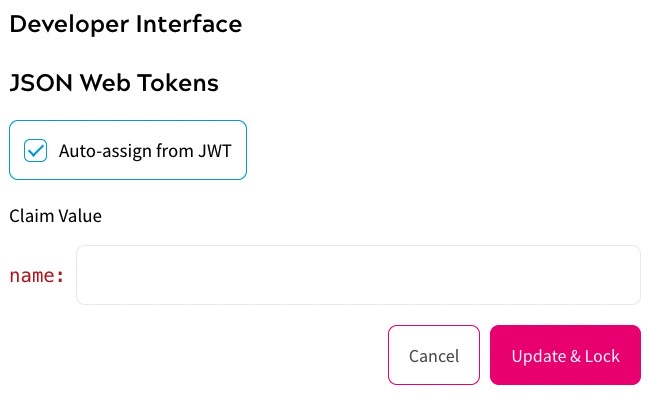
A further field displays, as illustrated below:

- Enter the value that your IDM uses in the JWT payload when the end user has the product grant in the Claim Value text box
- Select the Update & Lock button to save the updates. Selecting the Cancel button closes the Developer Interface without saving any changes
