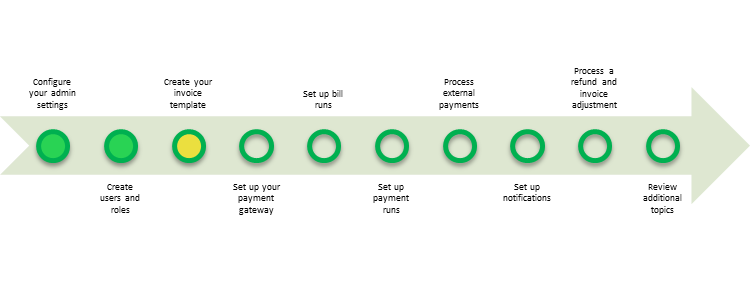
Part 3: Create Your Invoice Template
Overview
Zuora Internal Documentation. This article is intended for Zuora only. Do not share or distribute publicly.
You can customize your invoice templates to have your company's look and feel (including the addition of your company logo), as well as use merge fields to display only the billing and payments information you want your customers to see.
See Create a Custom Invoice Template for more information about customizing with invoice templates.
Exercise
In this exercise, we will walk you through creating an invoice template and uploading it to Zuora.
- If you have just completed the previous part of this milestone and are still on the Manage Tenant Profile page, you can jump to the next step. Otherwise, follow these steps to go to the Manage Invoice Rules and Templates page:
- Log in to Zuora with your user name and password.
- Using the navigation bar, click Settings > Z-Billing Settings.
- Click the Manage Invoice Rules and Templates link. You should now see a detail page that looks like this:
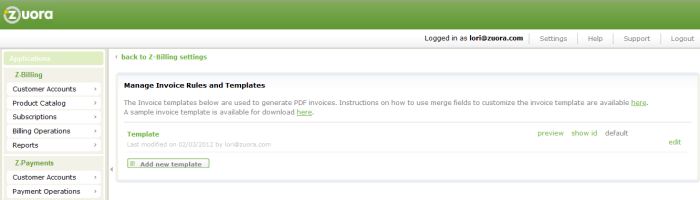
- On the detail page, click the here link to download the sample template.
- On the detail page, click the second here link to download the template instructions.
- Review the instructions and begin editing your template to your needs.
- Change the logo to your company’s logo.
- Edit other fields and information, as required.
- Save this template where you can access it. Now you are ready to upload it.
- In the Manage Invoice Rules and Templates page, click Add new template.
- Enter a Name for the new template.
- Click Browse to browse for your template file.
- Optionally, select Do not display zero value invoice line items.
- Click save.
- Click preview to see how the template will render with data in an invoice.
- If you need to make changes, update the template and upload it again.
What's Next
Congratulations! You have now created a custom invoice template.
Next, proceed to Part 4: Set Up Your Payment Gateway.