Create a Product
Before you create a product, ensure that you have done the following:
- Created the features you want to include in the product, as described in the Features section.
- Set up your chosen payment provider with the plan or subscription options that you want to offer, as described in the Payments topic.
To create a product, complete the following steps:
- Select Products > Catalogue from the main menu. The Catalogue screen is displayed.
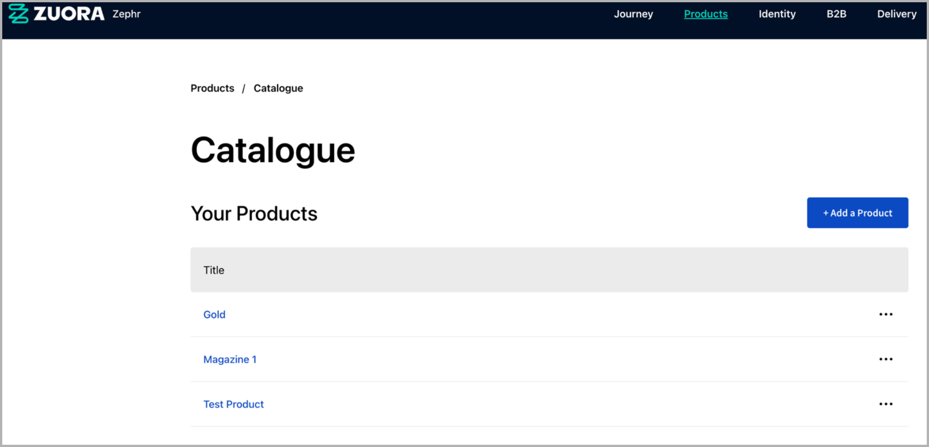
- Select the Add a Product button. The Add a Product screen is displayed.
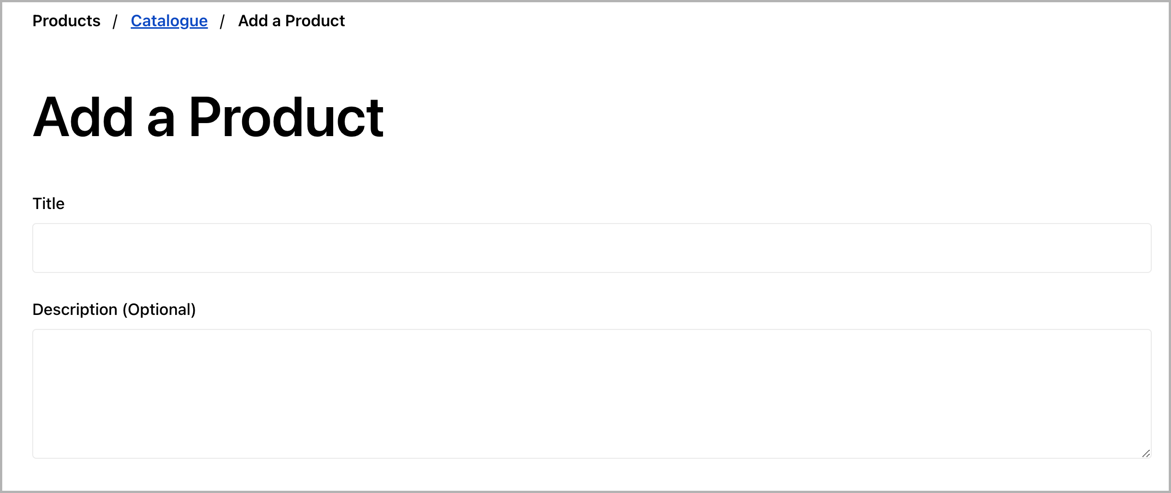
- Enter a name for your product in the Title text box. Optionally, add a description of the product in the Description text box.
- Select the features that you want to add to the product. If the feature you require is listed, select the checkbox beside each feature to include in the product. The Article section is displayed.

You can add sites and site groups as follows:- Select the Add Sites & Site Groups button. The Add Sites and Groups dialog box is displayed.
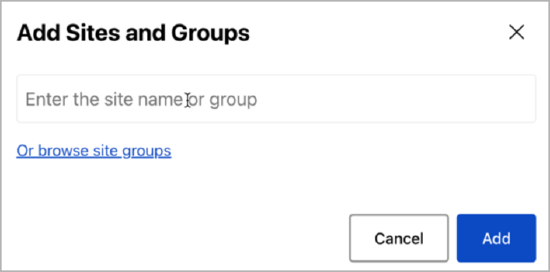
- Start entering the name of the site or site group in the text box. The sites that match the characters that you enter are listed.
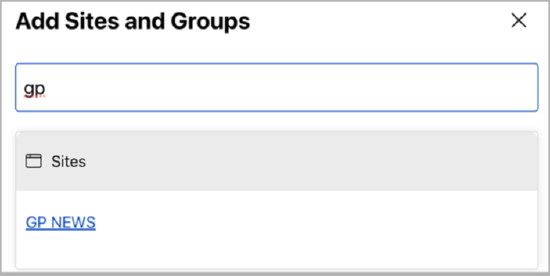
- From the list, select the required site or site group.
- Alternatively, you can browse the site groups and select the checkbox beside each group to add them using the Or browse site groups option.
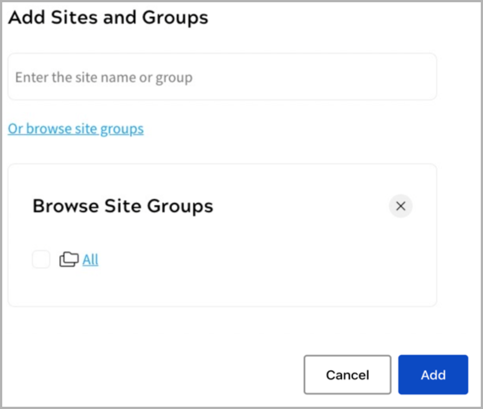
-
Select the checkbox beside each site group to add.
- Select the Add button to save your updates and return to the Add a Product screen. Selecting the Cancel button displays the Add a Product screen without saving any changes.
- If no features are listed, or the feature you require is not listed, add a feature as described in the Add a Feature from your Product topic.
The selected features are added to the product grant. When an end-user accesses the features, they are considered Customers and follow the user journey defined in the Customer section of your feature rule.
- Select the Add Sites & Site Groups button. The Add Sites and Groups dialog box is displayed.
- Select the Add A Payment Option button to customize the payment options for the product. The following screen is displayed when Zuora Billing is selected as your payment provider:
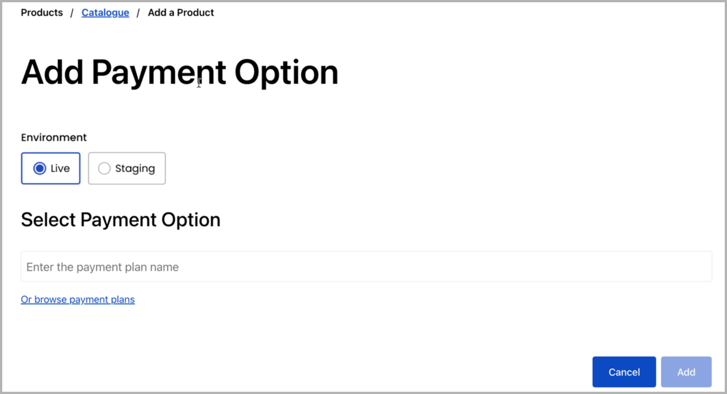
- Choose the environment to which the payment option applies. This feature is available only if you select Zuora Billing as your payment provider. If a payment provider other than Zuora Billing is selected, the following screen is displayed:
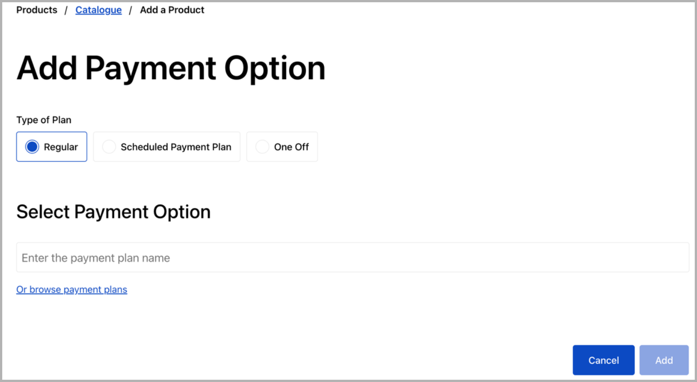
- Select the type of payment plan from the Type of Plan radio buttons. The options are as follows. For more information, see Payment Plan Types.
- Regular
Select this option to find payment plans already configured in your payment provider.
- One Off
Select this option to configure a one-time payment plan.
- Scheduled Payment Plan
This option is displayed only when Stripe is configured as your payment provider. Select this option to create a payment plan with staggered pricing.
Note: If you have not configured a payment provider, a message displays under the Payment Options title and the Add A Payment Option button is unavailable, as illustrated below:
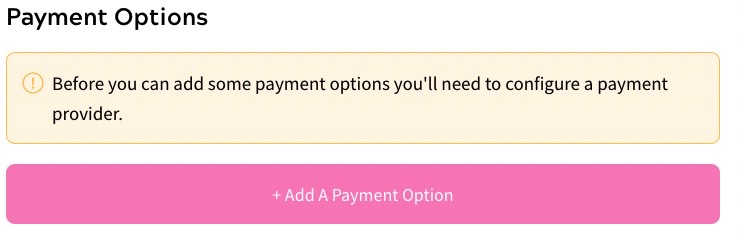
For further information on configuring a payment provider, see the Payments topic. - Regular
- Choose the environment to which the payment option applies. This feature is available only if you select Zuora Billing as your payment provider. If a payment provider other than Zuora Billing is selected, the following screen is displayed:
- In the Product Properties section, select the Shareable Product toggle to allow customers to share their product grants. Once enabled, enter the maximum number of shares allowed in the Sharing Limit text box.

Enter the maximum number of shares allowed in the Sharing Limit text box. For further information on allowing customers to share their product grants, see the Offer Shareable Products section.
- If required, use the Developer Interface to define a JSON Web Token product integration as described in the JWT Product Integration topic.
Note: Zephr recommends that the Developer Interface is used by, or with the support of, a developer.
- Click Save to save the product and return to the Catalogue screen.