Create zones in your outcomes
In your feature outcomes, you can define customised components that will be displayed in a specific zone on the page, such as a footer or pop-up window.
You only need to configure the content and style within the zone and let Zephr manage how the zone is presented on the page.
The available zones include:
- Sticky Footer
- Pop-Up
Each zone could contain one or more custom components, which can be selected from the existing template components in the Component Library or created from scratch.
You can also customise the style of a zone by applying CSS at the zone level.
To set up a zone, perform the following steps:
-
Navigate to the Add an outcome or Edit an outcome screen.
-
Scroll down to the Placement Specific Components section.
-
Select a zone to add by clicking the corresponding Add button, for example, + Sticky Footer.
-
Click Add a Component or Form to add a component or form to the footer. You can either add from the Component Library or create a new custom component block.
-
To add from the Component Library, perform the following steps:
-
Select the component
-
Give a title to the component
-
Decide the version that you want to use
-
Update the values of the variables set for the template
Note that you can preview the template from the preview window.
-
Click Save
See Component Library for more information.
-
-
To create a new custom component block or form, select the component block or type of form you want to create, and then complete the required configurations. For more information, see the relevant topics in Feature Outcomes.
Tip: Save your finalized component or form to Component Library as a template for future use.
Note: You can set up more than one outcome in the zone by repeating this step.
-
Complete the interaction configuration:
-
Display: Specify when the zone is displayed.
-
When Page Loads: Display the zone when the page is loaded.
-
Scroll Down: Display the zone when the user scrolls down.
Note: The zone will load immediately if the end user is already at the bottom of the page. Additionally, if the page content is shorter than the user's screen height and no scrolling is possible, the zone will also load right away. -
After Delay: Display the zone X seconds after the page is loaded.
-
Set up via Javascript: Initiate the zone using Javascript.
To activate a footer zone: Zephr.openFooter();
To activate a pop-up zone: Zephr.openModal().
Tip: On your website, you can preview the zone by calling the above functions in the browser's console. Ensure that you access the feature in a way that will trigger the outcome containing the zone to be tested.
-
-
Closure: Determine whether the zone can be closed.
-
Page Content: Determine whether the content beneath and/or behind the zone can be scrolled.
-
-
Configure the zone-level CSS: Click the CSS configuration button at the bottom right corner to apply CSS to the zone. The following selectors are defined as default:
-
For the footer zone:
-
#zephr-zone-footer: The whole footer zone -
#zephr-footer-close: The close button
-
-
For the pop-up zone:
-
#zephr-zone-popup: The whole pop up zone -
#zephr-popup-close: The close button
-
-
It is recommended that you only add the zone-level CSS here.
Note: If you already use the custom component blocks to build your own footer or pop-ups, to transition to using Zones, you need to decide how to split the style applied at the zone level from the style applied to specific components.
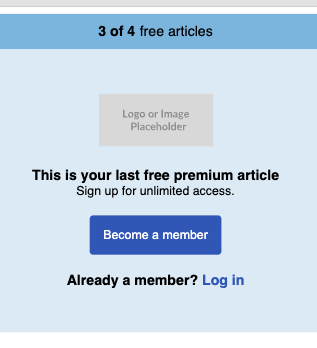
The following screenshot demonstrates a sticky footer zone that contains multiple outcomes:
Data Layer Events for pop-ups and footer zones
The following events will be triggered when a pop-up or footer is displayed or closed:
-
Popup opened:
zephr.popup.shown -
Popup closed:
zephr.popup.closed -
Footer shown:
zephr.footer.shown -
Footer closed:
zephr.footer.closed
For more information about how to use Zephr Data Layer to record and analyse user data, see Data Layer.
-