Manage scheduled orders
For a subscription, you can schedule one or more orders in a scheduler to be executed on future dates. For more information, see Scheduled orders.
You can create orders and save the orders as scheduled orders for the following order actions:
- Create Subscription
- Add Product
- Update Product
- Remove Product
- Terms And Conditions
- Suspend
- Resume
- Renewal
- Owner Transfer
- Cancelation
You can create orders and save the orders as scheduled orders using the Zuora UI or REST API.
Create scheduled orders using the Zuora UI
To create a scheduled order, set a scheduled date for an order and save the order in the scheduled status.
Depending on where you start, choose one of the following tasks.
Start from Orders page
-
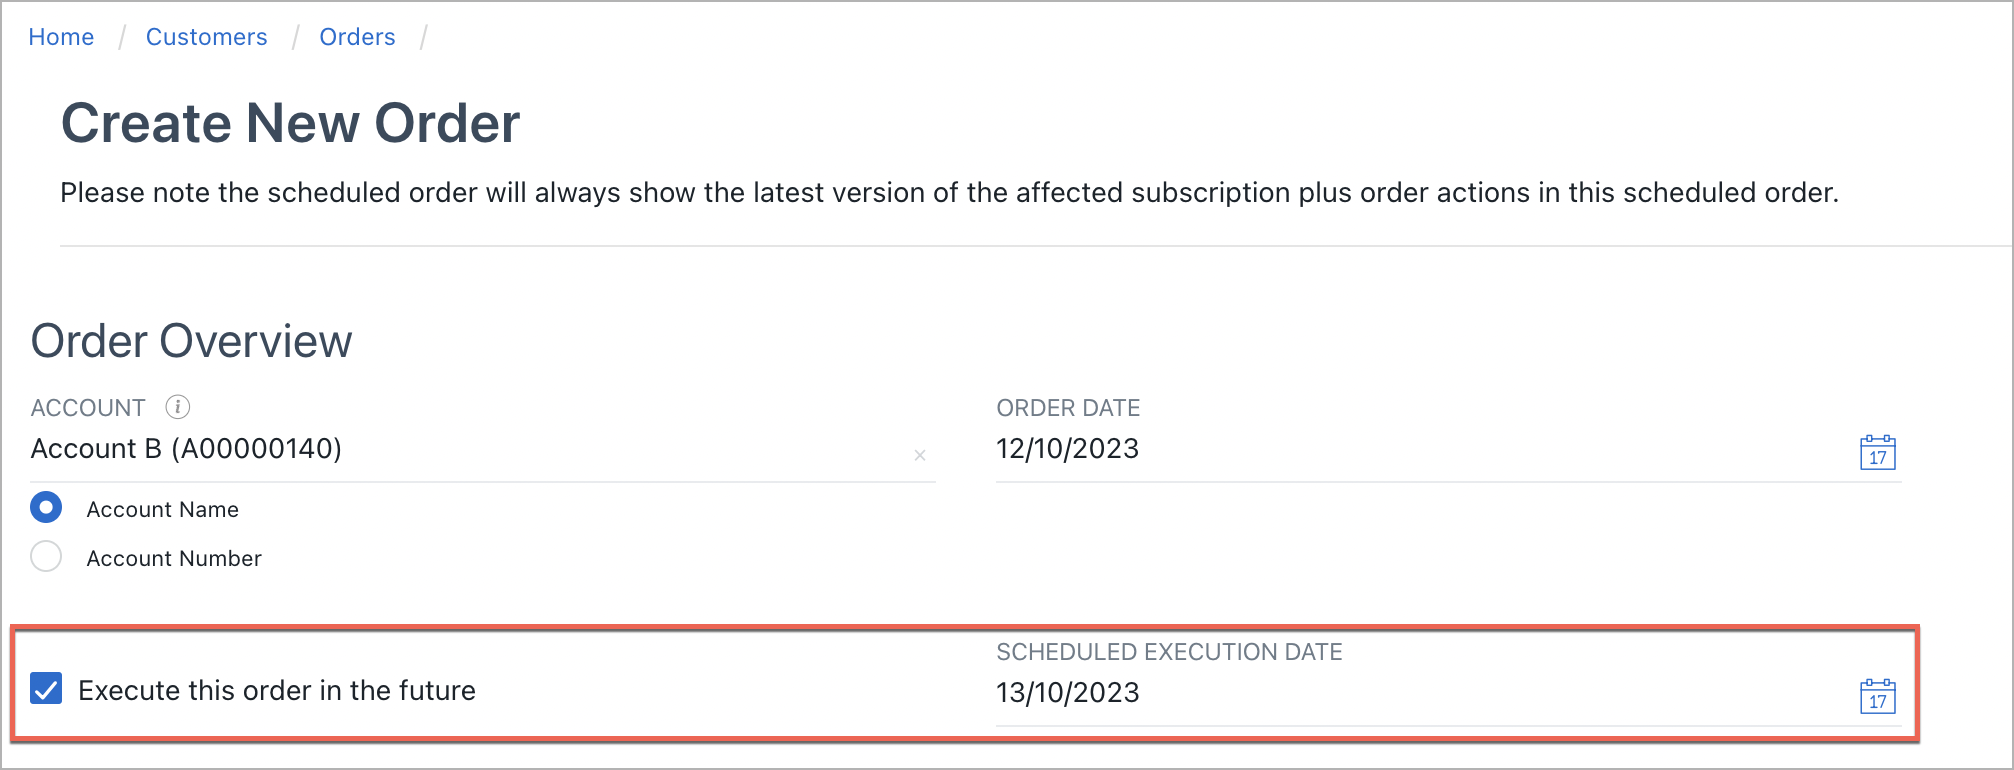
Click Create New Order.
-
On the Create New Order page, select the Execute this order in the future checkbox and select a scheduled execution date.
The date must be a future date. If you’re a Zuora Revenue customer and are using Order Date as the booking date when recognizing revenue, it’s recommended to ensure Order Date and Scheduled Execution Date fall into the same accounting period.
- On the Create New Order page, click Create Subscription or Amend Subscription.
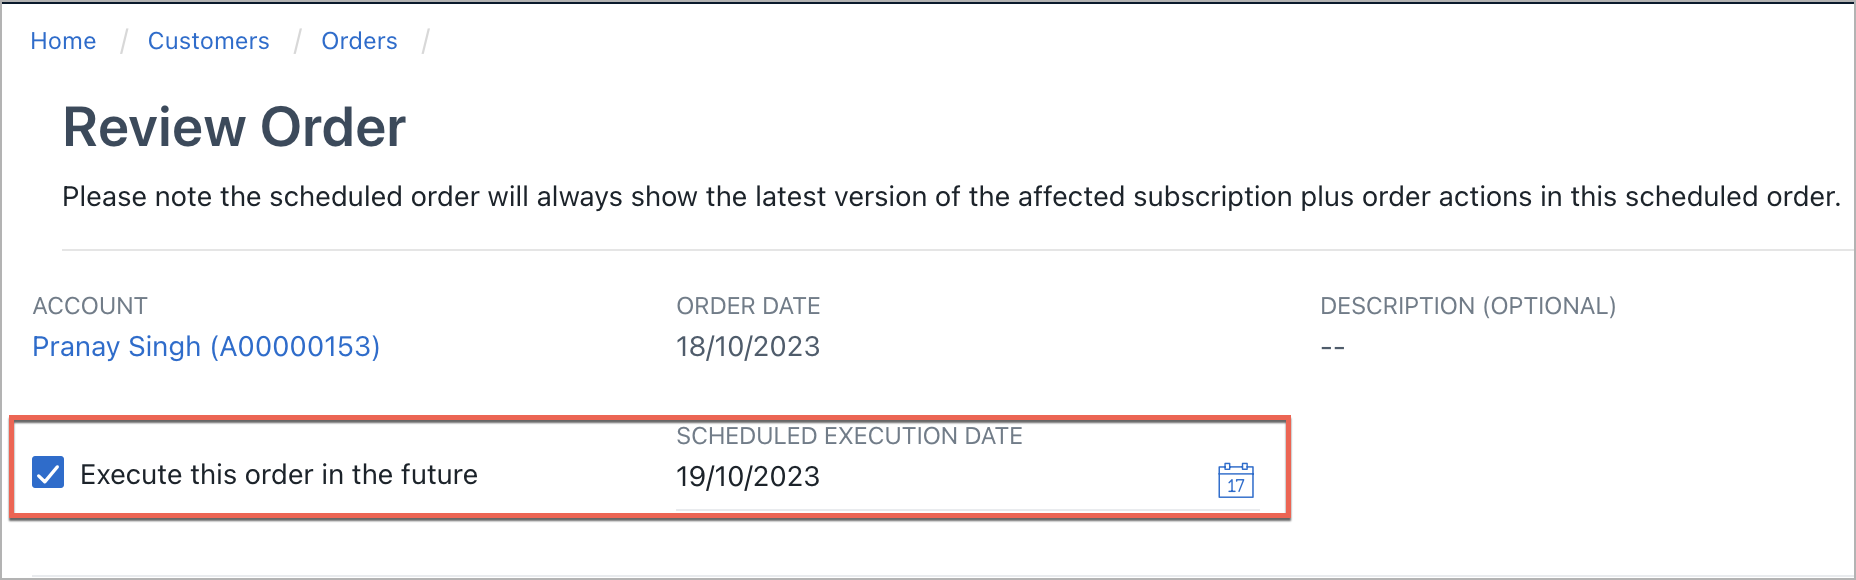
- Perform one order action, see Order actions tutorials. When clicking Review Order and the Review Order page opens, a future version is displayed next to the subscription number due to step 2. You can uncheck the Execute this order in the future checkbox or update the scheduled execution date.
- On the Review Order page, click Save as Scheduled.
Start from subscription details page
- Click Create Order.
-
On the Review Order page, select the Execute this order in the future checkbox and select a scheduled execution date.
The date must be a future date. If you’re a Zuora Revenue customer and are using Order Date as the booking date when recognizing revenue, it’s recommended to ensure Order Date and Scheduled Execution Date fall into the same accounting period.
- Perform one order action, see Order actions tutorials. When clicking Review Order and the Review Order page opens, a future version is displayed next to the subscription number due to step 2. You can uncheck the Execute this order in the future checkbox or update the scheduled execution date.
- On the Review Order page, click Save as Scheduled.
Related tasks
After the scheduled orders are created, you can also perform the following tasks on the scheduled orders:
- Go to the Subscriptions page to view the related scheduled orders of this subscription.
- Search for scheduled orders and view details of the scheduled orders. Depending on the order status, you can perform the following tasks:
- If a scheduled order is in Scheduled status, you can cancel the order on the Orders page or order details page or delete the order on the Orders page or order details page.
- If a scheduled order is in Executing status, you are not allowed to perform other tasks on the order.
- If a scheduled order is in Failed or Cancelled status, you can delete the order on the Orders page or order details page.
- If a scheduled order is in Completed status, you can view the scheduled execution date that differentiates the order from a normal order.
- View scheduled information from the subscription details page. For more information, see View details of subscriptions through the reinvented UI.
Create scheduled orders using the REST API
You can use the Create an order operation to create an order and save the order as a scheduled order.
-
Set the following fields dedicated to scheduled orders:
Field Description statusYou must set the field to Scheduledto save the order as a scheduled order.scheduledDatePolicyDate policy of the scheduled order. scheduledDateThe scheduled date when the order is executed and completed.
The date must be a future date. If you’re a Zuora Revenue customer and are using Order Date as the booking date when recognizing revenue, it’s recommended to ensure Order Date and Scheduled Execution Date fall into the same accounting period.
-
Use the "Create an order" operation to create an order under an existing account:
Request POST /v1/orders/Request Body { "existingAccountNumber": "AN_1676367337210", "subscriptions": [ { "orderActions": [ { "addProduct": { "productRatePlanId": "40288186859a602601859aa873e219e3" }, "type": "AddProduct", "triggerDates": [ { "triggerDate": "2023-02-20", "name": "ContractEffective" }, { "triggerDate": "2023-02-20", "name": "ServiceActivation" }, { "triggerDate": "2023-02-20", "name": "CustomerAcceptance" } ] }, { "removeProduct": { "ratePlanId": "402880e88614f6850186153cb8330531" }, "type": "RemoveProduct", "triggerDates": [ { "triggerDate": "2023-02-21", "name": "ContractEffective" }, { "triggerDate": "2023-02-21", "name": "ServiceActivation" }, { "triggerDate": "2023-02-21", "name": "CustomerAcceptance" } ] } ], "subscriptionNumber": "A-S00000003" } ], "orderDate": "2023-02-09", "status": "Scheduled", "schedulingOptions": { "scheduledDatePolicy": "SpecificDate", "scheduledDate": "2023-02-21" } }
Related API operations
You can also implement the following API operations for scheduled orders:
- Update a scheduled order through Update an order.
- Retrieve scheduled orders through the following operations:
- Cancel a scheduled order through Cancel an order without specifying the
statusandschedulingOptionsfields. - Delete a scheduled order through Delete an order without specifying the
statusandschedulingOptionsfields.