Use Deployment Manager
Prerequisites
- You need to have a Platform Administrator user role to add source tenants for deployments.
- You need to log into the target tenant to run a deployment. A target tenant receives metadata objects from a source tenant in a deployment.
Access Deployment Manager
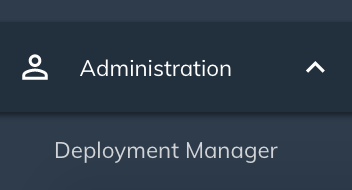
After logging into the target tenant, you can access the Deployment Manager from the left-side navigation under Administration.
Create a source tenant
To run a deployment, you need to create a source tenant that hosts the metadata objects you want to migrate to other tenants. There are two ways to create a source tenant:
- From the Source Tenants tab on the landing screen of the Deployment Manager
- When a new deployment run is created (See Run a deployment for information)
On the source list view interface, the new source tenant's record appears as read-only. You can delete the source tenant ID after authentication.
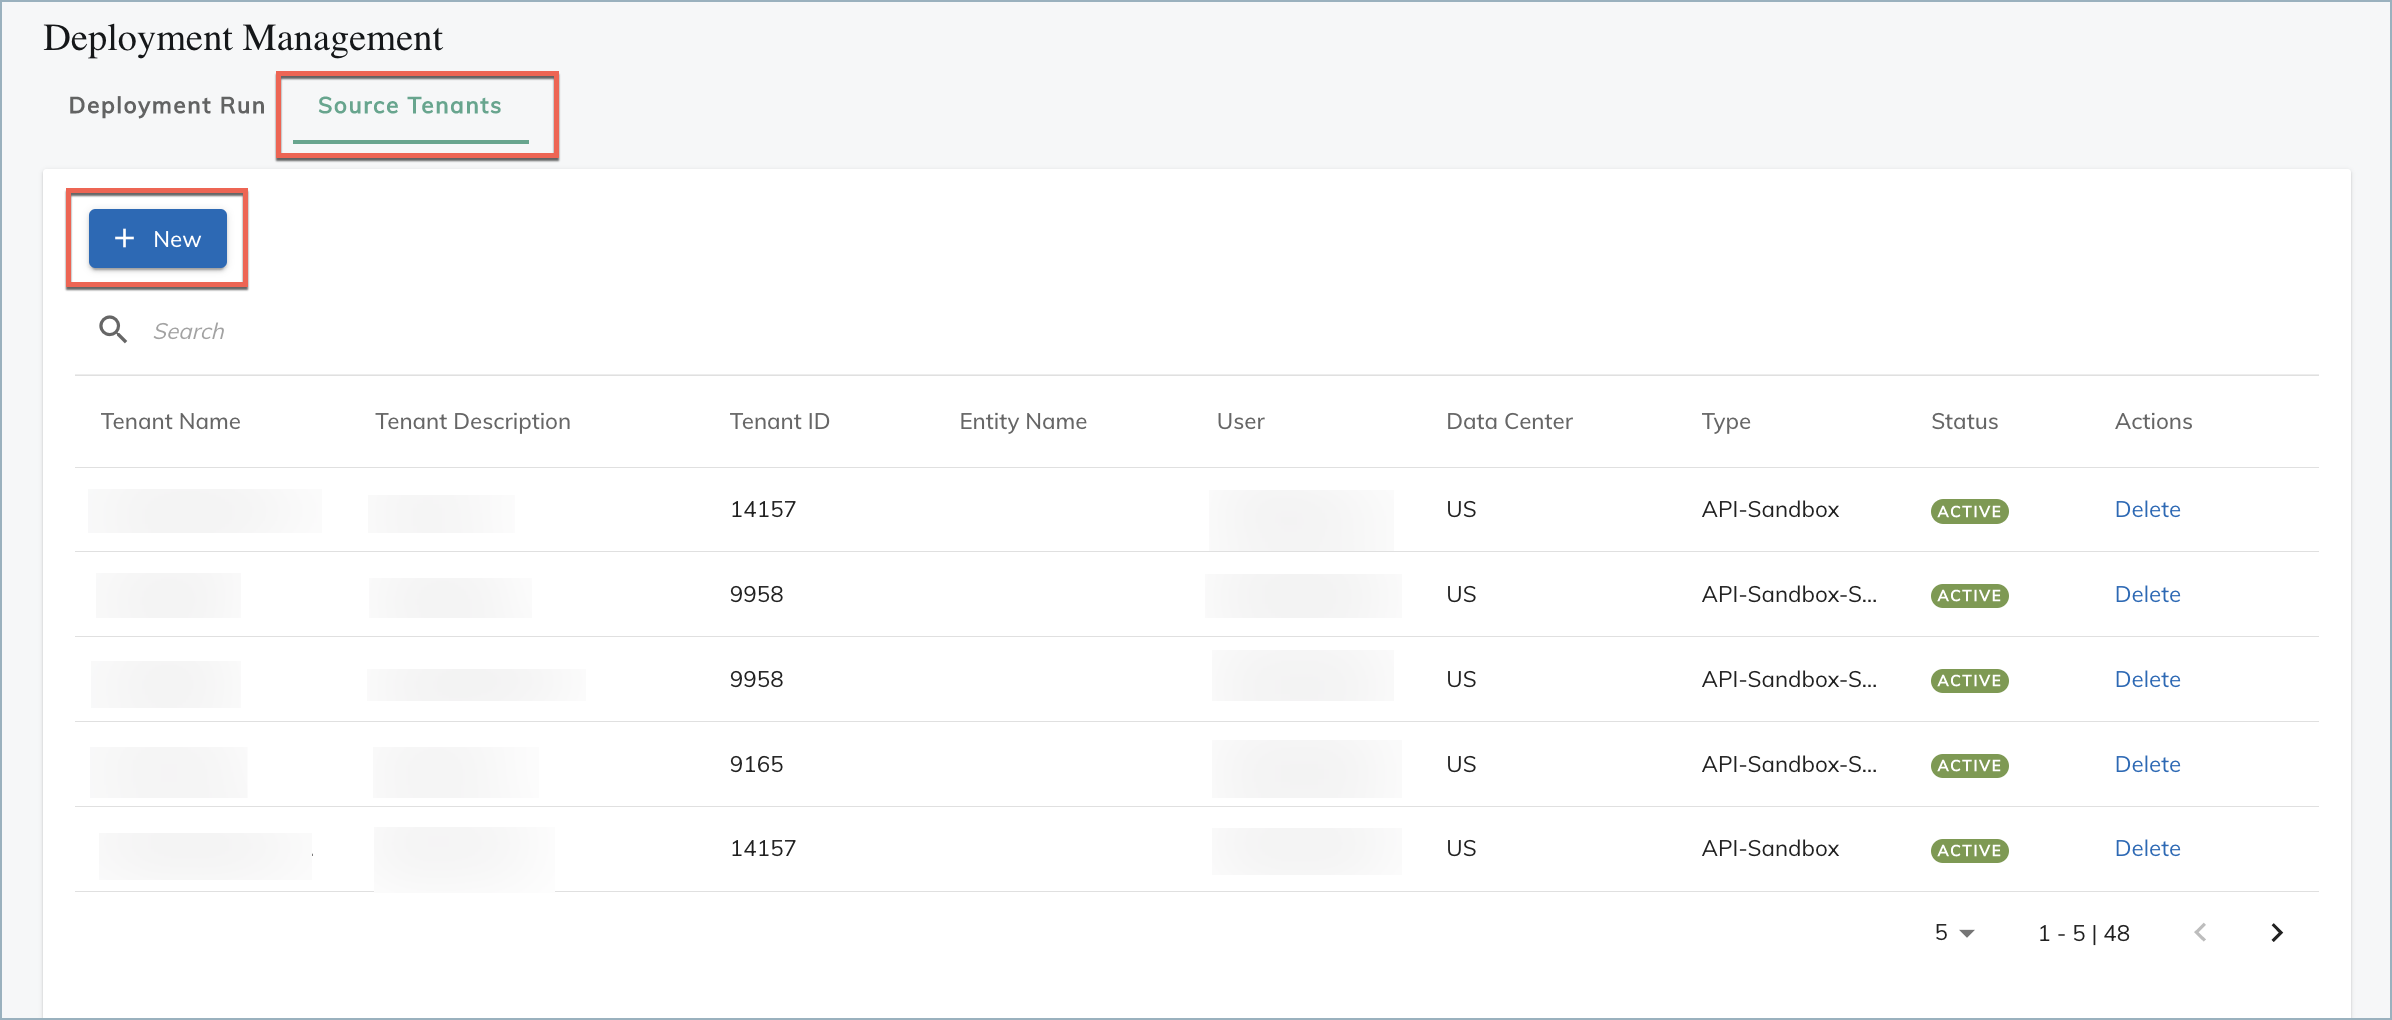
To create a source tenant from the Source Tenants tab:
- Click Source Tenants, then click the + New button.
-
In the Add New Tenant dialog box, provide the required information on Client ID, Secret, and Environment.
- Log into the source tenant and refer to Create an OAuth Client for a User to get the required Client ID and Secret.
- Refer to this page to know the environment of the source tenant from its URL.
- Click Authenticate to validate the source tenant.
The source tenant will appear on the Source Tenants list with an Active status.
Run a deployment
Deployment is the process of migrating metadata objects as components from a source tenant to a target tenant.
To run a deployment after you have logged into the target tenant:
- Click Deployment Run, then click the +New button.
- On the Basics step, provide the required Deployment Name, select a Source Tenant, leave Target Tenant as it is. Note that you have the option to create a source tenant at this point if the source tenant you have in mind is not on the existing list.
- Click Next.
- On the Select step, use the toggle to select the component(s) you want to migrate from the source tenant to the target tenant. Use the Quick Filter option to filter and select the component(s). See Filtering data using quick filters in Deployment Manager, for more information.
- Click Next.
- On the Compare and Deployment step, you can compare the source tenant values and the target tenant values.
Understanding the compare result
| Compare result | UI Icon | Description |
|---|---|---|
| No change |  |
The source tenant values and the target tenant values are the same. |
| Different |  |
The source tenant values and the target tenant values are different. |
| Only in target |  |
The related feature is only enabled in the target tenant and cannot be disabled through deployment. You can contact Zuora Global Support to disable the feature in the target tenant. |
| Feature disabled |  |
The related feature is only enabled in the source tenant. You can contact Zuora Global Support to enable the feature in the target tenant. |
| Cannot be reverted |  |
The values in the target tenant cannot be reverted after the deployment. The following components cannot be reverted:
|
| Cannot be deployed |  |
The values cannot be deployed functionally. The following components cannot be deployed:
|
| Retry-able Error |  |
The parameter values are not retrieved from the backend. You can try after sometime and if the error persists, contact Zuora Global Support. |
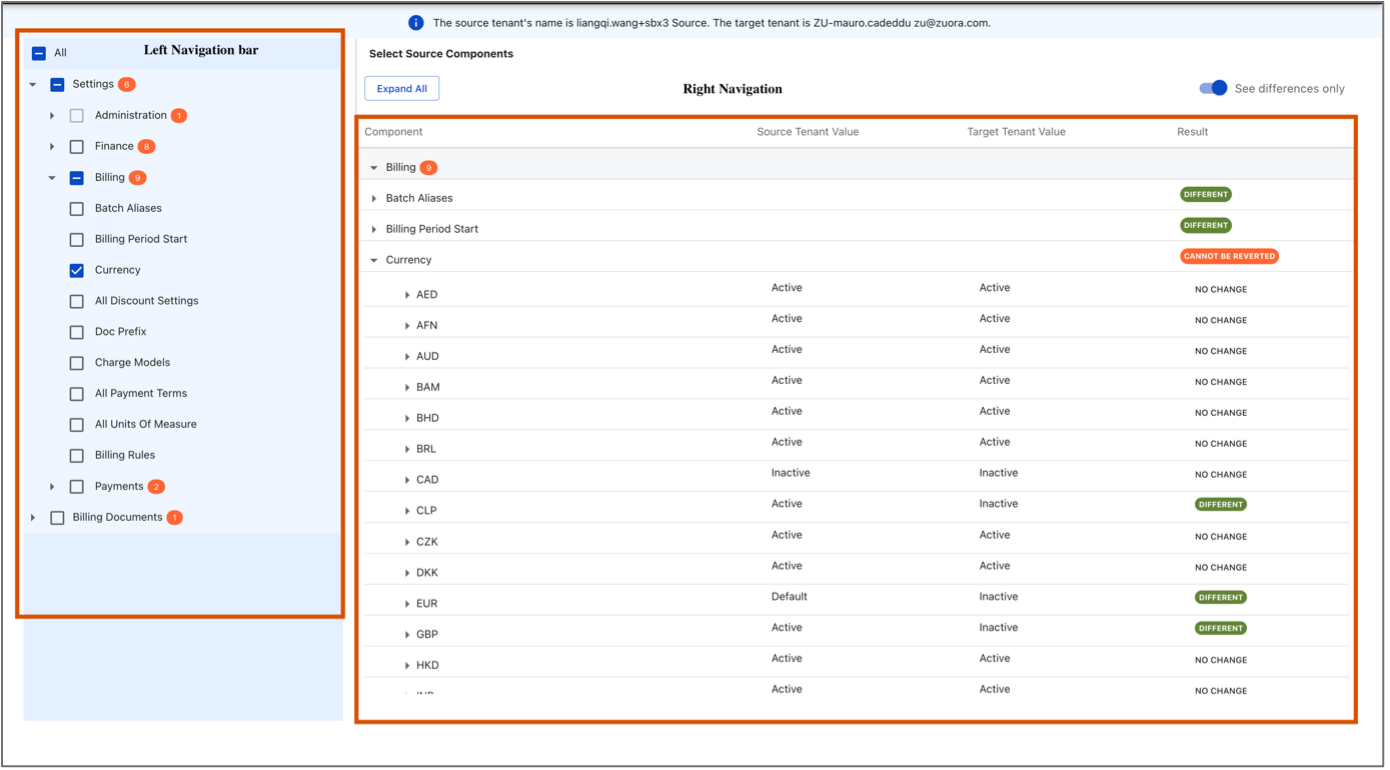
You can use the Show Difference toggle to quickly view the differences between the source tenant and the target tenant. The number of values that are different is highlighted with a red icon. Cannot be deployed, Only in target, and Feature disabled are disabled by default on the compare screen.
The compare screen contains a left and right navigation panel. The left panel has metadata configuration settings, and you can quickly select the components for deployment from this panel. Parameter comparison is displayed on the right panel. Click on the label of each parameter on the left navigation panel to understand the compare results on the right navigation panel.
- Select the checkboxes of the component(s) or the sub-components that you want to migrate from the source tenant to the target tenant.
- Click Deploy.
- Click Confirm on the validation message if you want to run the deployment.
- On the Deployment Setup dialog box, select whether you want to receive an email notification for the deployment result.
- Click Start Deployment.
- The deployment run will appear on the Deployment Run list with a status of Deploy in progress.
- Click Refresh to see the latest status.
Deployment Manager now includes the following new feature.
Configure email notification recipients list
In Deployment Manager, you can configure the email list for notification regarding the deployment status. Previously, an email notification regarding the deployment status was sent to the tenant’s logged-in user once the deployment was complete. For the user, it gives a consolidated view of the deployment status.
Now, you can add more than one email address, and everyone on the list will receive the email notification. By default, the deployment logs are attached to notifications, making it easier for you to understand the status of deployments.
Procedure
To configure the email notification recipients list, take the following steps:
- Click Email Notifications button.
- In the resulting pop-up screen, enter the recipient’s name and email address.
- Click
to save the corresponding recipient.
- (Optional) Click
to edit the recipient’s email address and name.
- (Optional) Click
to delete the recipient’s email address and name.
- Click Save.

When you deploy, you will see the Deployment Setup screen; if you choose Yes, the configured email list will be auto-populated. You can also edit or delete the recipients by clicking the Email Notification Settings link.

Revert a deployment
After a deployment run is complete, you have the choice to revert the values of the target tenant to their previous values.
To revert a deployment run, click Revert under the Action column in the Deployment Run tab. Upon revert, the status of the deployment run will be changed to Reverted.
Note that only deployment runs with Done status can be reverted.
View deployment history and status
On the Deployment Run tab, you can view a history of previous deployment runs and their statuses. In addition, you can sort the list view by clicking on the column names.
A deployment run can have the following status.
| Status | Description |
|---|---|
| In progress | The deployment is in progress. |
| Done | The deployment is successful. All select component(s) are migrated from the source tenant to the target tenant. |
| Failed | The deployment is unsuccessful. None of the selected component(s) is migrated from the source tenant to the target tenant. |
| Reverted | The revert is successful, meaning that all updated values of the target tenant have been reverted to their previous values before the deployment. |
| Rollback failed | The revert is completely failed, meaning that none of the updated values of the target tenant have been reverted to their previous values before the deployment. |
| Partial revert | The revert is partially successful because some of the components cannot be reverted. For example, assume you try to revert 10 components and 3 of them cannot be reverted. When the revert is done, a Partial Revert status is displayed, meaning that 7 components that can be reverted have been reverted successfully while the other 3 components were not reverted. If any of the 7 components were not reverted successfully, then the status would be Rollback Failed. |
| Partially done | The status is applicable when a section of the total selected components is deployed. For example, if 47 components are selected for deployment but 27 components are successfully deployed, whereas the remaining 20 components are not deployed. The details of the components can be referred to in View Logs. |
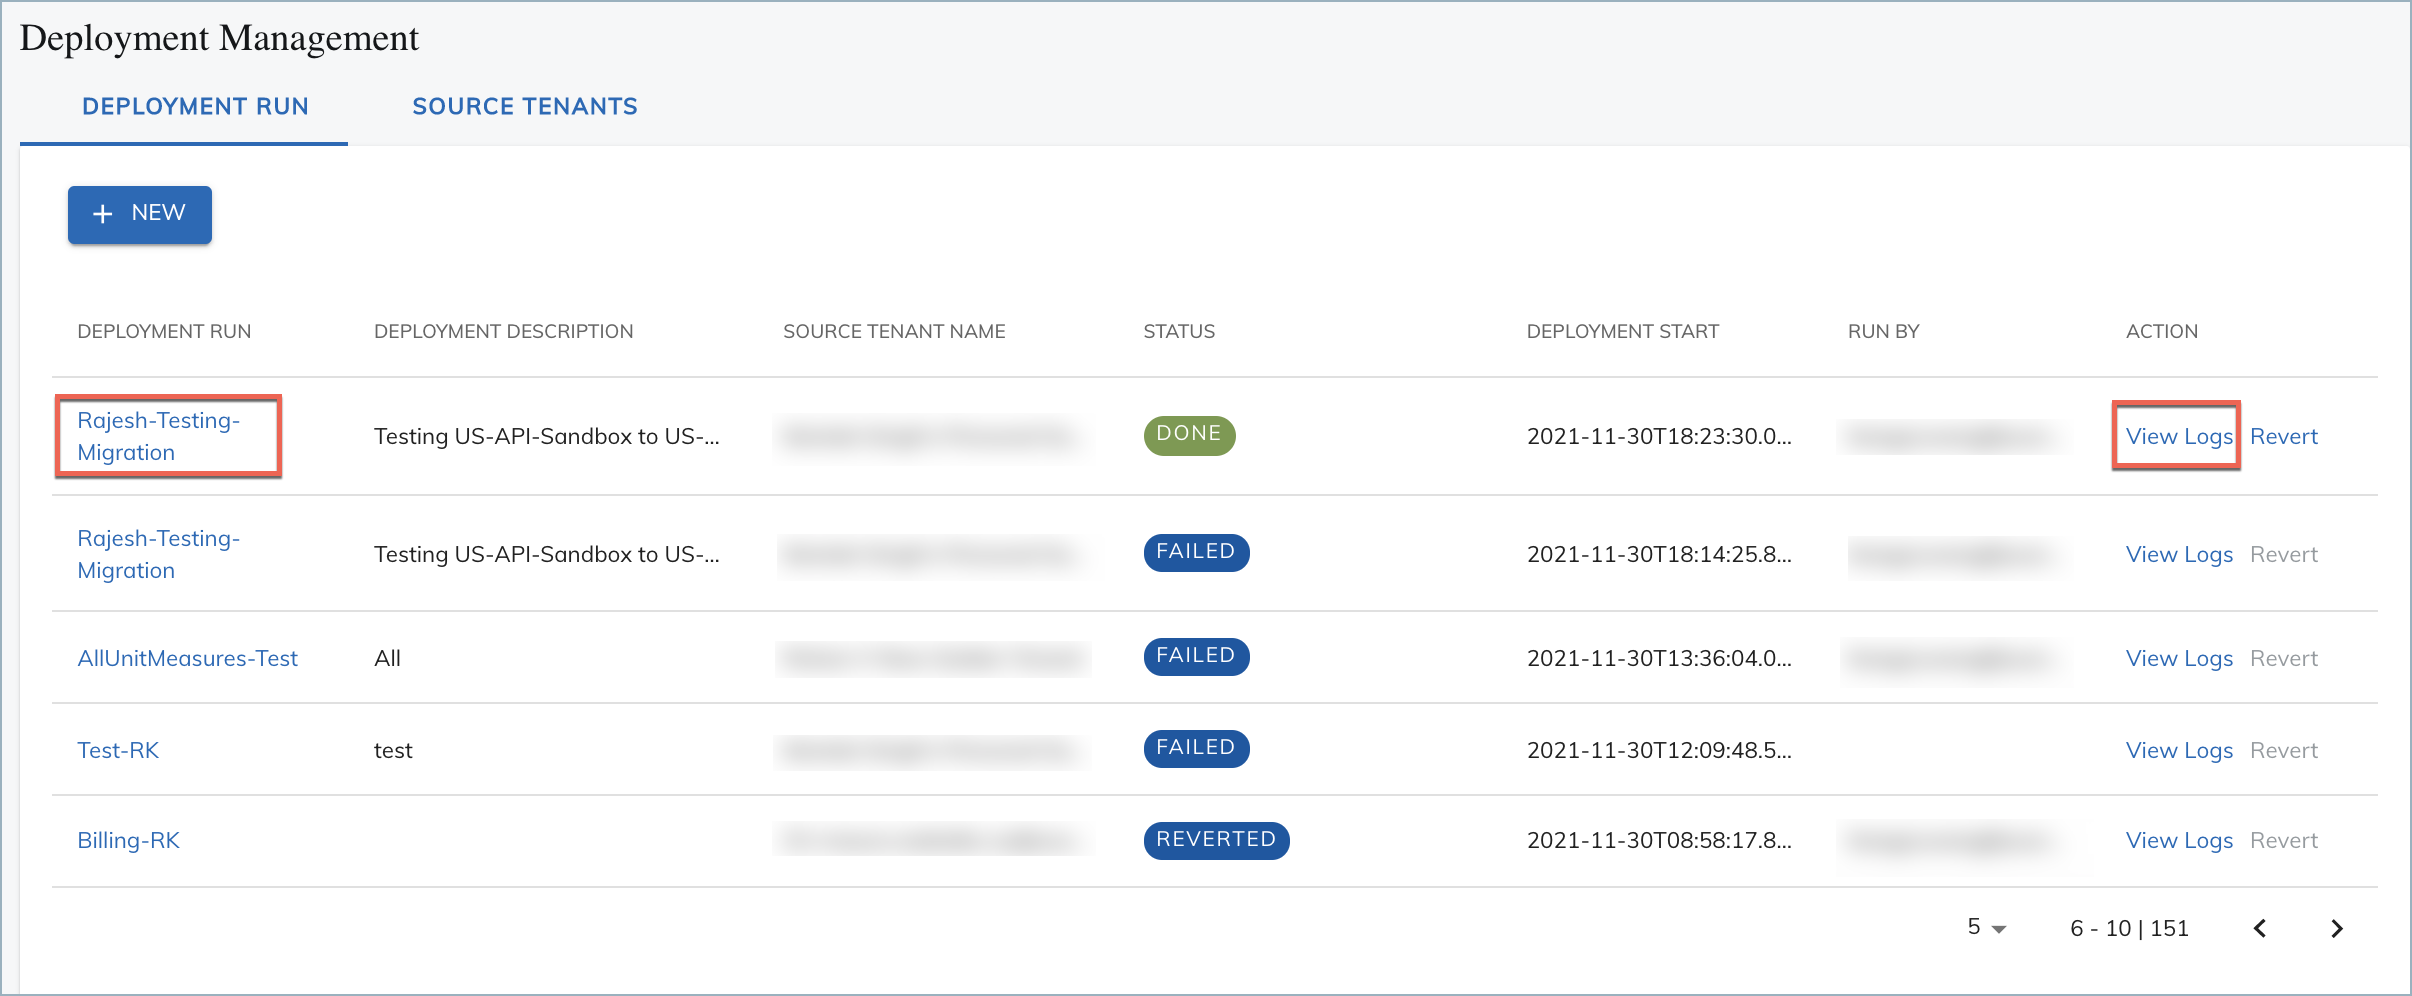
View deployment task details
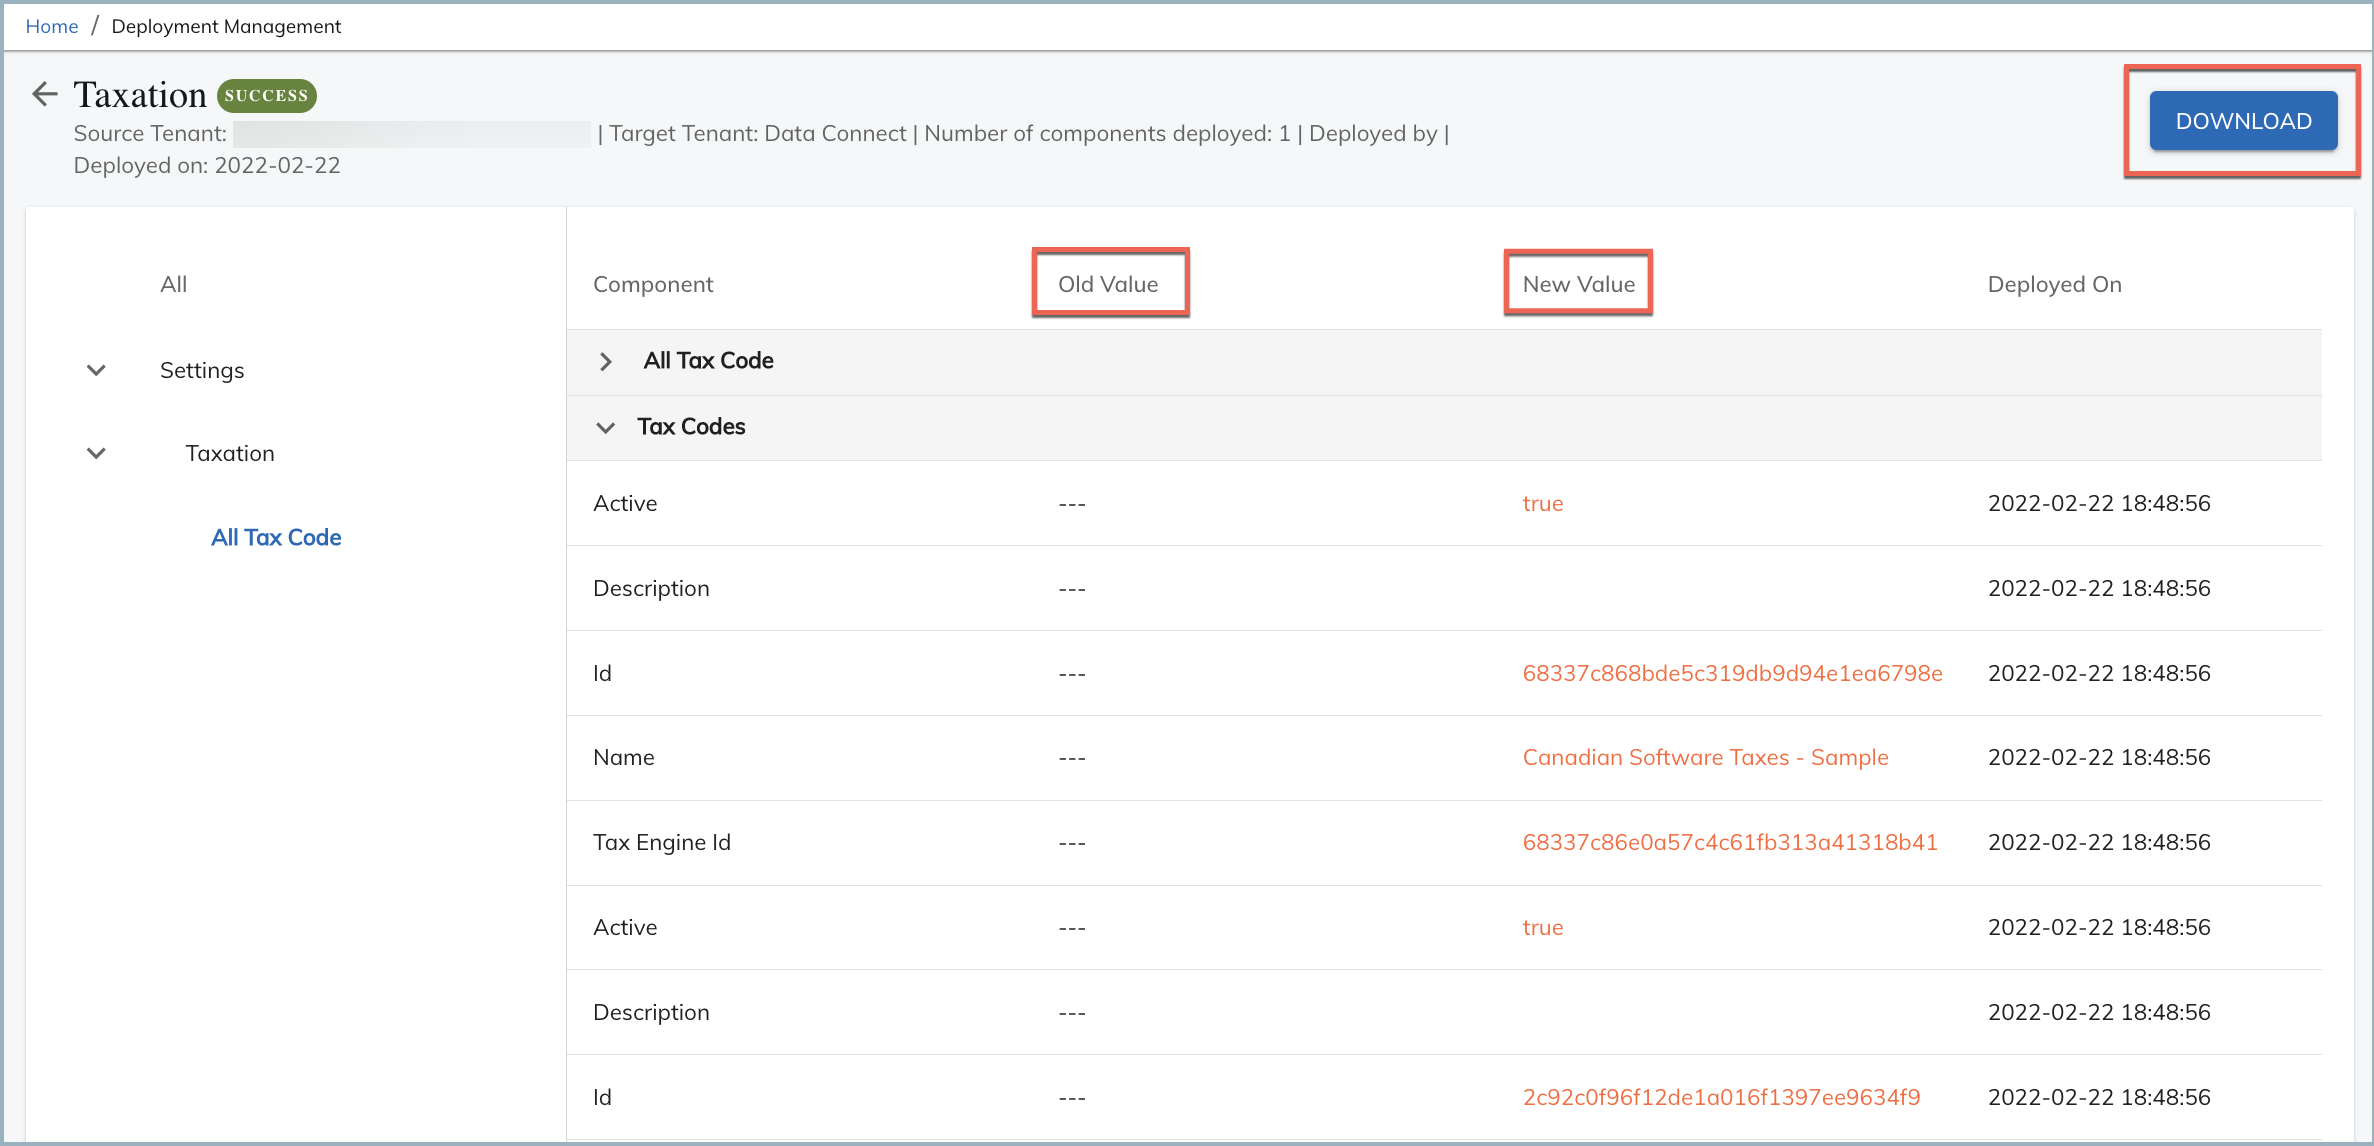
To view the task details of a deployment run, you can click the name of the Deployment Run to open a task detail page or click the View Logs link to download the task log.
On the task detail page, the Old Value refers to values in the target tenant before the deployment, and the New Value refers to values in the target tenant after the deployment. You can also download an audit report in the csv format.
Note:
- If you click the name of a Reverted deployment run, the values displayed on the task detail page are the result of the original Deployment action, not the Revert action.
- If you want to know the reason for a failed deployment run, click View Log to download the log.
Deploying using configuration templates via UI and APIs
Configuration Templates in Zuora Deployment Manager enable you to configure your tenants in minutes by importing a templated metadata configuration file. This feature eliminates the need for long manual configuration processes that would have taken hours previously. You will be able to access a comprehensive repository of industry-specific templates. It will be easier for you to deploy and release. Overall, you will be able to combine, validate, deploy, release, redeploy and release, thereby enhancing operational efficiency. For more information on configuration templates, see using via UI and using via API references.
Filtering data using quick filters in Deployment Manager
The quick filters option on the compare screen enables you to create specialized views, focus on specific data, and helps to narrow down the search result. You can create, save, edit, and delete a filter. The saved filters are available to all users of a tenant. For more information on configuring and using templates, see Using quick filters in deployment manager.