Logic: Case
The case task splits the execution of a workflow into several branches based on the value of a data field or a combination of multiple data fields, or based on the conditional statements that you define.
Task settings
Enter the data field, data field combination, or conditional statements in Liquid as the case definition. Add specific values of the data field or the conditional statements as case values. Regular expressions are supported as case values.
Click Add Case to add a new case and click the delete icon to delete a case.
If you want to use a Liquid variable that is defined in an upstream task in the current task, you must select Skip Validation. Otherwise, the variable cannot be parsed and you will get an error.
A single data field
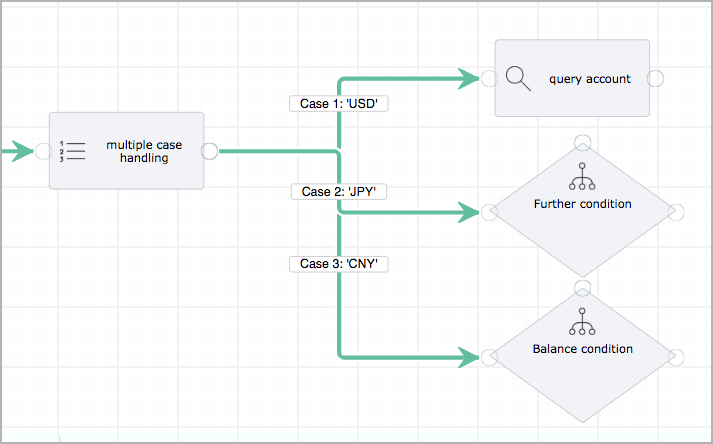
Branching based on the value of a single data field is straightforward. For example, if you need to branch a workflow based on account currencies, you can specify Data.Account.Currency (in double curly brackets) as the case value, and define USD, JPY, and CNY as the cases.
Combination of multiple data fields
To handle outcomes that involve multiple data fields, you can use the append method to combine these fields in Case Value. For example, you can define a combination of account currency and bill contact state using this statement:
{{ Data.Account.Currency | append: ‘--’ | append: Data.BillToContact.State }}
For cases, you can use ‘USD--GA’ or ‘USD--IL’.
Conditional statements
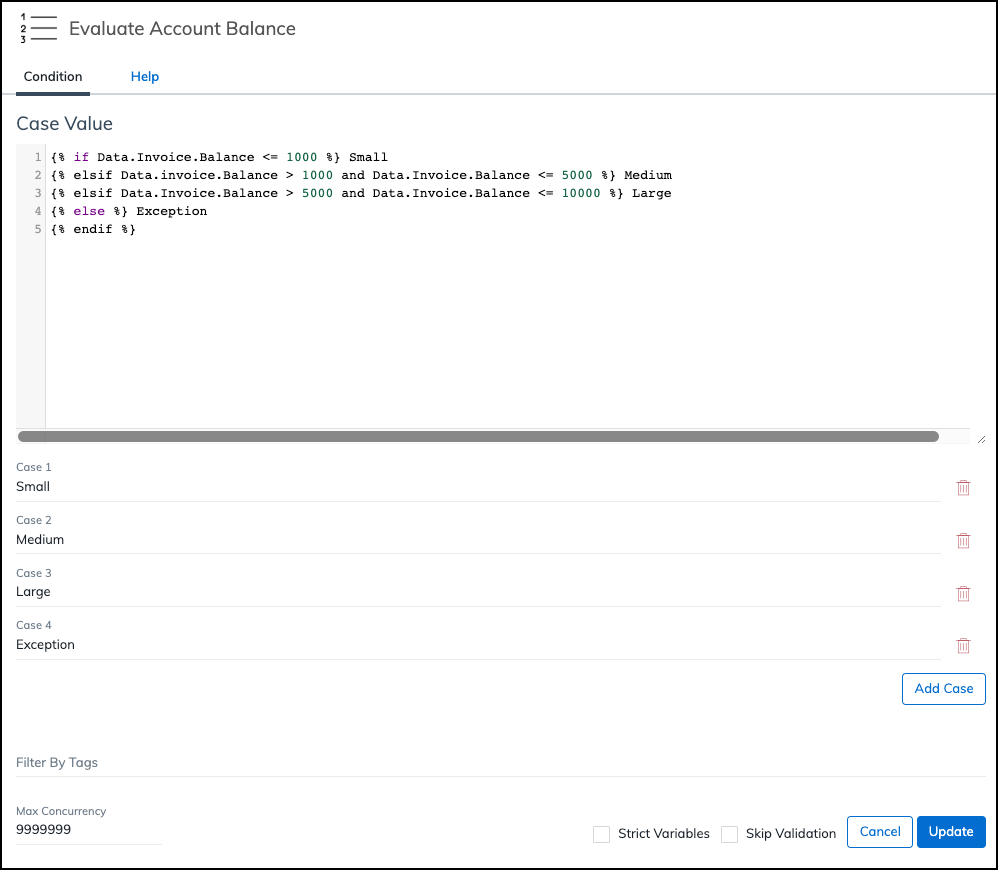
If you need to branch a workflow based on conditions, you can enter the conditional statements in Liquid in the Case Value field. Here is an example of defining cases based on conditions.

Regular expressions in case values
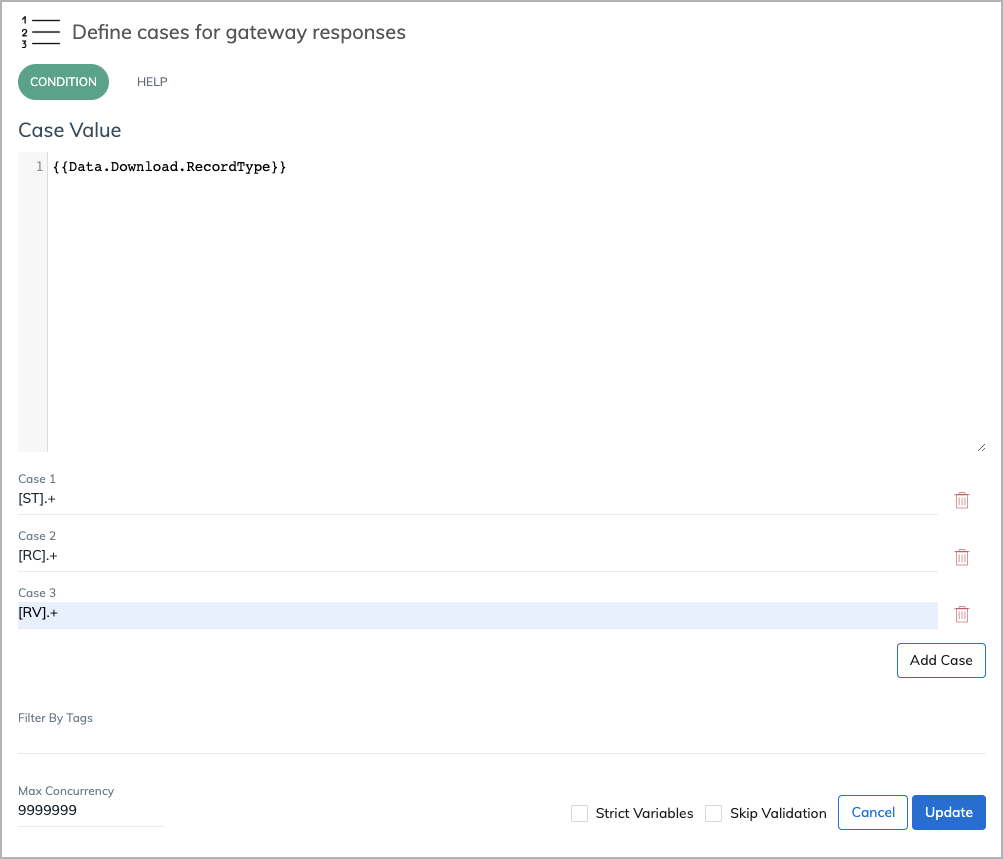
For example, if you want to define three cases for gateway responses (Settled, Reject, and Reverse) based on the first two characters of the reason codes returned from gateways, you can use regular expressions.
For example, if a reason code starting with ST means the corresponding payment is settled, you can specify [ST].+ as the case for Settled.

Workflow design considerations
After you complete the configuration of a case task, you must add a task following the case task for each defined case to start a branch.
Note that you can select Else to handle all values that are not defined in cases.
Below is an example of multiple branches created after a case task.

