Configure revenue recognition policy
On the Revenue Recognition Policy page, you can configure the following settings:
To access the Revenue Recognition Policy page, click your username at the top right and navigate to Revenue > Revenue Recognition Policy.
Revenue Recognition Timing
In this section, you can view the predefined options for the Revenue Recognition Timing setting. You can also add custom options for the Revenue Recognition Timing setting.
The predefined and custom options are used as enum values to choose from when you set up a product rate plan charge and configure the Revenue Recognition Timing field for the product rate plan charge.
View predefined options for Revenue Recognition Timing
To view the predefined options for the Revenue Recognition Timing setting, navigate to the Revenue Recognition Timing section.
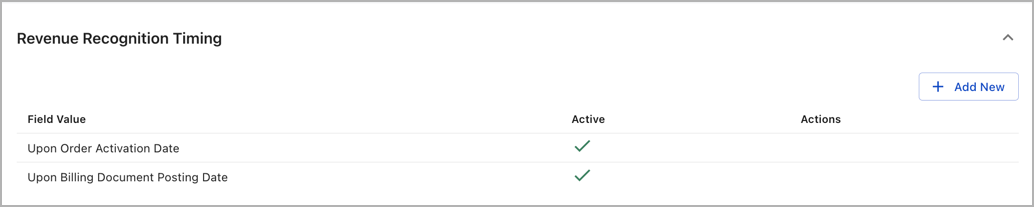
As the preceding diagram shows, two predefined options are available for the Revenue Recognition Timing setting, as follows:
- Upon Order Activation Date
- Upon Billing Document Posting Date
You cannot edit, inactivate, or remove a predefined option.
Add a custom option for Revenue Recognition Timing
To add a custom option for the Revenue Recognition Timing setting, do the following:
- Navigate to the Revenue Recognition Timing section.
- Click the Add New button. A new row is displayed for you to add a custom option.
- In the Field Value column of the new row, enter an option name for the new custom option that you want to add.
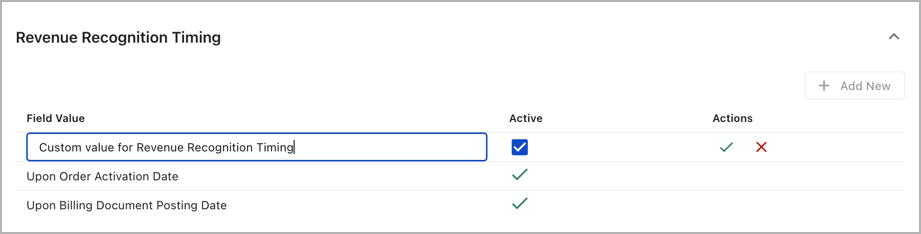
- Ensure the Active column in the new row is ticked so the new custom option is active.
- Click the
 icon in the Actions icon to save the new option. A dialog box shows up for you to confirm the addition.
 - Click Save in the dialog box to confirm the addition.
You cannot edit, inactivate, or remove a custom option.
Revenue Amortization Method
In this section, you can view the predefined options for the Revenue Amortization Method setting. You can also add custom options for the Revenue Amortization Method setting.
The predefined and custom options are used as enum values to choose from when you set up a product rate plan charge and configure the Revenue Amortization Method field for the product rate plan charge.
View predefined options for Revenue Amortization Method
To view the predefined options for the Revenue Amortization Method setting, navigate to the Revenue Amortization Method section.

As the preceding diagram shows, two predefined options are available for the Revenue Amortization Method setting, as follows:
- Ratable Using Start And End Dates
- Immediate
You cannot edit, inactivate, or remove a predefined option.
Add a custom option for Revenue Amortization Method
To add a custom option for the Revenue Amortization Method setting, do the following:
- Navigate to the Revenue Amortization Method section.
- Click the Add New button. A new row is displayed for you to add a custom option.
- In the Field Value column of the new row, enter an option name for the new custom option that you want to add.
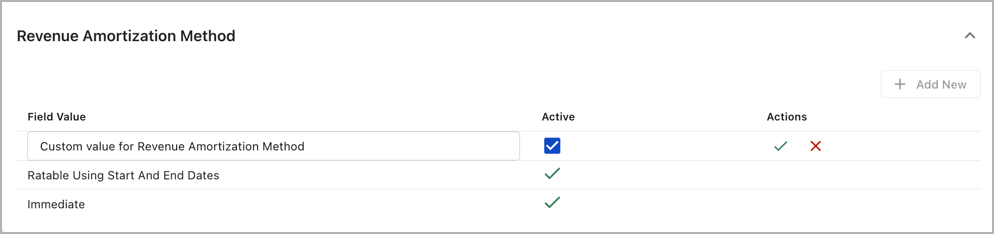
- Ensure the Active column in the new row is ticked so the new custom option is active.
- Click the icon in the Actions icon to save the new option. A dialog box shows up for you to confirm the addition.
- Click Save in the dialog box to confirm the addition.

You cannot edit, inactivate, or remove a custom option.