Configure the Collections Window feature
Prerequisites
-
You must have installed Collections Window. See Install Zuora Collections Features for more information.
-
The feature must be created by using the OAuth credential. See Verify and update OAuth credentials for more information.
-
To manage manual approval workflow tasks in Collection Window, you must have created a workflow for collecting payments, included approval tasks, and defined input parameters in the workflow. See Integrate Workflow with Other Zuora Products for details.
-
You must have installed Notes. The integration with Notes is to enable the commenting functionality in Collections Window. For more information, see Install Zuora Collections Features.
-
Optional: To retrieve the retry status of accounts and display in Collections Window, you can install and configure the Configurable Payment Retry. See Set Up the Configurable Payment Retry Feature.
-
The Collections window uses the Rest API to communicate with Zuora Billing. If you have access to the Rest API specifically, those who can submit AQuA jobs can access the Collections window.
Overview
Upon the first launch of Collections Window, you'll be prompted to complete the initial settings in a wizard. The integration with Workflow and Notes must be configured before you can use Collections Window. Although only the integration settings with Workflow and Notes (in step 2) are mandatory, Zuora recommends that you complete all the settings.
The initial settings consist of five steps:
- Configure the schedule.
- Configure the conditions for in-collection accounts and critical invoices.
- Configure system integration.
- Configure collection statuses.
- Select custom fields that you want to display on account pages.
- Save the settings.
For the first-time configuration, do not click Create until you complete all the settings.
All the settings can be changed later.
Configure the schedule
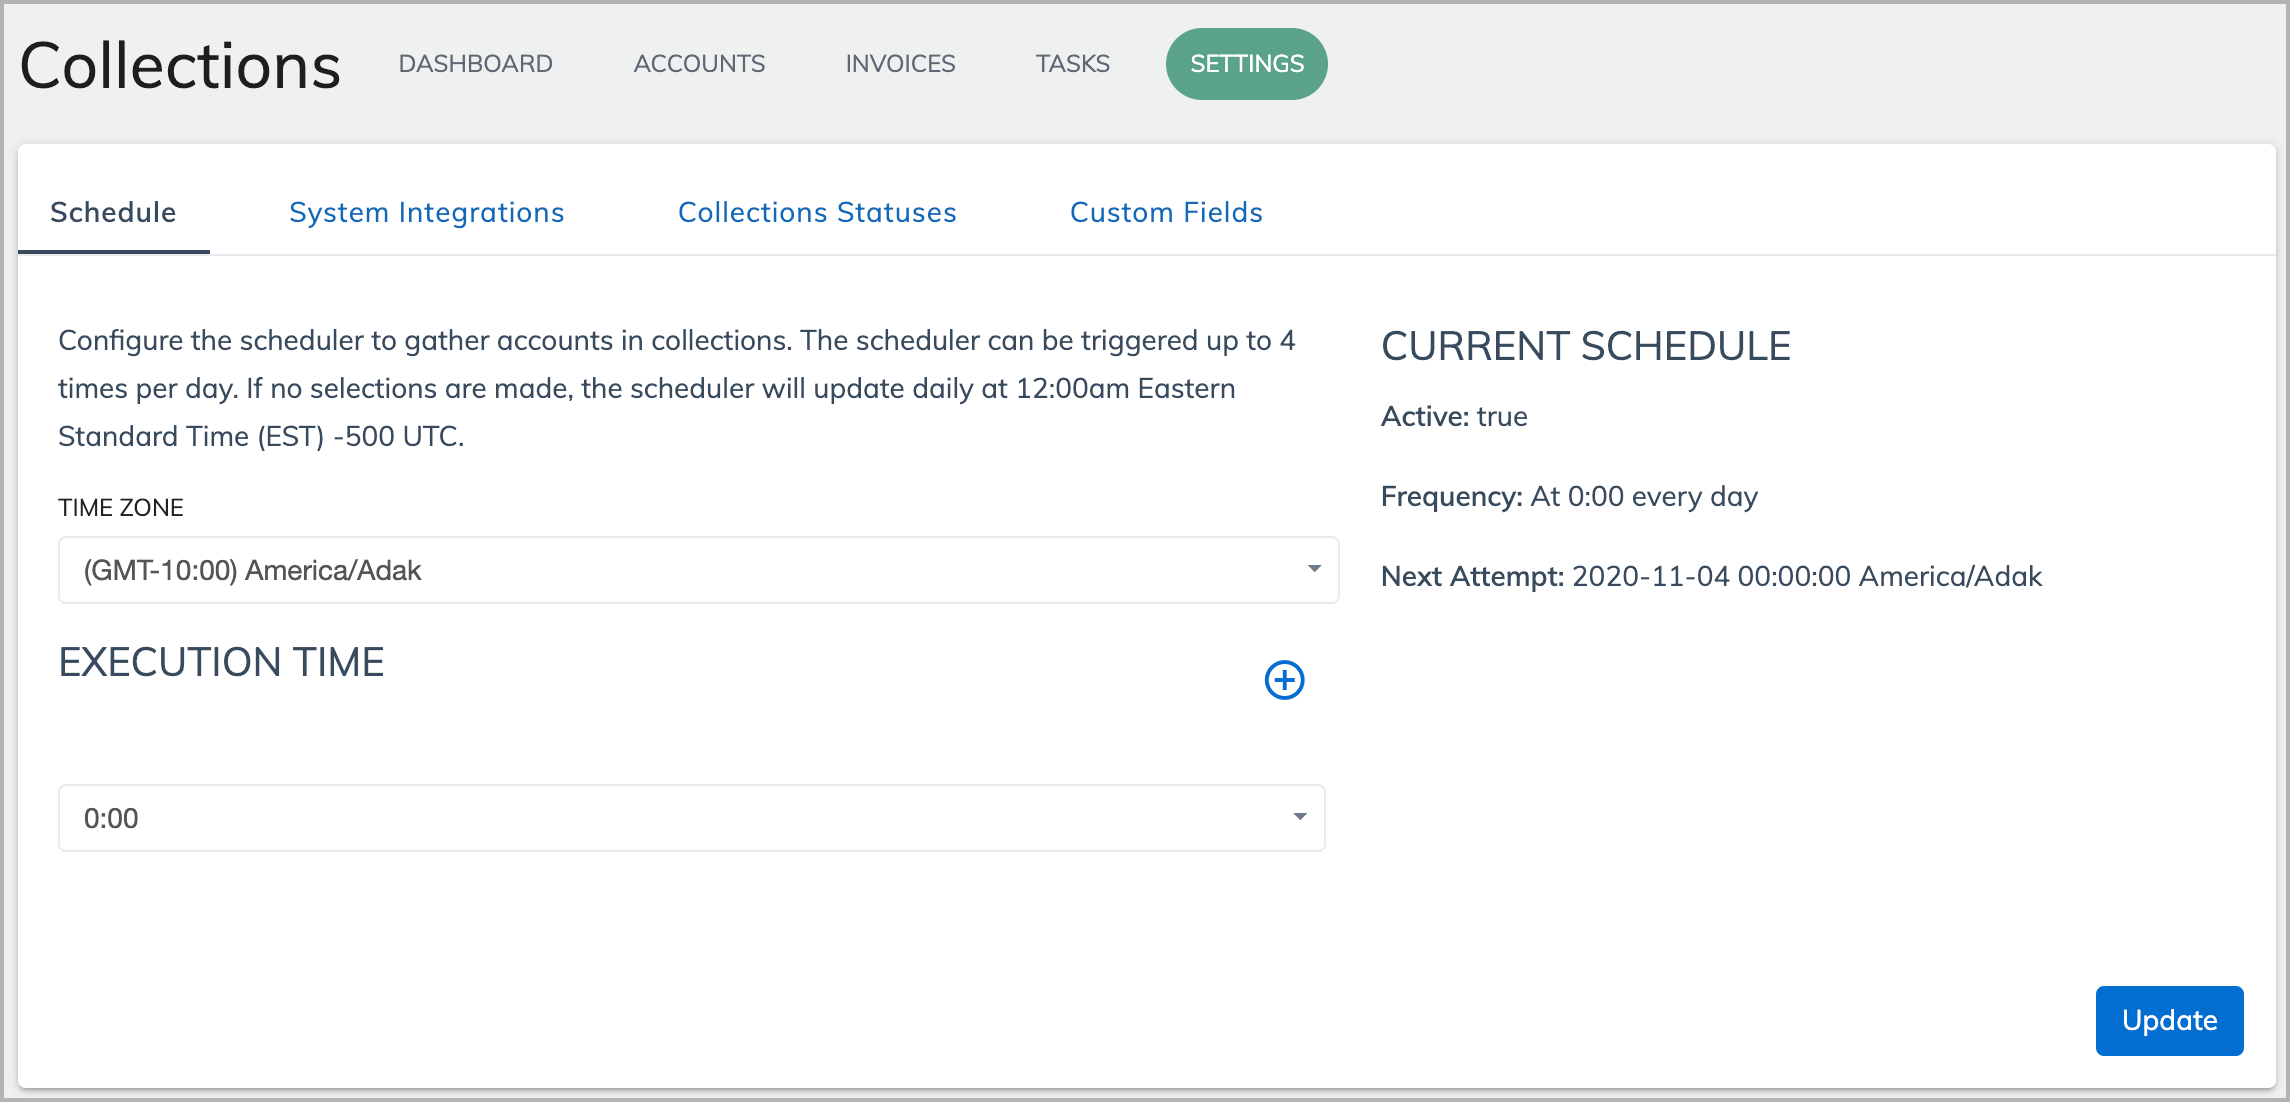
In the Schedule tab, configure the time zone and add the times for fetching accounts that meet the in-collection conditions. You can skip this step if you want to configure the time zone and schedule later.

-
Ensure that you select the same time zone as in Zuora to avoid payment errors.
-
Adjust the execution time and optionally add more execution times. You can have four execution times at most. The frequency is fixed at daily.
Configure conditions for in-collection accounts and critical invoices
In the Conditions tab, configure the conditions for in-collection accounts and critical invoices. The Conditions tab is only available upon the first launch of Collections Window.
-
The balances are in the home currency of your tenant.
-
The conditions for critical invoices and the conditions for in-collections accounts are independent of each other. A critical invoice may belong to an account that is not in collections.
-
For an account to be considered "in-collections" and populated in the Accounts tab, the total invoice balance must be a positive value greater than the specified number, and the days overdue must be greater than the specified number. Both conditions must be met.
-
For an invoice to be considered critical and populated in the Invoices tab, the invoice balance must be greater than the specified amount and the days overdue must be greater than the specified number. Both conditions must be met.
After the first-time configuration, the conditions for in-collection accounts and critical invoices can be modified in the Accounts and Invoices tab separately. For details, see Using Collections Window.
Configure system integration
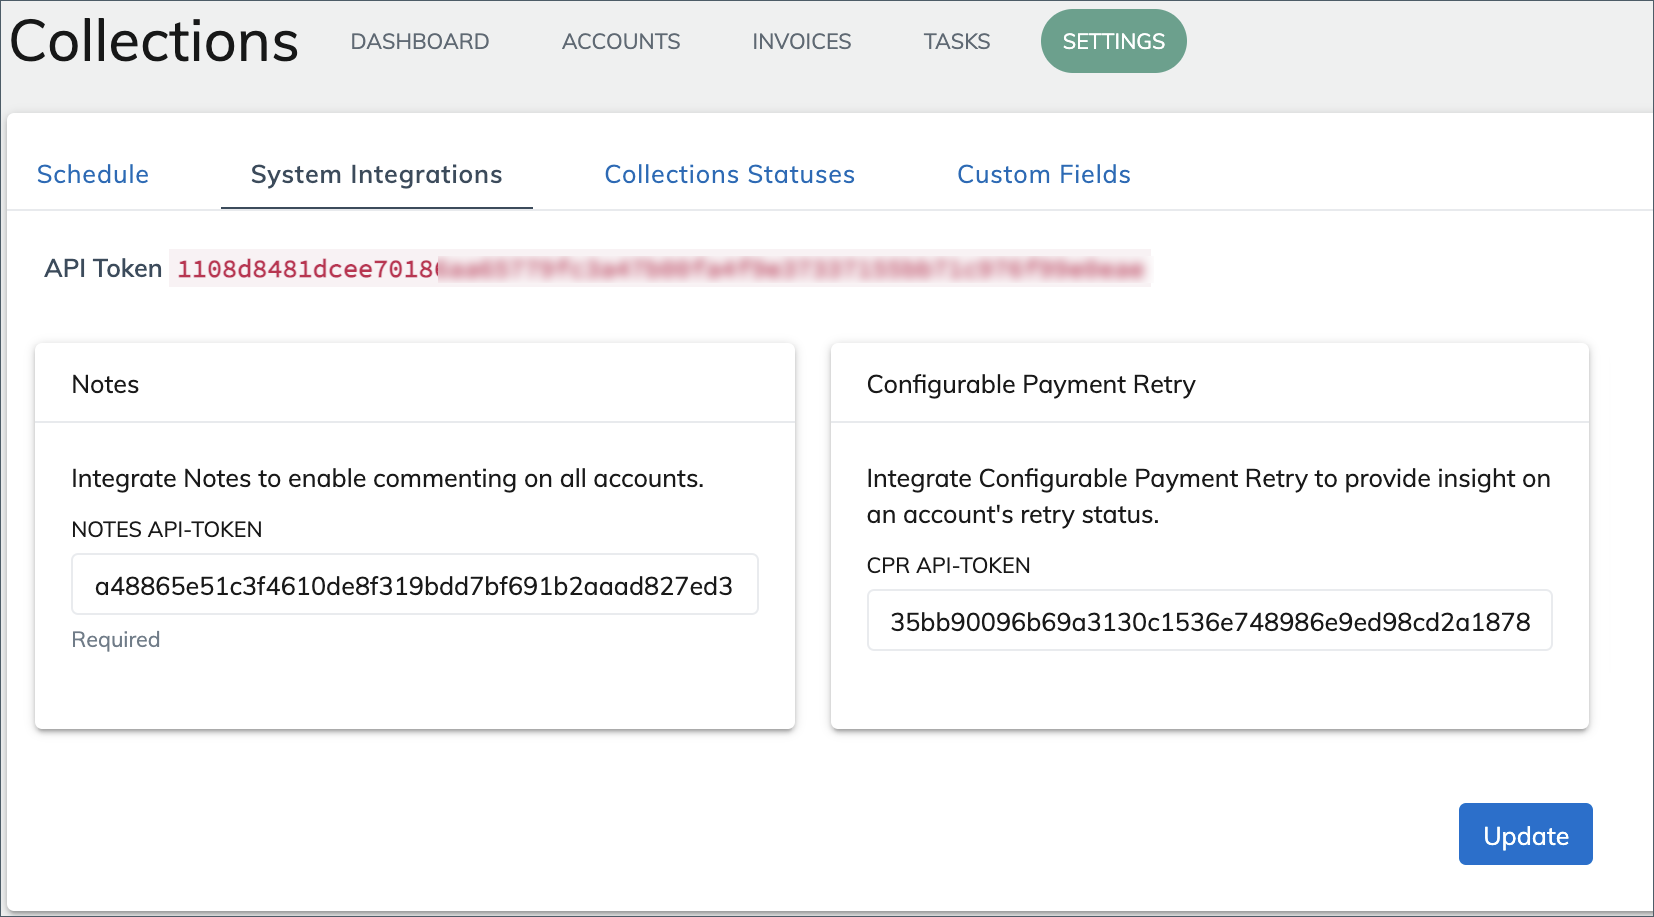
In the System Integrations tab, enter the API tokens for the integration with Notes and optionally Configurable Payment Retry.
- Obtain your Notes API-token from the home page of Notes. The integration with Notes is required.
- The Configurable Payment Retry API-token can be obtained from the System Settings section on the Settings page of Configurable Payment Retry. The integration with Configurable Payment Retry is optional.

Configure collection statuses
On the Collections Statuses tab, define the collections statuses that can be applied for accounts and invoices. This step is optional.
Account statuses
For account statuses, four predefined values are loaded by default, including In Collections, Pending, In Dispute, and Paid in Full. If any of the four predefined statuses is not required, click 'x' to remove it.
To add a new custom status, input the status label in the text field and press Enter or Return. Click Update to save the settings.
After you complete the configuration, the In Collections status is applied to all accounts by default. You can update the collection status of an account by using any statuses defined in this configuration. See Manage accounts in collections for more information.
Invoice statuses
Defining and applying custom invoice statuses is an opt-in feature. If you want to enable this feature, click Enable Invoice Statuses on the Collections Statuses tab. You can disable it when needed. Once this feature is enabled, a custom object called Collections Status is created. The creation of this custom object counts towards the limit of the custom objects allowed in your tenant.
If Invoice Statuses is enabled, In Collections is the default status automatically applied to any invoices that meet the conditions for critical invoices. It cannot be deleted or edited.
To add a new custom status, input the status label in the text field and press Enter or Return. Click Update to save the settings. A maximum of five statuses is allowed including the In Collections status.
To delete a custom status, click 'x' behind the status label.
You can also edit the custom statuses for invoices through editing the custom object records. See Custom object records for more information.
After you complete the configuration, you can update the collection status of an invoice by using any statuses defined in this configuration. See Use the Collections Window feature for more information.
Select custom fields that you want to display on account pages
You can select account-level custom fields that you want to display on account pages. Click a blank space in the Enabled Account Custom Fields to select a new custom field. Click 'x' to delete a custom field that has been added to the list. After a custom field is selected in this tab, it will appear in the Custom Fields card on an account page, where you can edit the value of a custom field.
There are two account-level custom fields that you cannot enable: CollectionsAgent and InCollections.

Save the settings
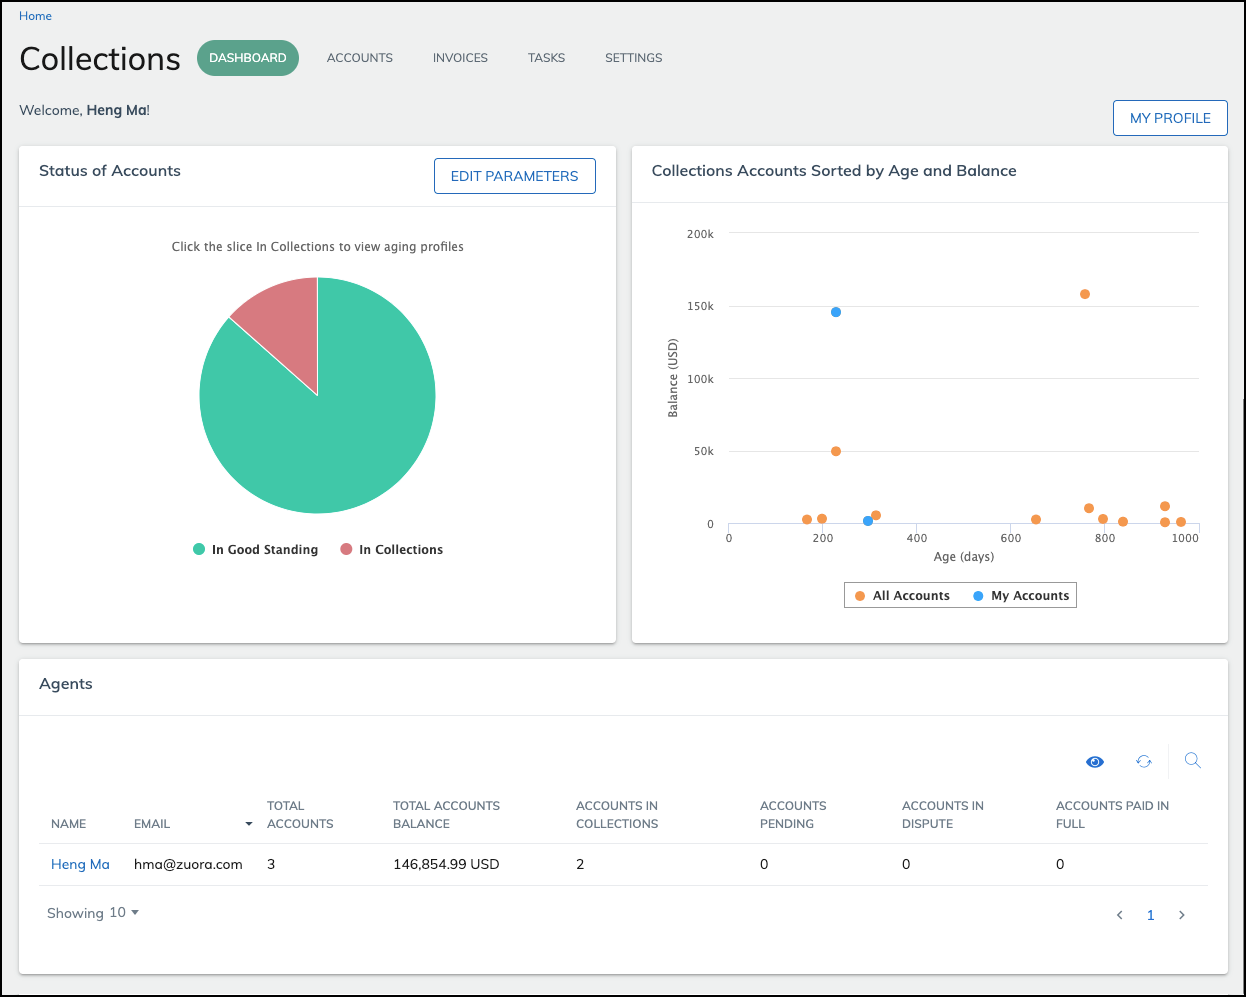
Click Create to save the settings. The home page of Collections Window will display.

Modify settings after the first-time configuration
Note that the settings in the Settings tab are a bit different from the settings in the first-time wizard. The conditions for in-collection accounts and critical invoices are not included in the Settings tab. They need to be configured in the Accounts and Invoices tabs separately. The rest of the settings are in the Settings tab.

What's next?
You can now start using Collections Windows. For details, see Using Collections Window.
