Create your custom dashboard
After you log into Zuora Revenue, the default custom dashboard can be displayed to show the KPIs of your interest. If no custom dashboard is configured in the system, you will be prompted to configure your custom dashboard every time you log into Zuora Revenue.
You can configure more than one dashboard in Zuora Revenue and select one to be the default dashboard to display after you log in.
Before you begin
Complete the following steps to create a chart to be added to your custom dashboard:
- Navigate to Setups > Application.
- Click to
 open the side menu and then click Report Setup. All reports are listed.
 - Locate the report based on which you want to build your own dashboard and click the Edit icon
 .
. - In the Layouts tab of the Edit Report window, click

to create a new layout.
- Configure the layout details as necessary in the Fields, Field Details, and Filters tab. For more information, see Create Layouts.
- In the Drill Layouts tab, select the layout that you just created from the Available Layouts section and move it to the Selected Layouts section.
- In the Chart Config tab, complete the following steps:
- In the Chart Category field, specify whether to use line chart, bar chart and pie chart in your dashboard.
- In the Chart Type field, select the appropriate chart type.
- In the Attribute field, select the field name based on which the chart is to be categorized.
- In the Metric field, select the field name whose value is to be displayed for each unit.
- Click the Preview icon
 to preview the chart, make changes as necessary, and then close the preview chart.
 - Click

in the New Layout window and then close the window.
This chart will be available to be added to your custom dashboard as instructed in Step 4 in the following procedure. Create as many charts as you need before you proceed to create the custom dashboard.
Procedure
Complete the following steps to create a custom dashboard in Zuora Revenue:
-
Navigate to Dashboard > Configurator. All your configured dashboards are listed on the Dashboard page.
-
To create a custom dashboard, click the New Dashboard icon
 .
. -
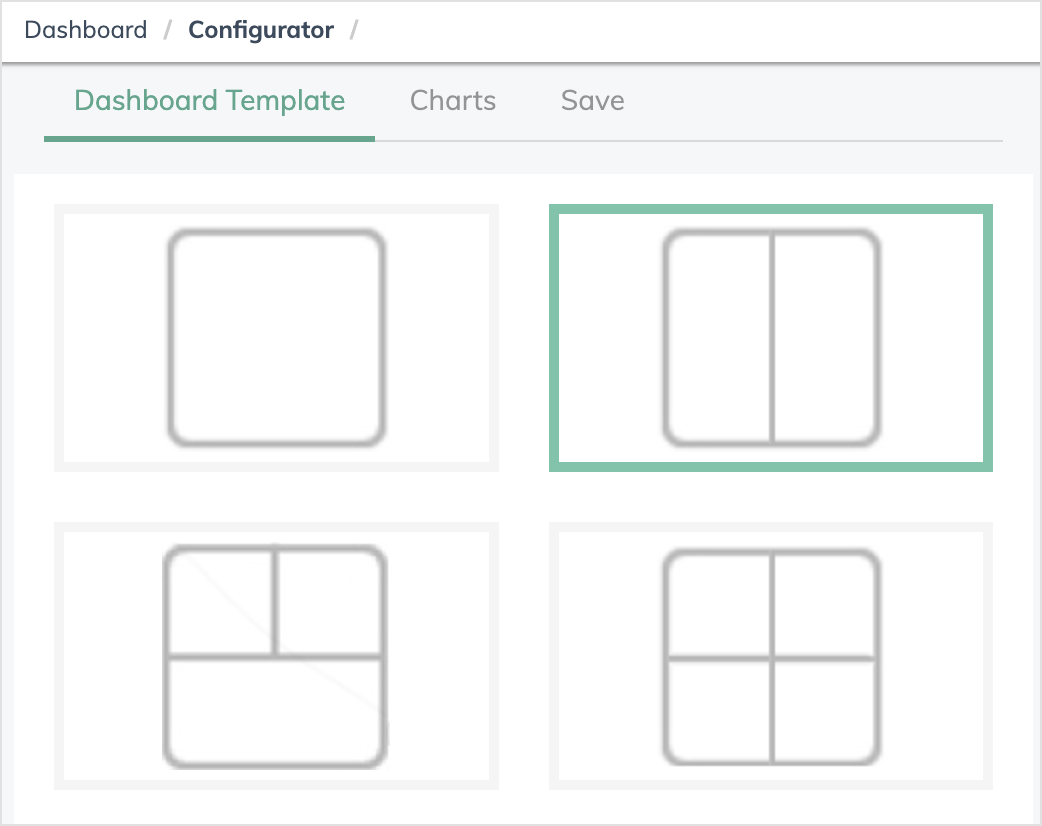
In the Dashboard Template tab, click one of the layout templates to specify the way that you want Zuora Revenue to present the information. Your selection is highlighted in green.

-
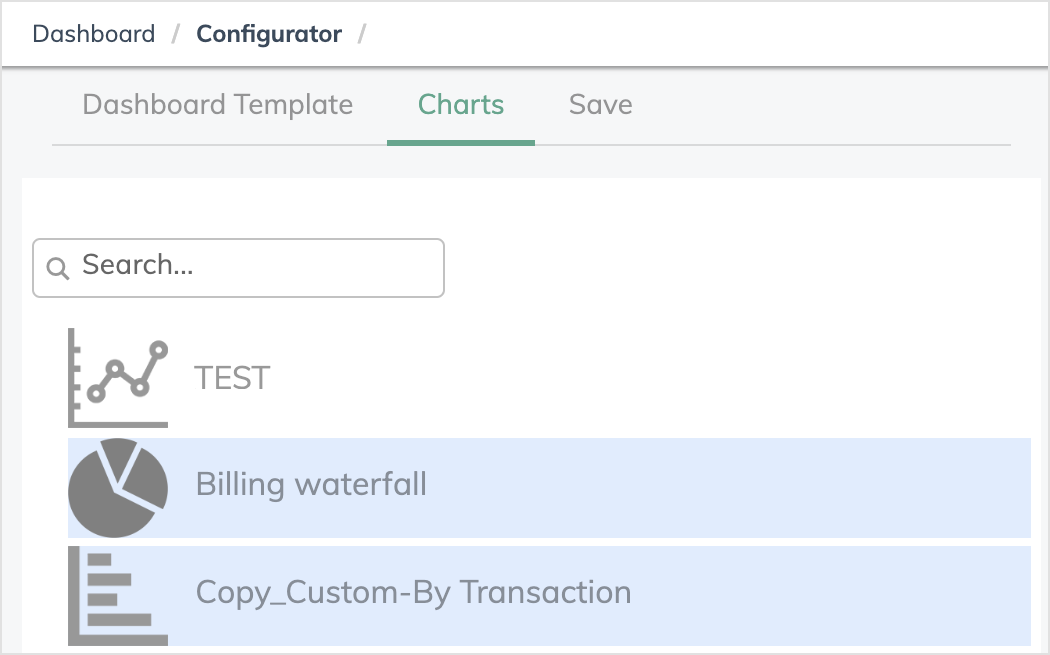
Click Continue to Charts to open the Charts tab. The available charts are listed for your selection.
-
Drag and drop the listed charts one by one to the layout template on the right.
-
Click Continue To Save to open the Save tab.
-
Provide a unique name for the custom dashboard and a short description.
-
Use the toggle switches in the Save tab to specify the following things:
-
Enabled: Whether to enable this dashboard.
-
System Default: Whether this dashboard is the default dashboard to display for the system.
-
User Default: Whether this dashboard is the default dashboard to display for the current user.
-
Private: Whether this dashboard is visible to other users.
-
-
After you are done, click Save.
-
To display the newly created dashboard, log out and log in again.
Result
The custom dashboard is created. If this dashboard is set to be the default, it is displayed after you log into Zuora Revenue. Otherwise, navigate to Dashboard > Summary Dashboard and then use the side menu to locate and open the dashboard.

