Enable email notifications
The email framework provides a monitoring feature of the key revenue processes in Zuora Revenue. You can enable email notifications for specific users or user groups so that they can get notified of the important processes in Zuora Revenue. Currently, the email notification functionality supports email notifications for the following processes:
- Holds apply and release
- Period open and period close
- Revenue contract approval
- Schedule jobs
- Schedule reports
- Download report
- Schedule Jobs failed
Email notifications from the email framework are different from password reset notifications. If you can receive password reset notifications, it does not necessarily mean that email notifications have been enabled for you.
The implementation partners and the Zuora Support team use the following procedure to enable the email notification functionality in the sandbox and/or production environments.
Procedure
To enable the email framework for your environment, complete the following steps:
-
Contact Zuora Global Support or your implementation partner and provide the following details:
-
Name of your company
-
Environment tenant ID
-
Zuora Revenue version number
-
Type of the request (which is to enable the email framework to support email notifications of key revenue processes)
-
The system URL of Zuora Revenue
-
-
If there are previously configured email templates in the application before the email framework is enabled, use the following commands to purge data from the email-specific tables. It is unnecessary to store data in these tables before the email framework gets enabled. Purging this data can prevent sending mass or bad emails to users after the email framework is enabled.
-
TRUNCATE TABLE rpro_eml_hdr_g
-
TRUNCATE TABLE rpro_eml_dt_g
-
-
After your email framework request is processed, complete the following steps in the UI to configure the email template:
-
Navigate to Setups > Application > Email Template.
-
To add an email template, click the New Template icon
 .The New Template window opens.
 -
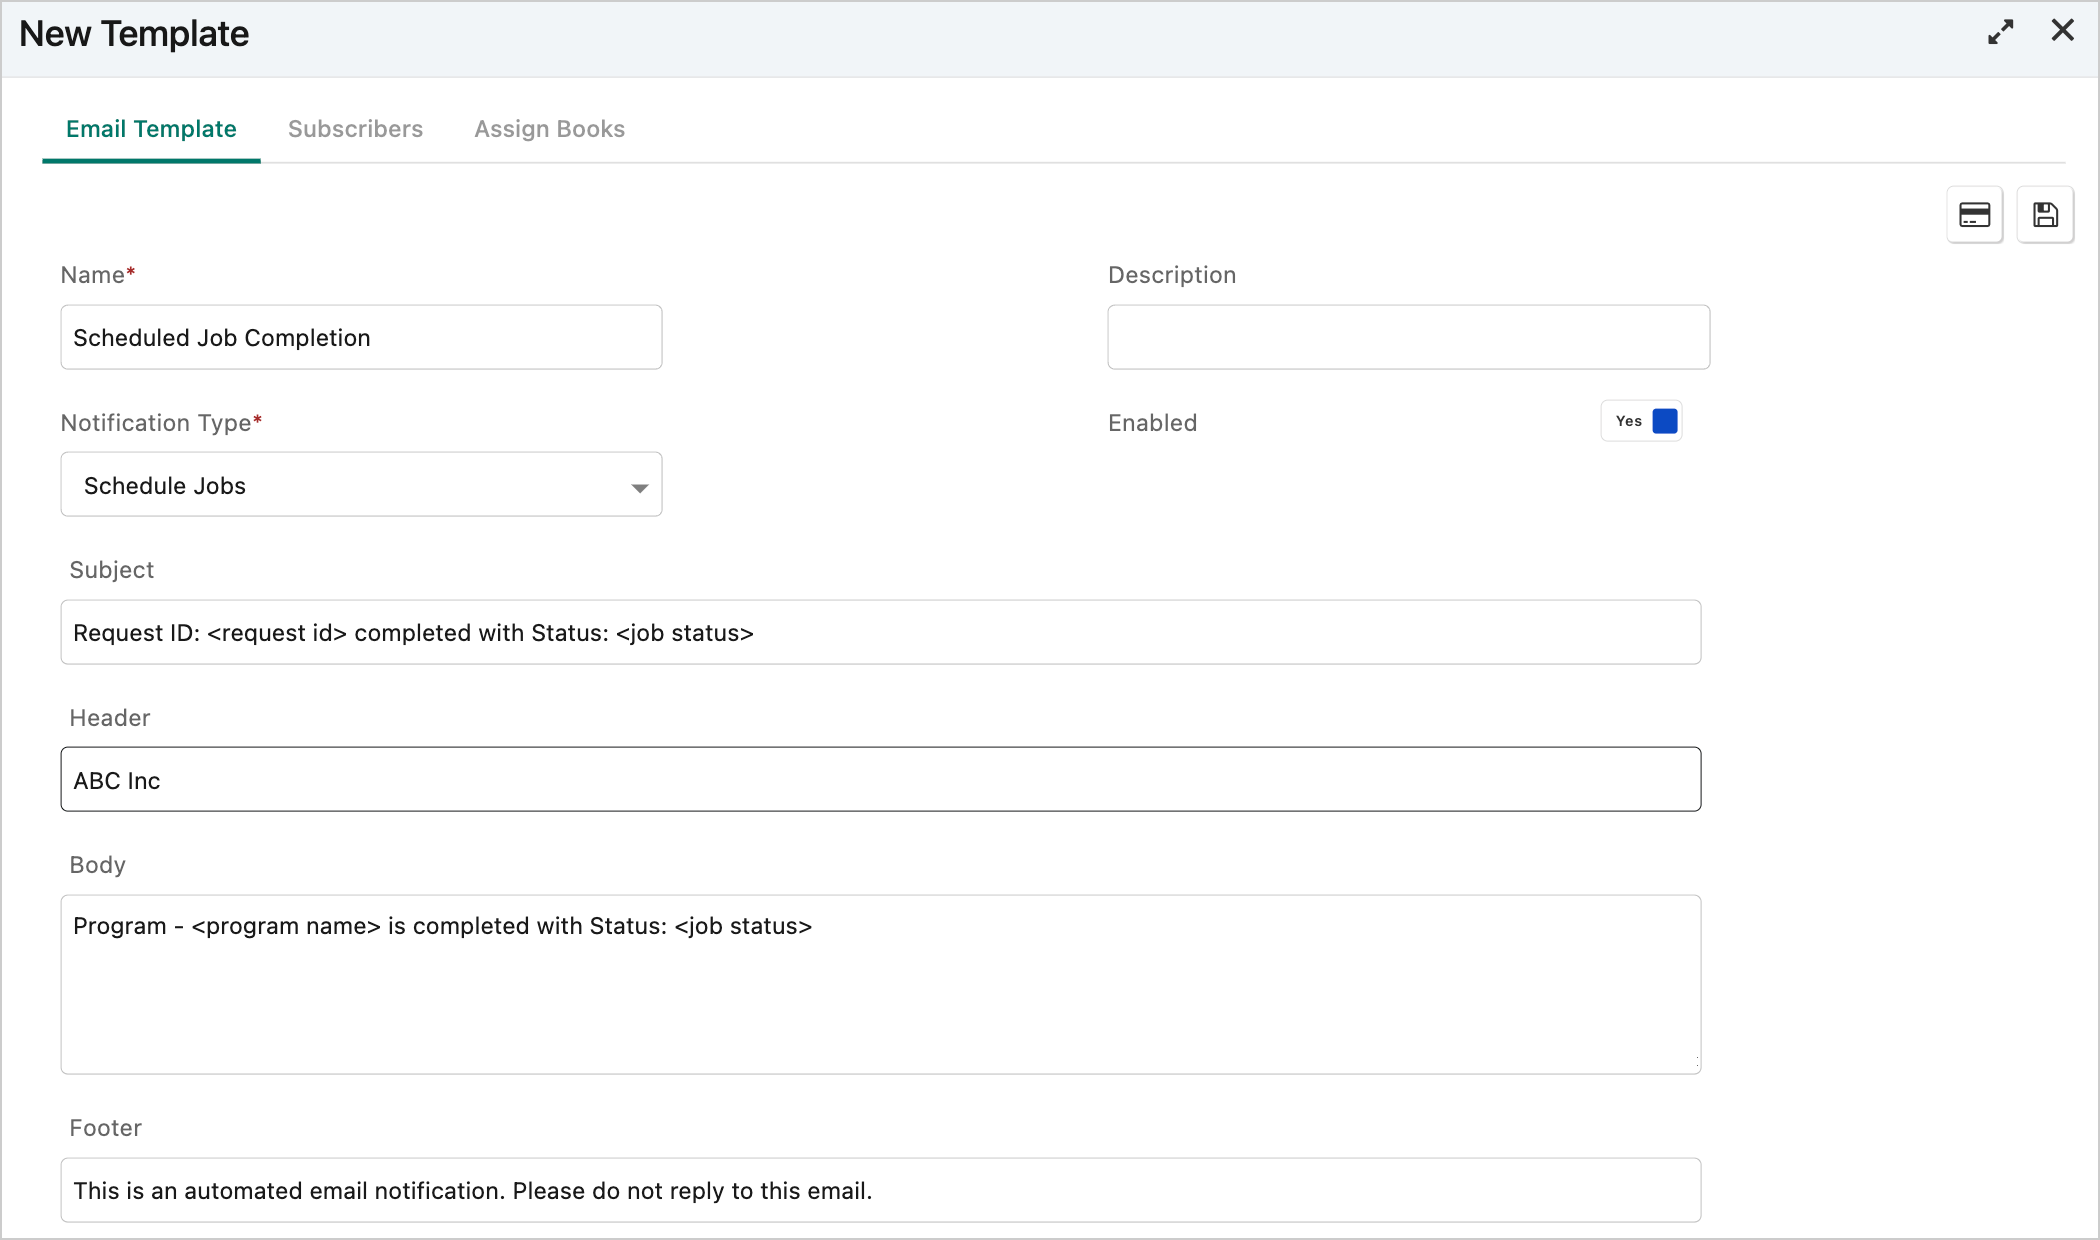
On the Email Template tab, specify the template's name in the Name field and select the target notification type from the Notification Type list.
-
Specify the email's subject, header, body, and footer as required.
-
You can add variables to these items using the tokens provided for each notification type. To find the available tokens for the selected notification type, click the Insert Tokens icon
 .
.For example, the following email template is configured for scheduled jobs. The tokens, <program name>, <request id>, and <job status> will be replaced with the actual values in the email.
-
After configuring the email template, click
 .
. -
Click the Subscribers tab, select the subscribed object type, select the user or user role who receives the email notifications, and click
 .
. -
Click the Assign Books tab, click the target revenue books from the Available Books list and move your selection to the Selected Books list by clicking
 , and then click
  .
. -
Close the window. The email template is set up.
-
What to do next
If you cannot receive email notifications after completing the configuration steps for the Zuora Revenue processes, create an L3 ticket to Zuora Support using Zendesk.