Enable the Bypass Extension
To enable the Bypass extension, complete the following steps:
- Select the Settings icon from the main menu
- Select Extensions
The Extensions screen displays.
- Scroll to the Internal section and select Bypass
Note: If you do not see the Bypass option, contact support to request access.
The Bypass screen displays, as illustrated below:
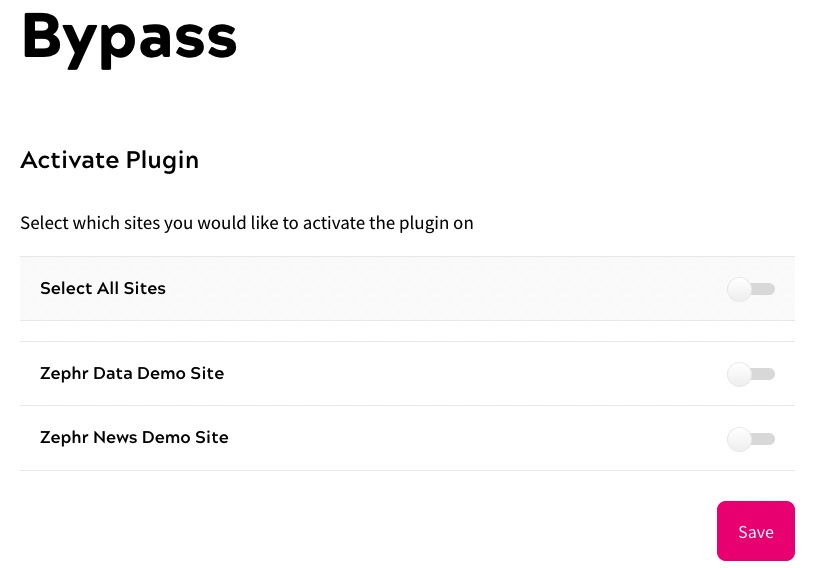
- Select the toggle to activate the Bypass extension on the sites that you require
- Select the Save button
When you build a rule, drag the Bypass decision point to the rules canvas. Connect the Yes node of the Bypass decision point to the outcome that allows access to the feature and the No node to the existing rule. This means that end users who do not meet the bypass criteria get the regular experience, for example being presented with a registration wall, as illustrated below:
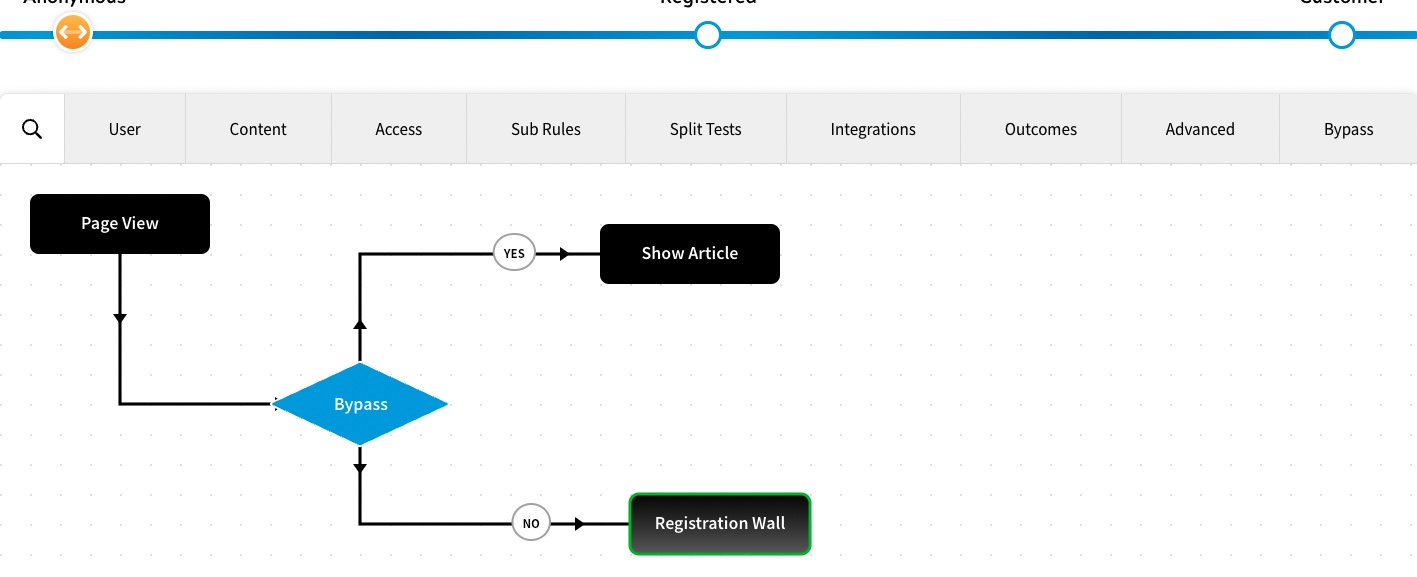
Note: If you do not see the Bypass decision node, contact support to request access.
When a rule runs and the user is accessing the site from a whitelisted IP address or a trusted referrer, the checks are completed as follows:
- All feature checks allow access to the feature
- All product checks allow access to the product
- All trials include the end user in the trial
Before any end users can meet the criteria, you must configure bypasses, as described in the Configure Bypasses topic.