Set Up Chargify in the Admin Console
To enable the Chargify Extension, complete the following steps:
- Select the Settings icon, which is located at the top right of every screen
- Select Extensions
- Select Chargify
Note: If you cannot see this option in your list of Extensions, contact support.
The Chargify screen displays, as illustrated below:
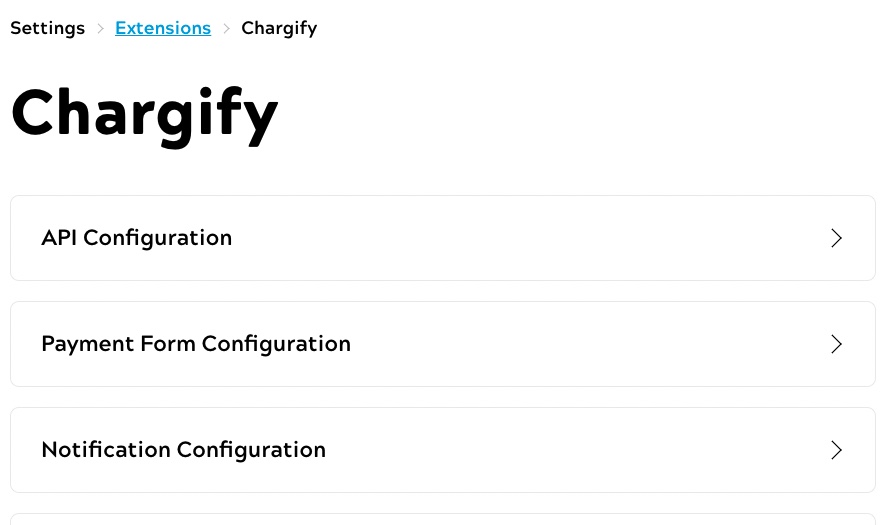
- Configure the API, as described below:
- Select the API Configuration buttonThe API Configuration screen displays, as illustrated below:
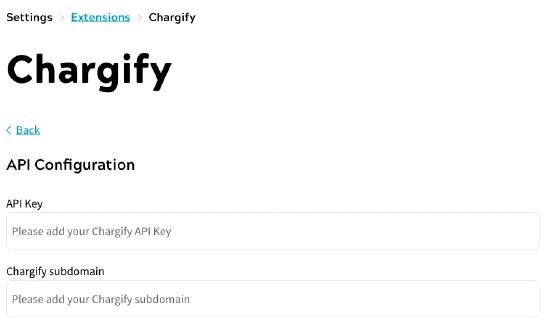
- Enter your API key in the API Key text box. Note: You can find your API key in the Integrations section of your Chargify account
- Enter the subdomain used by Chargify in the Chargify subdomain text box. Note: The subdomain used by Chargify is the URL that you use to access your Chargify account.
- Select the Done button to save your API configuration and return to the Chargify screen. Selecting the Cancel button displays the Chargify screen without saving any changes
- Select the API Configuration buttonThe API Configuration screen displays, as illustrated below:
- Configure the payment form, as described below:
- Select the Payment Form Configuration button. The Payment Form Configuration screen displays, as illustrated below:
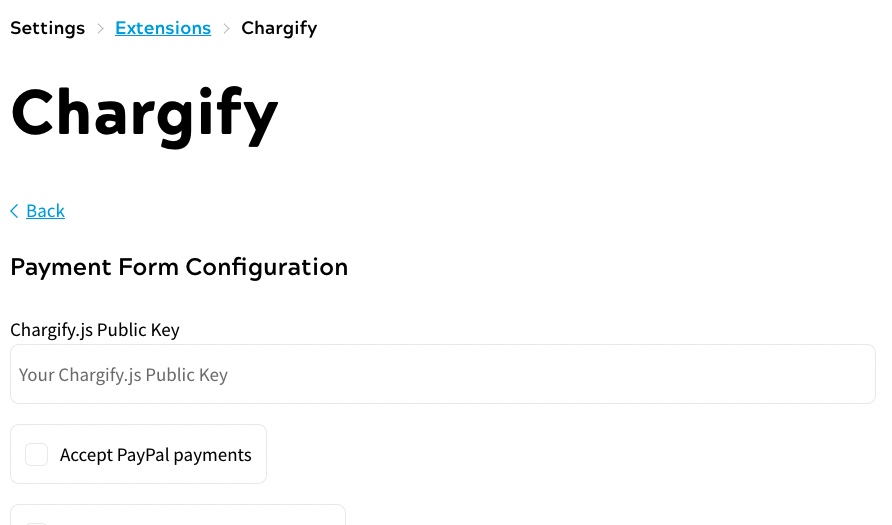
- Enter your public key in the Chargify.js Public Key text box. Note: You can find your API key in the Integrations section of your Chargify account
- If you want to accept PayPal payments on your site, select the Accept payPal payments checkbox. Note: The only payment gateway in Chargify that can accept PayPal payments is Braintree. Ensure that you have linked a Braintree account and configured it as the default gateway for PayPal payments in your Chargify console
- If you want to display fields that allows the end user to enter their first and last name, select the Show First Name/Last Name fields checkbox
- If you want to display a field that allows the end user to enter their Card Verification Value (CVV), select the Show CVV field checkbox
- If you want to display fields that allow the end user to enter their billing address, select the Show Billing Address fields checkbox. Notes:
- If you do not select any checkboxes that allow the user to enter information, the payment form only displays the following fields:
- Card number
- Expiry month
- Expiry date
- The Chargify billing name and address fields correspond to billing information. The name and address user attributes in Zephr correspond to shipping information
- If you require country and/or state information for tax reasons but do not want to explicitly ask the end user to supply the information, you can use the Zephr Geosync extension to estimate customer location based on IP address
- If you do not select any checkboxes that allow the user to enter information, the payment form only displays the following fields:
- If you have Multiple Payment Gateways enabled in Chargify, you can route payments for all products in nominated Product Families to a specific Payment Gateway. To do this, enter the gateway configuration in the Product Family -> Payment Gateway Handle Mapping (optional) text boxTo configure your gateway, you need the following information from your Chargify console:
- The IDs of Product Families in Chargify that you want to mapTo find the IDs, complete the following steps in your Chargify console:
- Select Catalog
- Select ProductsYour products display, grouped by Product Family. The ID for the Product Family is located next to the headers.
- The Gateway Handles for your Payment GatewaysTo find the Gateway Handles, complete the following steps in your Chargify console:
The routing is configured using a JSON object in the following format:
{
    "“MY_CHARGIFY_PRODUCT_FAMILY_ID"”: "“MY_PAYMENT_GATEWAY_HANDLE"”,
    ...
}
This configuration means that any products purchased from the product family with an ID of
MY_CHARGIFY_PRODUCT_FAMILY_IDis routed to the payment gateway with a handle ofMY_PAYMENT_GATEWAY_HANDLE.For example to configure separate gateways for PayPal and card payments, enter the following:
{ “My_product_family_id”: { “card”: “gateway_handle_for_card_payments”, “pay_pal”: “gateway_handle_for_paypal_payments” }, ... }- Select Config
- Select Payment Gateways
- Select a gatewayThe handle for the selected gateway displays.
- The IDs of Product Families in Chargify that you want to mapTo find the IDs, complete the following steps in your Chargify console:
- Select the Done button to save your payment form configuration and return to the Chargify screen. Selecting the Cancel button displays the Chargify screen without saving any changes
-
You must recreate the payment form as a feature outcome in Zephr. For further information on creating a payment form in Zephr, see the Payment Forms section.
- Select the Payment Form Configuration button. The Payment Form Configuration screen displays, as illustrated below:
- Configure webhook notifications, as described below:
- Select the Notification Configuration button. The Notification Configuration screen displays, as illustrated below:

- Enter the shared secret to use when signing webhook notifications in the Site Shared Key text boxTo find the shared secret in your Chargify console, navigate to the Edit Current Site section
Note: Depending on your Chargify user permissions, you might need to do this using your Chargify administrator account.
- Select the Done button to save your notification configuration and return to the Chargify screen. Selecting the Cancel button displays the Chargify screen without saving any changes
- Select the Notification Configuration button. The Notification Configuration screen displays, as illustrated below:
- Configure the customer records, as described below:
Chargify handles the billing details. However, you can use this extension to synchronise Zephr user attributes to Chargify Customer data fields; for example, to sync data relating to delivery (shipping) addresses. Note: First Name and Last Name are required in Chargify, so you must map them in Zephr. Other data fields can be mapped if required. To map values to Chargify Customer records, you must create a corresponding user attribute in the Admin Console and note the slug to use in the relevant field. For further information on creating user attributes, see the User Attributes section. For further information on the available Customer data fields on Chargify, refer to the Chargify Support documentation.To configure customer records, complete the following steps:
- Select the Customer Configuration button. The Customer Configuration screen displays, as illustrated below:
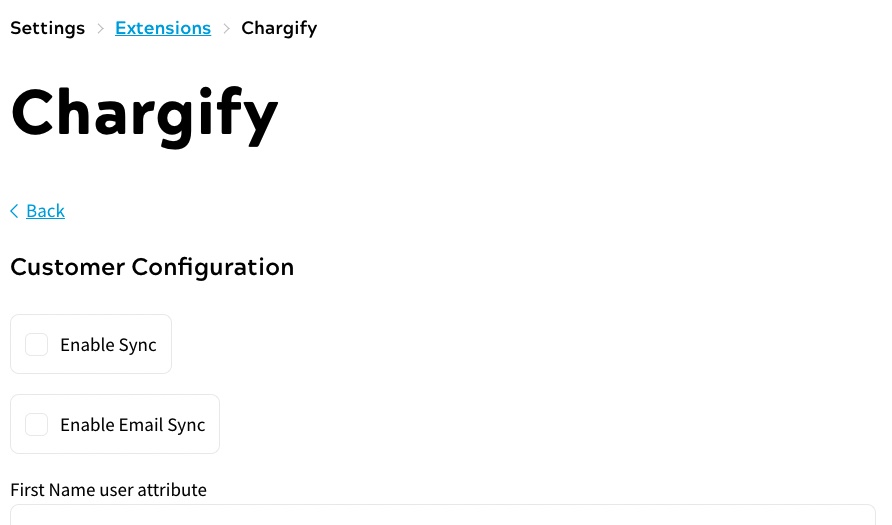
- Select the Enable Sync checkbox to allow synchronisation of Zephr user attributes and Chargify customer data fields
- Select the Enable Email Sync checkbox to allow synchronisation of email addresses
- Enter the slug of your First Name user attribute in the First Name user attribute text box
- Enter the slug of your Last Name user attribute in the Last Name user attribute text box
- If required, enter the slug of the following:
- Your CC email user attribute in the CC Email user attribute text box
- Your organisation user attribute in the Organization user attribute text box
- Your reference user attribute in the Reference user attribute text box
- Your address line 1 user attribute in the Address line 1 user attribute text box
- Your address line 2 user attribute in the Address line 2 user attribute text box
- Your city user attribute in the City user attribute text box
- Your state user attribute in the State user attribute text box
- Your zip code user attribute in the Zip Code user attribute text box
- Your country user attribute in the Country user attribute text box
- Your telephone user attribute in the Phone user attribute text box
- Your locale user attribute in the Locale user attribute text box
- Select the Done button to save your customer records configuration and return to the Chargify screen. Selecting the Cancel button displays the Chargify screen without saving any changes
- Select the Customer Configuration button. The Customer Configuration screen displays, as illustrated below:
- If Chargify is not your current payment provider, select the Use as Payment Provider button
Note: If Chargify is already set as your payment provider this button is disabled and labelled Active Payment Provider.
If you currently have a different payment provider activated, a warning dialog box displays, as illustrated below:
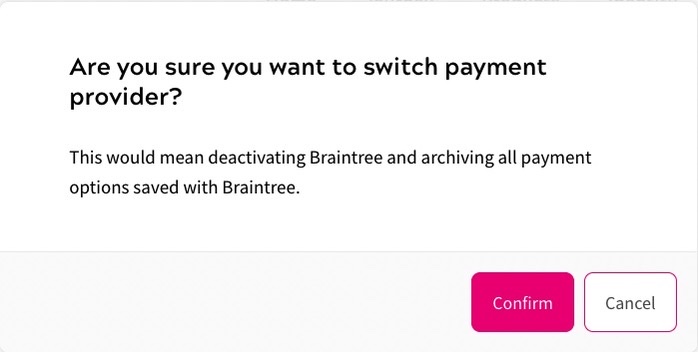
Select the Confirm button to save your settings and activate Chargify as the payment provider. Selecting the Cancel button returns you to the Chargify screen without changing the payment provider.
- If Chargify was already set as your active payment provider, select the Save button to save your changes and return to the Extensions screen
To complete the integration, you must add a webhook in Chargify. For further information on adding a webhook in Chargify, see the Configure a Webhook in Chargify topic.