Connect to Zephr
To configure the connection between the WordPress plugin and Zephr, complete the following steps:
- Select Zephr from the WordPress navigation menu
The Connect to Zephr wizard displays, as illustrated below:
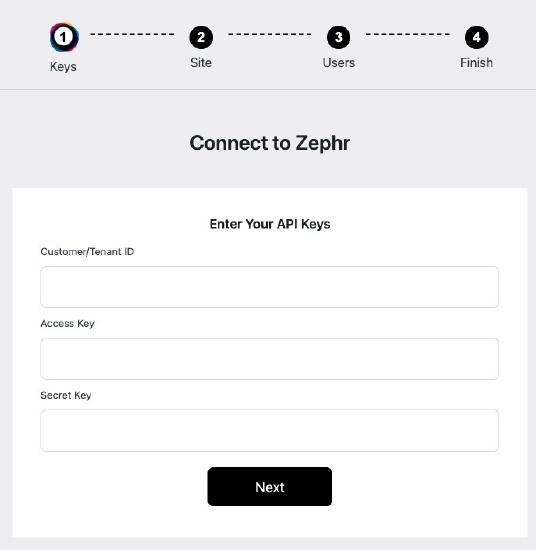
- Enter the tenant ID used in Zephr in the Customer/Tenant ID text box
If you have multiple organisations, your tenant ID displays in a blue box at the top right of your Admin Console.
For single sites, your tenant ID is the {yoursite} part of the default subdomains created for your site.
For further information on finding your tenant ID in this way, see the Configure Site Domains topic.
- Copy the Access key generated in the Admin Console and paste it in the Access Key text box
- Copy the Secret key generated in the Admin Console and paste it in the Secret Key text box
For further information on generating the key pairs for the Access and Secret keys, see the API Keypairs topic.
- Select the Next button
The next page of the wizard displays, as illustrated below:
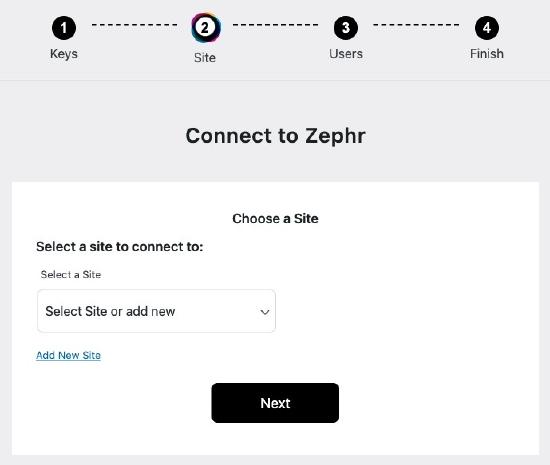
- Select the site to connect to the Zephr plugin from the Select a Site drop-down menu
If the site you require is not listed, you can add it.
To add a site, complete the following steps:
- Select the Add New Site link
Additional fields display, as illustrated below:
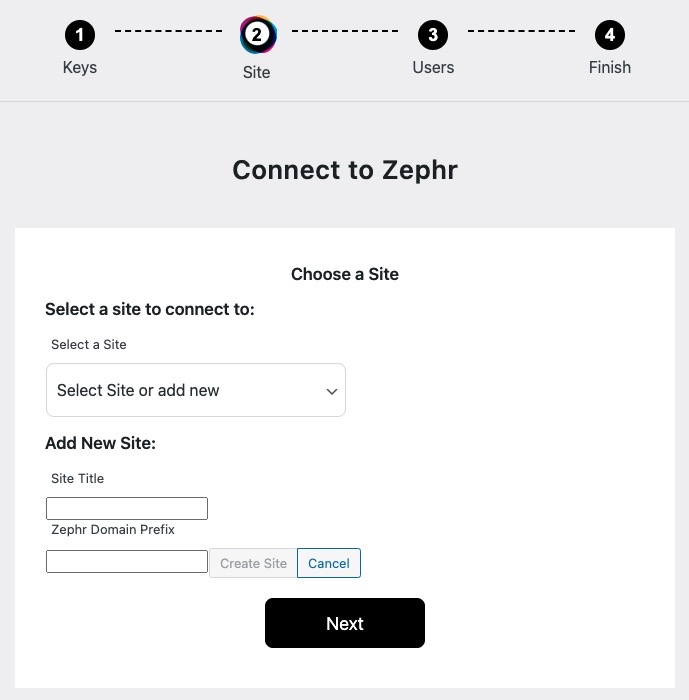
- Enter a name for the site in the Site Title text box
- Enter the domain prefix in the Zephr Domain Prefix text box
The new site is selected in the Select a Site menu.
- Select the Add New Site link
- Select the Next button
The third page of the wizard displays, as illustrated below:
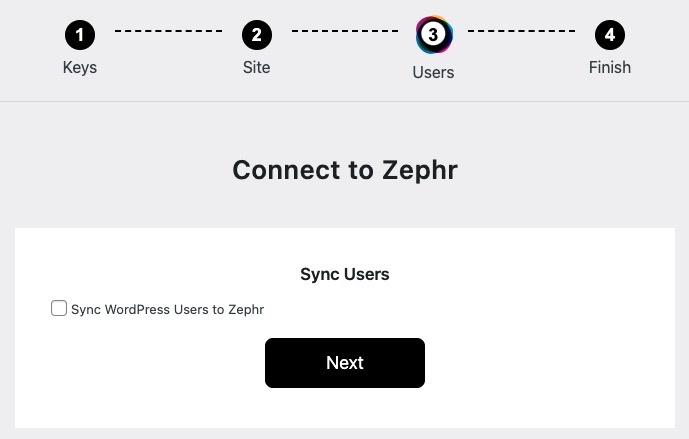
- If you want to copy your WordPress user information to the Users in Zephr, select the Sync WordPress Users to Zephr checkbox
For further information on managing users in the Zephr Admin console, see the Identity section.
- Select the Next button
The final page of the wizard displays, as illustrated below:
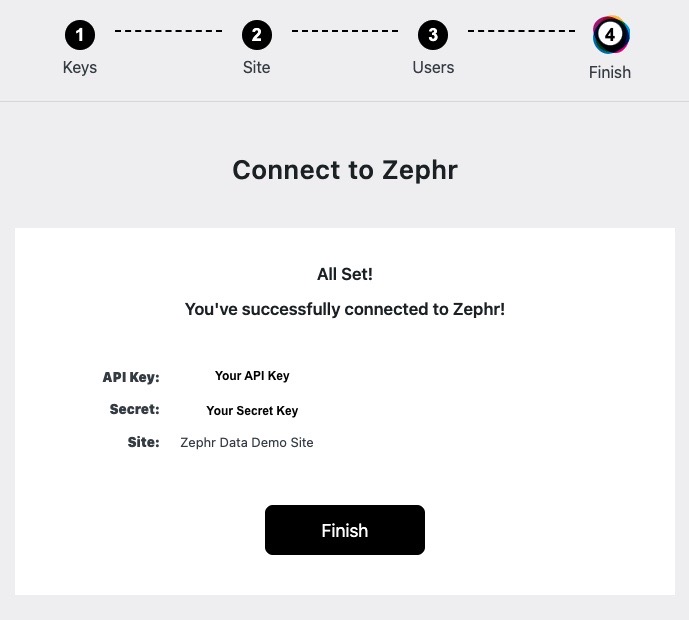
- Select the Finish button
The Zephr configuration displays, as illustrated below:
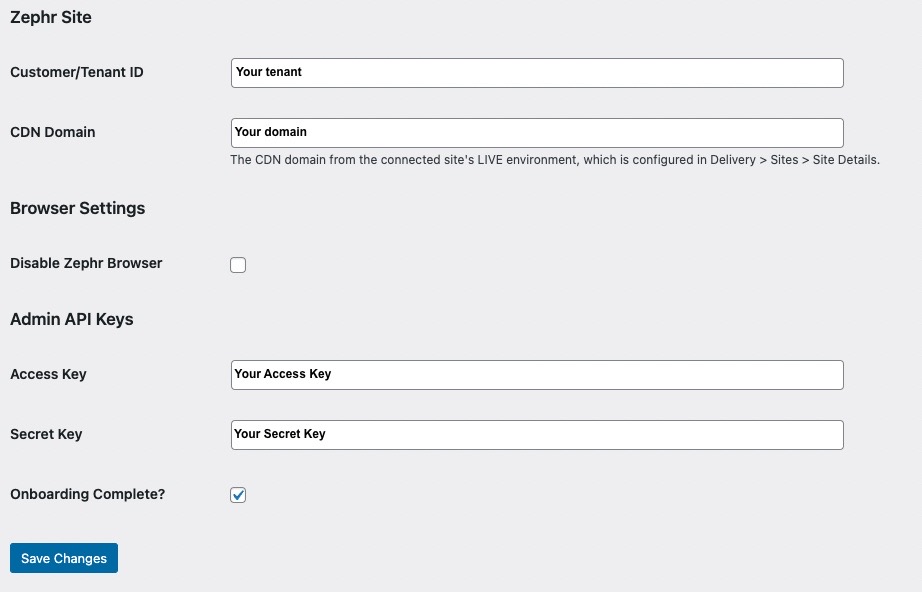
To change the settings and start the configuration again, deselect the Onboarding Complete checkbox and select the Save Changes button. The wizard restarts.
Once configured, you can use the Zephr plugin to control access to your content as described in the Use the Plugin topic.
