Contact
Newsletter subscriptions play a pivotal role in converting users into registered or paying subscribers, serving as the initial stage in the conversion funnel. Incorporating contact forms will elevate the overall user experience and align with the preferences of users seeking a quick and hassle-free subscription method.
Contact forms offer a powerful solution, allowing users to subscribe to the website’s newsletters effortlessly or create various user information forms without a full registration process involving passwords. While the form requires an email address, all other attributes are optional. You can also create a multi-step form where, in the initial step, only the email is required. Subsequent steps allow for the capture of multiple user attributes, such as preferences for other newsletters or any other relevant information. The final step concludes with a thank-you message upon successful submission. Additionally, you can preview and validate your contact form in real-time, visualising how your form will appear on your website.
Prerequisite
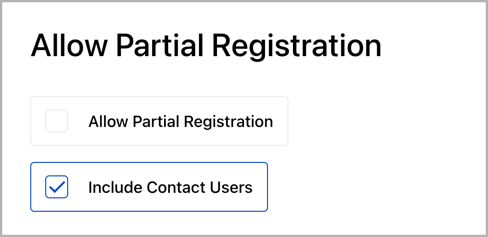
Ensure that the setting, Include Contact Users, is enabled in Identity > Settings. Once enabled, users will be created in Zephr without the need for passwords or verified email addresses. If users have extensions integrated with Zephr, such as CRMs or mail services, they will be automatically redirected to these services upon creation in Zephr. This mechanism ensures that user data seamlessly flows into third-party services, maintaining consistency across systems.
Adding Contact Forms
- Navigate to Delivery> Component Library.
- In the Component Library screen, click Add Component > Contact. The Add Contact Form screen is displayed.
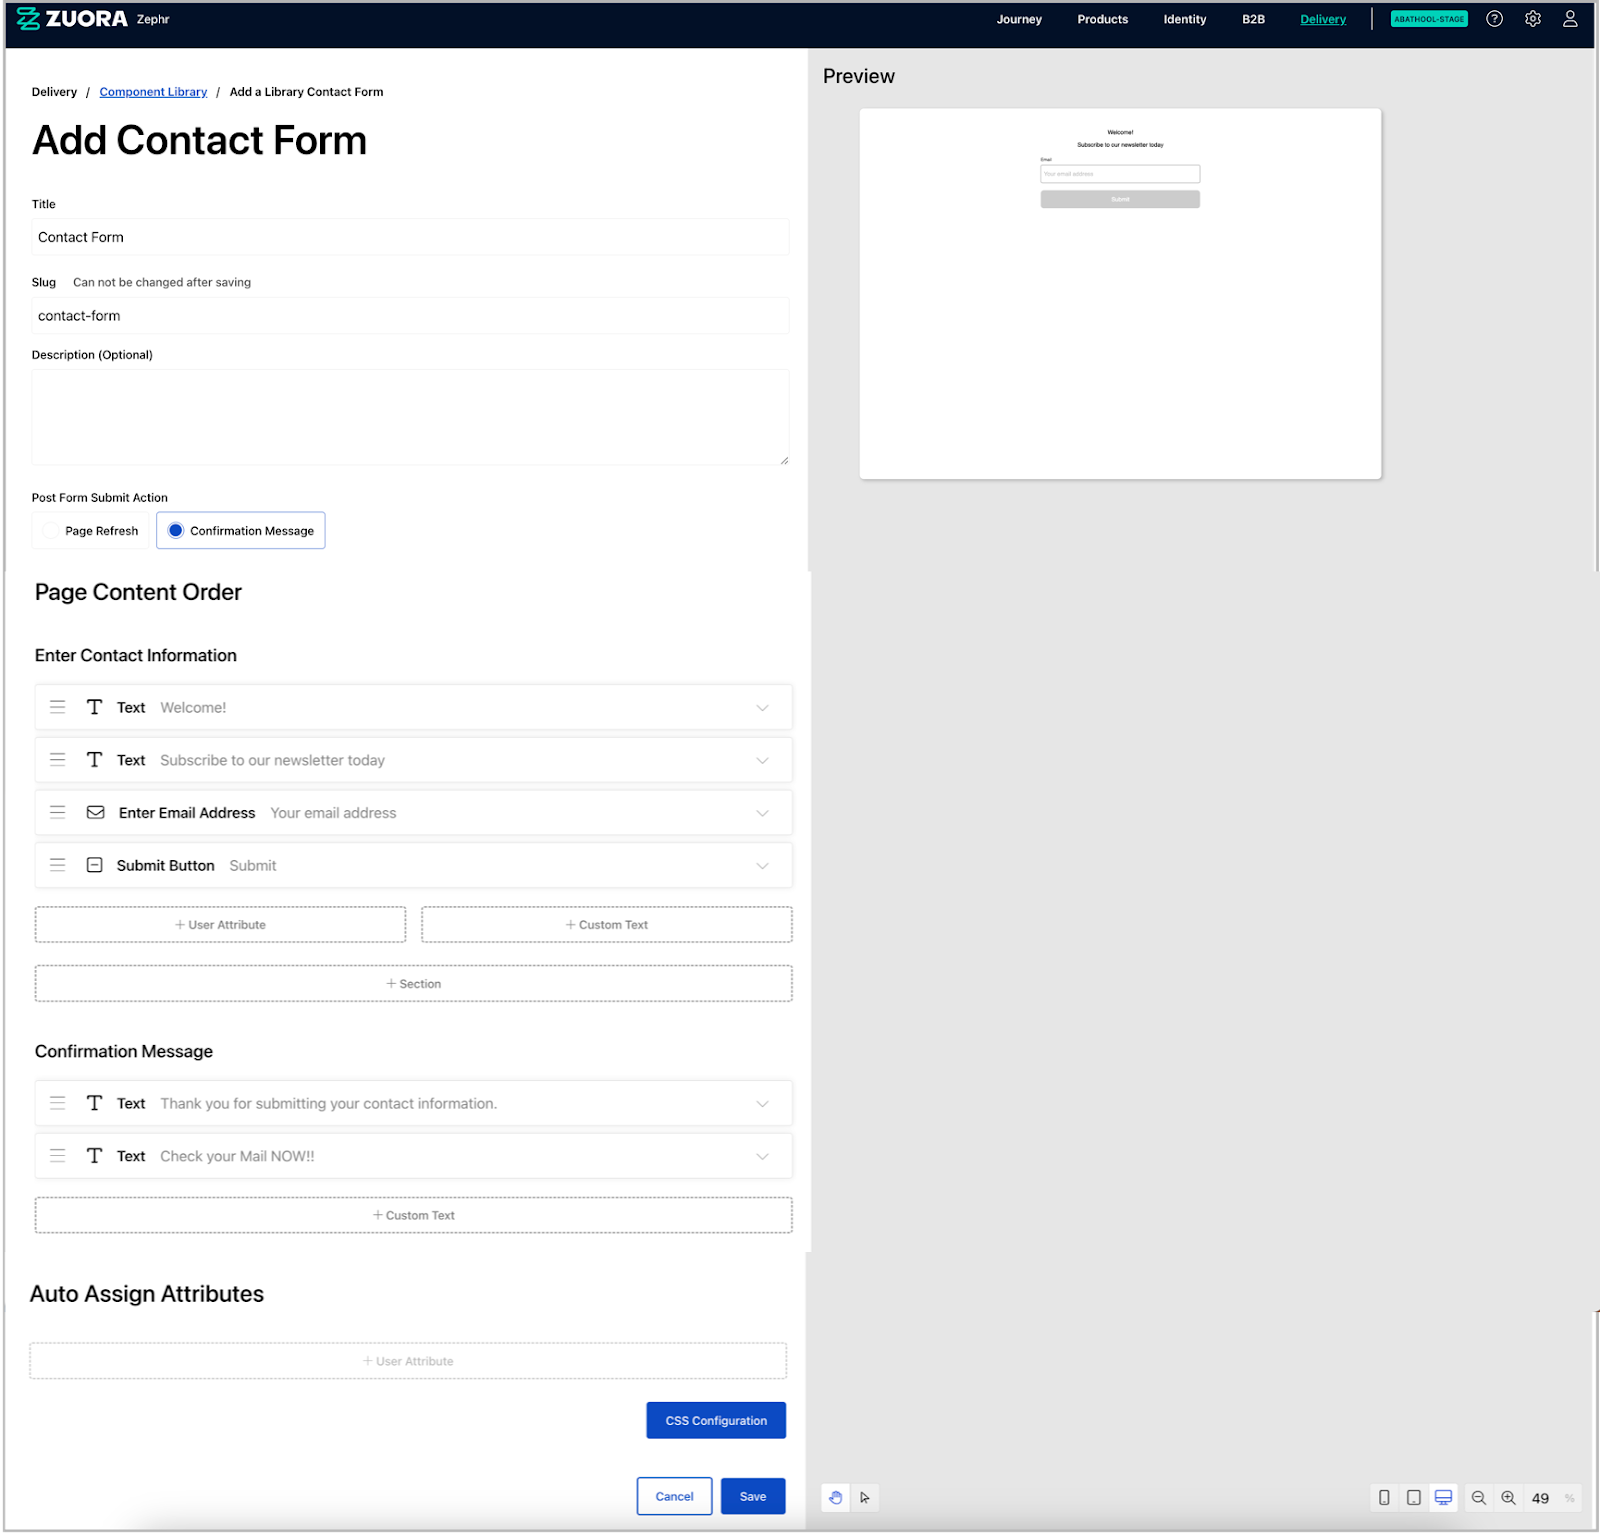
- Customize your contact form as required using the following options:
- Title - Enter a name for the contact form in the Title text box.
- Slug - Modify the Slug field as needed. The slug cannot be changed once the contact form is saved.
- Description - (Optional) Enter a description for the form.
- In the Post Form Submit Action section, select the action to be triggered on the form submission:
- Page Refresh: Refreshes the page after the user submits the form.
- Confirmation Message: Displays a customised confirmation message to the user once the form is submitted.
- Perform the following actions in the Enter Contact Information section:
- Page Content Order - Determine the order in which the text should be displayed in the form by dragging and dropping the fields as they appear.
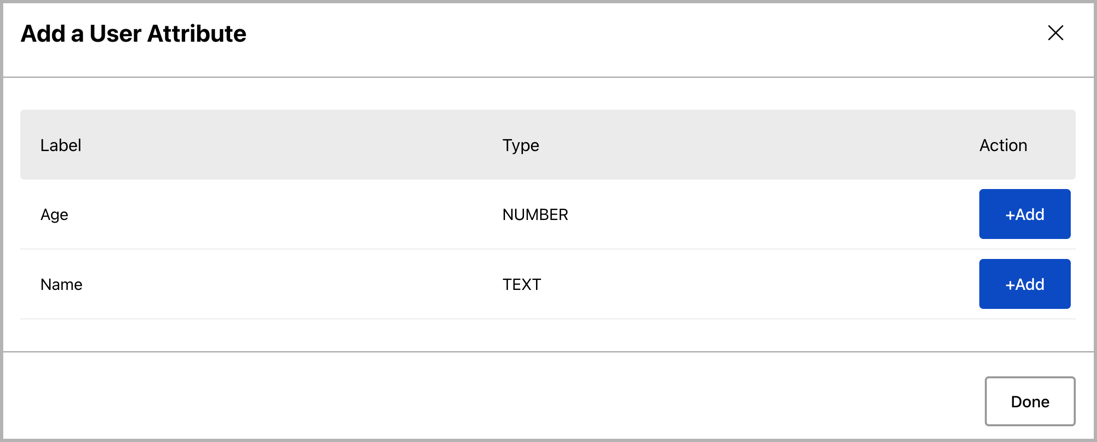
- User Attribute - Add an existing user attribute to the form. To add a new attribute, navigate to Identity > User Attributes > Add A User Attribute.
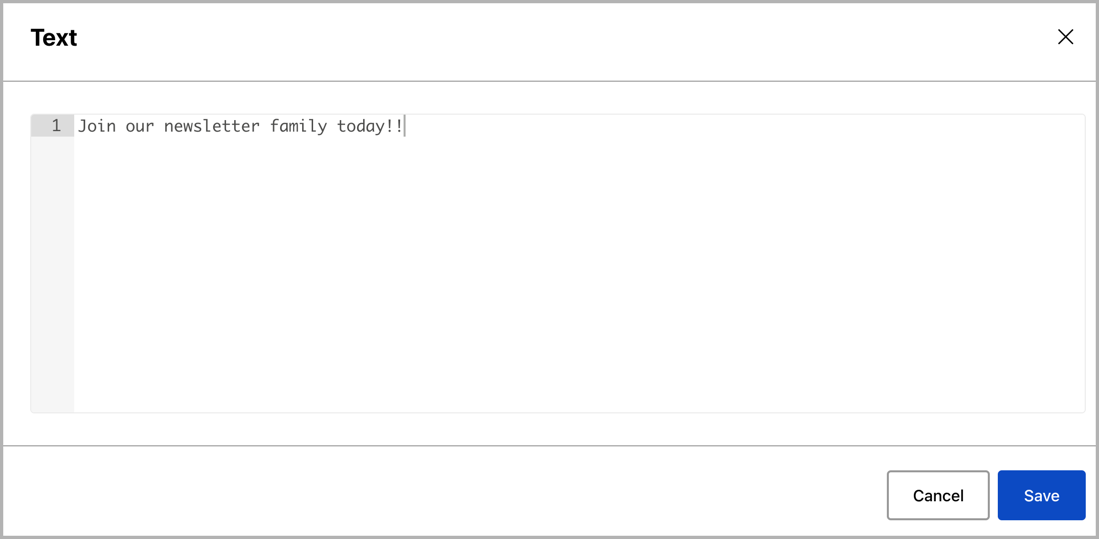
- Custom Text - Add the text to be displayed in the form.
- Section - Add sections to the form where each section will have its own Submit button, user attribute texts, and custom text.
- Select the existing confirmation message or click Custom Text to add a new message in the Confirmation Message section.
- Click User Attribute in the Auto Assign Attributes section to add an existing attribute to the form. This field automatically assigns preferences to user profiles when they submit the form. For instance, on a sports news website with a single sports newsletter, users are automatically assigned the sports newsletter preference upon submitting their email address.
- Click CSS Configuration and enter your custom CSS in the text box. This allows you to style your form according to your brand’s specifications.
- Click Save. The contact form is saved and ready to use as a component.
- When a form is submitted with an email already associated with a contact user, Zephr intelligently updates the preferences of that user.
- When the form is submitted with an email linked to a registered user, preference updates occur only if the user is logged in with an authenticated session on the page; otherwise, a secure login prompt is displayed.
- When an anonymous user submits the form, the decision nodes available in the Rules Builder screen can be used to determine whether the anonymous user has previously registered using the contact forms.