Configure the Registration Form
To configure the login form, complete the following steps:
- Select the Registration Form Configuration button
The Registration Configuration screen displays, as illustrated below:
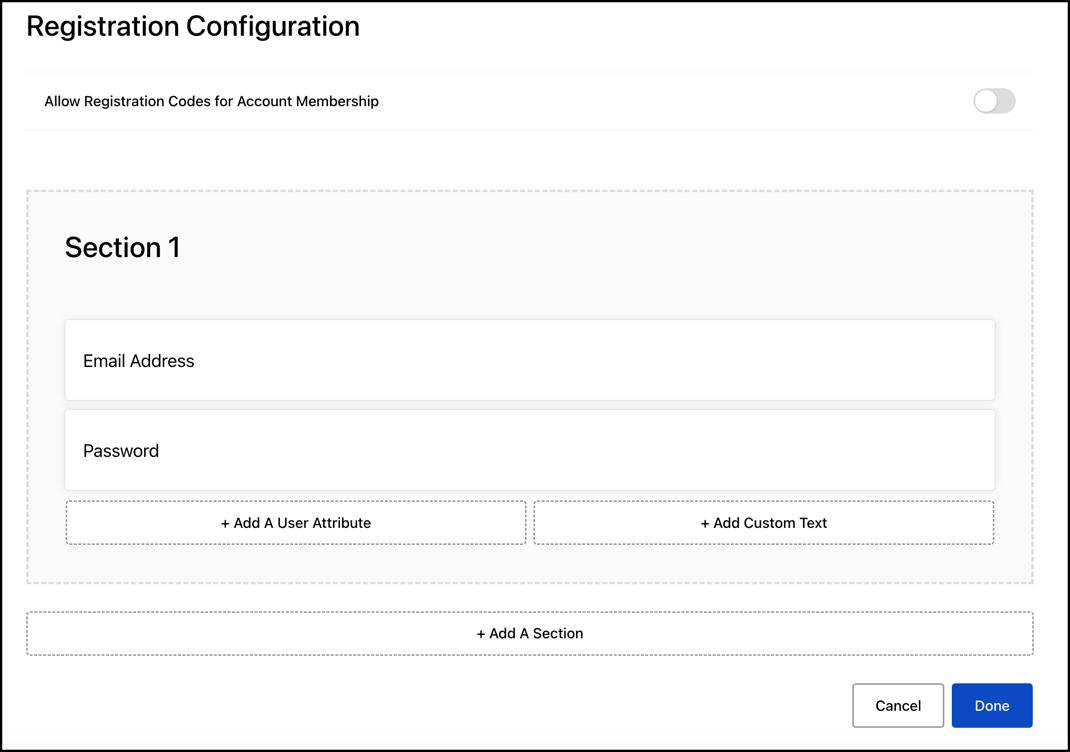
- Select the Allow Registration Codes for Account Membership toggle if you want to display a field on your login form that allows end users to enter an account membership code.
To use account membership codes, you must have set up a company and generated a membership code, as described in the Companies & Accounts topic.
- Configure your registration form as follows:
- Select the Add A User Attribute button to add a field based on a previously created user attribute.
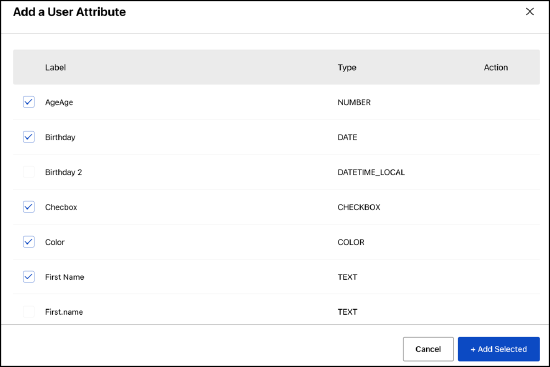
- Select the required attributes and click Add Selected.
- Select the Add Custom Text button to add a custom field to your form.
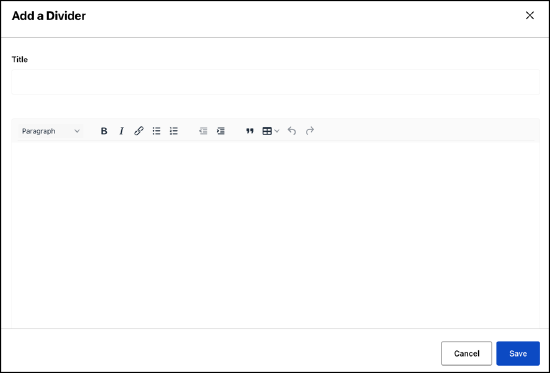
- Enter the heading for your custom text in the Title text box.
- Enter the text you want to display in the text box. If you want to format the text, for example to include a heading or a list, use the formatting bar at the top of the text box.
- Click Save.
- Select the Add a Section button to add a section to your form.
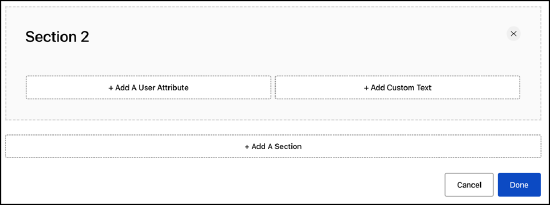
- Add custom text and/or user attribute fields to the new section.
- Select the Add A User Attribute button to add a field based on a previously created user attribute.
- Select the Done button to save your changes and return to the configuration options screen.