Example Chargify Payment Form Creation
Before you can associate your Chargify products and price points with Zephr products, you must configure them in Chargify or build Zephr payment forms. For further information on configuring products and price points in Chargify, refer to the Products section of the Chargify documentation. For further information on building Zephr payment forms, see the Payment Forms topic.
The following flow illustrates how to create a payment form powered by Chargify and Zephr:
- Create your products and price points in Chargify
- Configure and activate the Zephr Chargify extension, as described in the Set Up Chargify in the Admin Console topic
- Create a Zephr Product, as described in the Create a Product topic
In the Add a Payment Option dialog box, select the relevant Chargify price points from the available payment plans, as illustrated below:
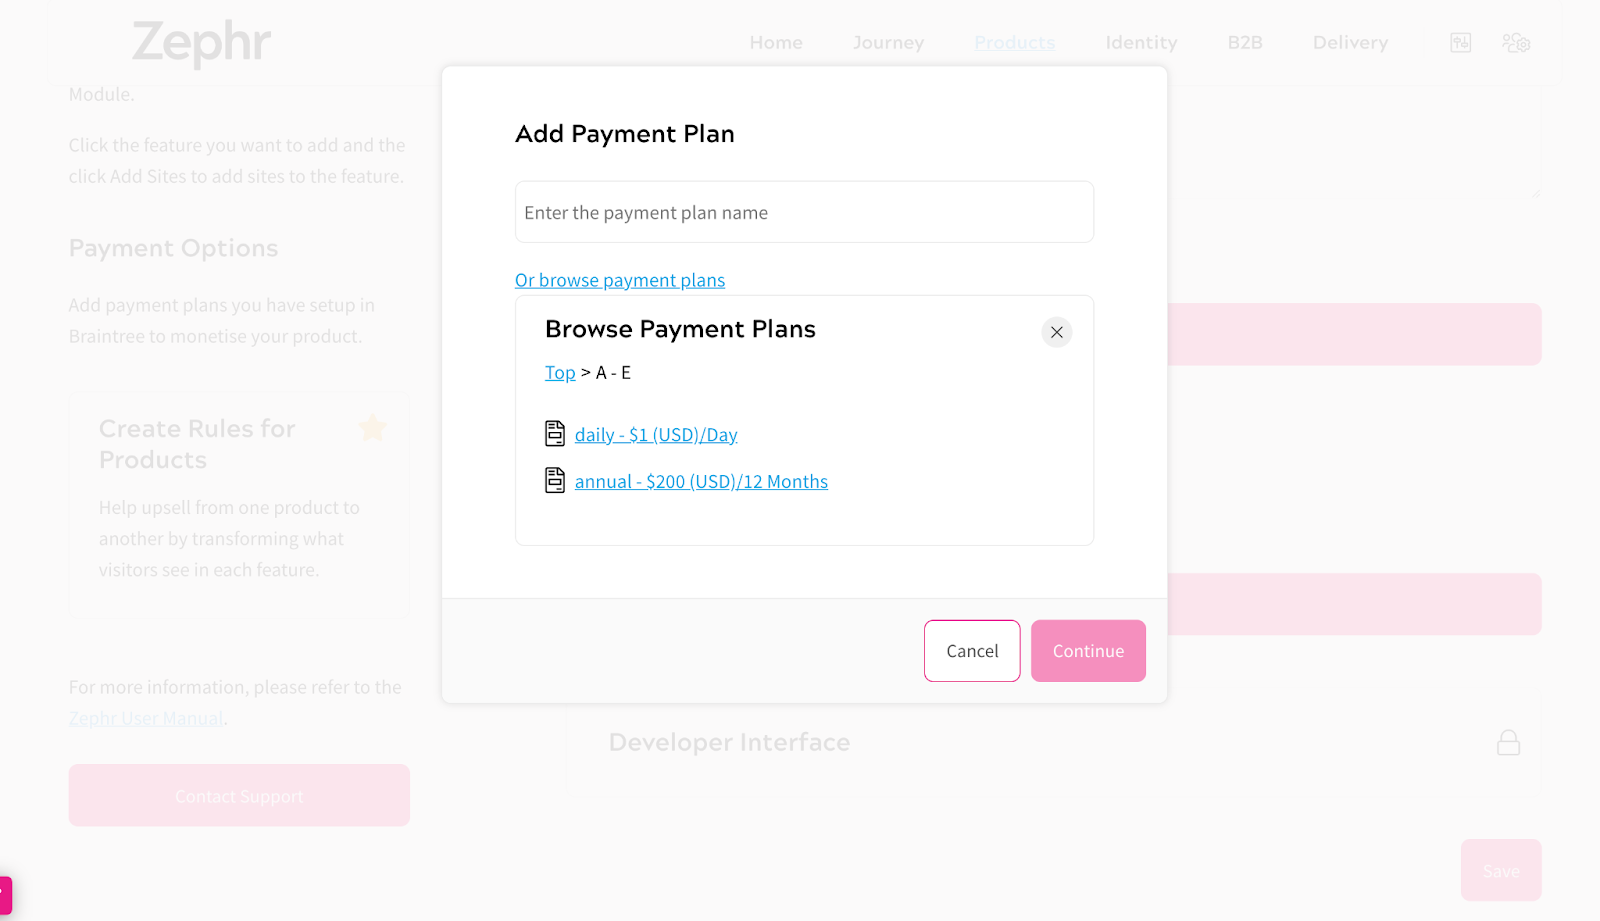
Note: You can only browse price points that begin with a letter. You can search for price points that begin with a number using the Search text box.
- Save your product
- Build your feature rule. For further information on building feature rules, see the Creating and Managing Zephr Features section
Add a Payment Form outcome to your rule for the Zephr product you configured with Chargify price point IDs. For further information on building a payment form, see the Payment Forms topic
You can add payment options for as many price points as you require.
When you have saved and published the feature rule, it is available for use in the customer journey.