Complete Registration Forms
The Complete Registration form facilitates the completion of the registration process for users who have only partially registered previously. You can also preview and validate your form in real-time, with updates displayed instantly in the Preview window located on the right side of the screen.
For further information on allowing partial registration, see the Allow Partial Registration topic.
To create a Complete Registration Form:
- Navigate to Delivery > Component Library.
- Click + Add Component > Complete Registration.
- Enter a name for the data capture form in the Title text box.
- Modify the Slug field as needed. The slug cannot be changed once the contact form is saved.
- Enter a description for the form, if required, in the Description field.

- Select the required language from the Language drop-down list.

Once a new language is selected, all the text in the form is converted to the chosen language. - Select one of the following options in the Post Form Submit section:
- Page Refresh - Automatically refreshes your website's screen upon successful registration.
- Confirmation Message - Displays a confirmation message upon successful registration.
- Perform the following in the Page Content Order - User Data section:
- Modify the text details or the label names as required.

- Add custom text to your form by selecting the Custom Text button.
- Add an existing user attribute to the form by selecting the User Attribute button. To add a new attribute, navigate to Identity > User Attributes > Add a User Attribute.
- Click the Section option to add sections to your form. Each section can be customized with custom text, user attributes, and assign a distinct name to individual sections.
- Modify the text details or the label names as required.
- Perform the following in the Confirmation Message section:
- Modify the text displayed to the users upon updating their profile.

- Add custom text to your form by selecting the Custom Text button.
- Modify the text displayed to the users upon updating their profile.
- Auto Assign Attributes - Click User Attribute in the Auto Assign Attributes section to add an existing attribute to the form. This field automatically assigns preferences to user profiles when they submit the form. For instance, on a sports news website with a single sports newsletter, users are automatically assigned the sports newsletter preference upon submitting their email address.

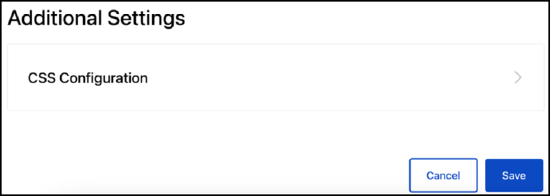
- Additional Settings - Click the CSS Configuration and enter your preferred CSS code to tailor the form to your specifications. Click Done to save your configurations.

- Click Save to save your changes to the Complete Registration form.
