Authentication
In the Authentication section, you can define the following:
- Email domains that cannot be used when registering
In general, you might want to stop anyone using a known fake email domain such as mailinator.com or test.com.
For B2B companies who want to gather company details, for example, you might want to blacklist email domains such as gmail.com or hotmail.com.
- Whether email verification is required
Email verification adds a step that allows the end user to validate their email address by following a link sent to them in a verification email. When the end user follows the link, they are redirected to your site and automatically logged in.
Note: If using passwordless authentication, you must use email verification to use passwordless login and registration forms. For further information on using passwordless authentication, see the Passwordless Authentication topic.
- The message that is displayed to inform the end user that a verification email has been sent
This can only be defined if you use email verification.
When the user registers, the message defined here displays. For example, as illustrated below:
We've sent an email! Follow the provided link to complete your registration.
Note: The message displays only when you use an out-of-the-box Zephr registration from. If using a custom component to display your registration and/or login forms, you must add this logic to your custom component to display the message.
For further information on defining the verification email sent to your end users, see the Email Templates topic.
- The timeout period for the verification link sent to the end user
This can only be defined if you use email verification.
The end user must follow the link supplied in the verification email within the defined period. After the defined period, the link is no longer valid and the end user must request a new verification link.
- Whether two-factor authentication (2FA) is used for the end user’s email address
This can only be defined if you use email verification.
2FA adds a layer of identity protection to your registration and login process.
- The message that is displayed to inform the end user that an email containing a one-time password has been sent
This can only be defined if you use 2FA.
When the user logs in for the first time, the end user must use the supplied one-time password. They must update their password to use in future logins.
Note: The message displays only when you use an out-of-the-box Zephr registration from. If using a custom component to display your registration and/or login forms, you must add this logic to your custom component to display the message.
For further information on defining the 2FA email sent to your end users, see the Email Templates topic.
Note: These settings can only be used with the Zephr CDN.
To configure the authentication settings, complete the Authentication section as follows:
- Enter each email domain that you want to blacklist in the Blacklisted email domains (optional) text box
Use a separate line for each domain, as illustrated below:
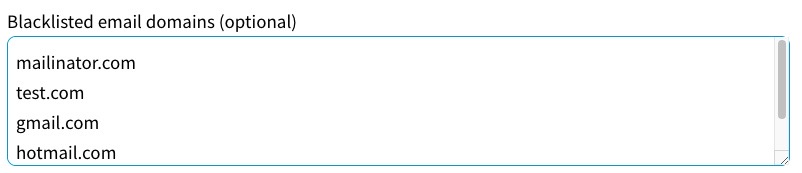
- If you want to use email verification, select the Require email verification checkbox
When selected, additional fields display, as illustrated below:
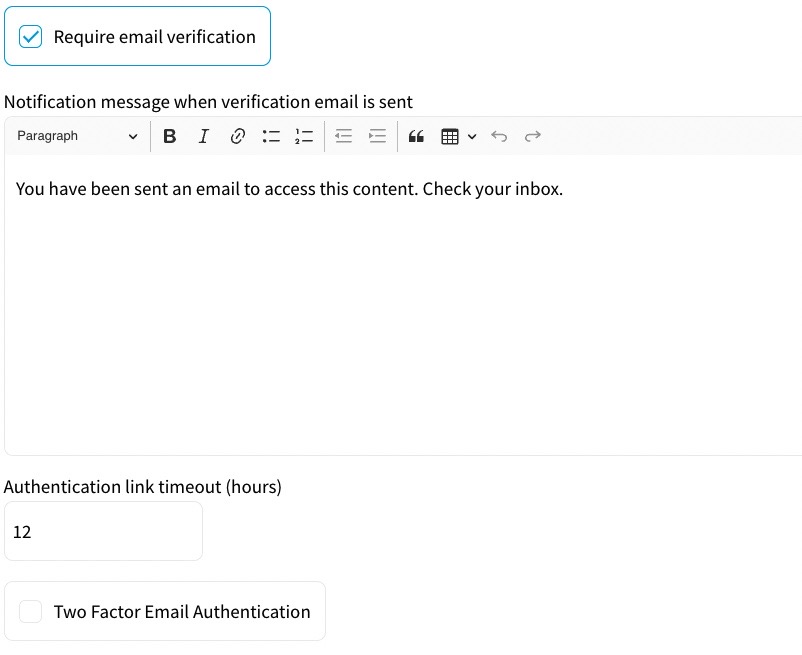
Enter the message you want to display in the text box.
Note: If you want to format the text, for example to use bold text, use the formatting bar at the top of the text box.
Enter the period in hours for which the link supplied in the verification email remains valid in the Authentication link timeout (hours) text box.
If you want to use 2FA, select the Two Factor Email Authentication checkbox
When selected, additional fields display, as illustrated below:

Enter the message you want to display in the text box.
- If you don’t want to configure any other settings, select the Save button. Otherwise, continue to define the configuration, as described in the following topics: